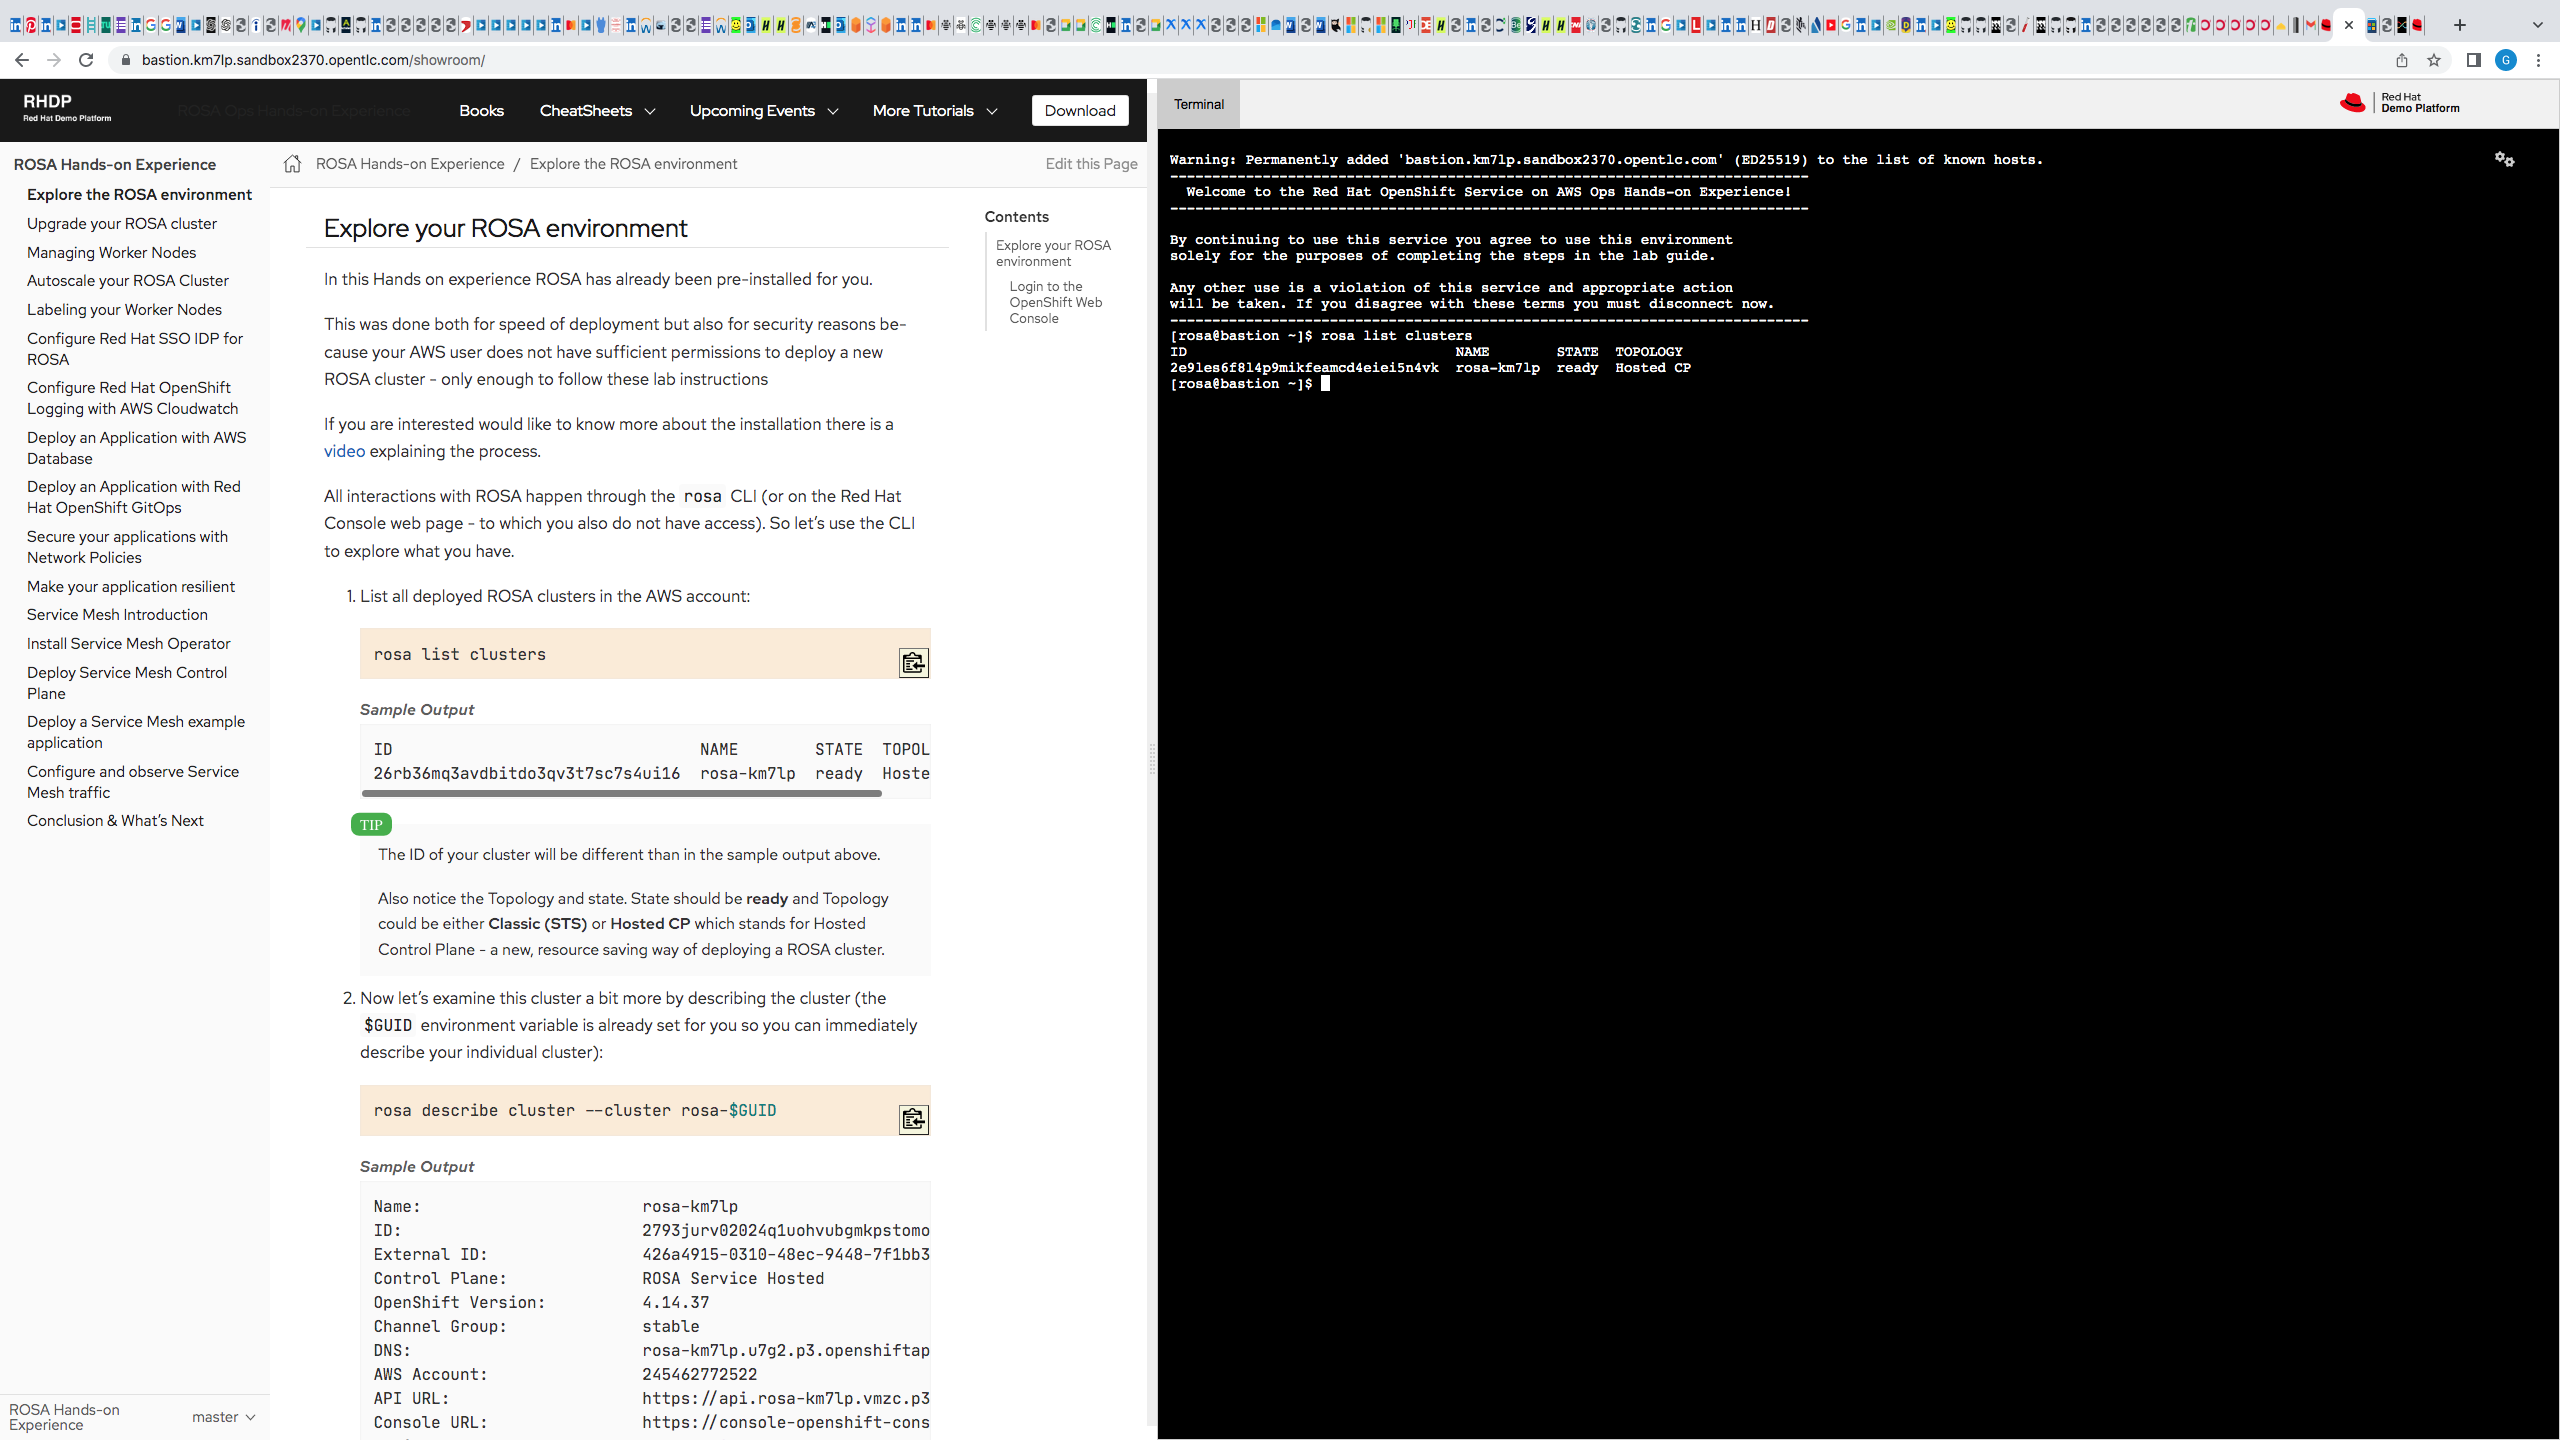
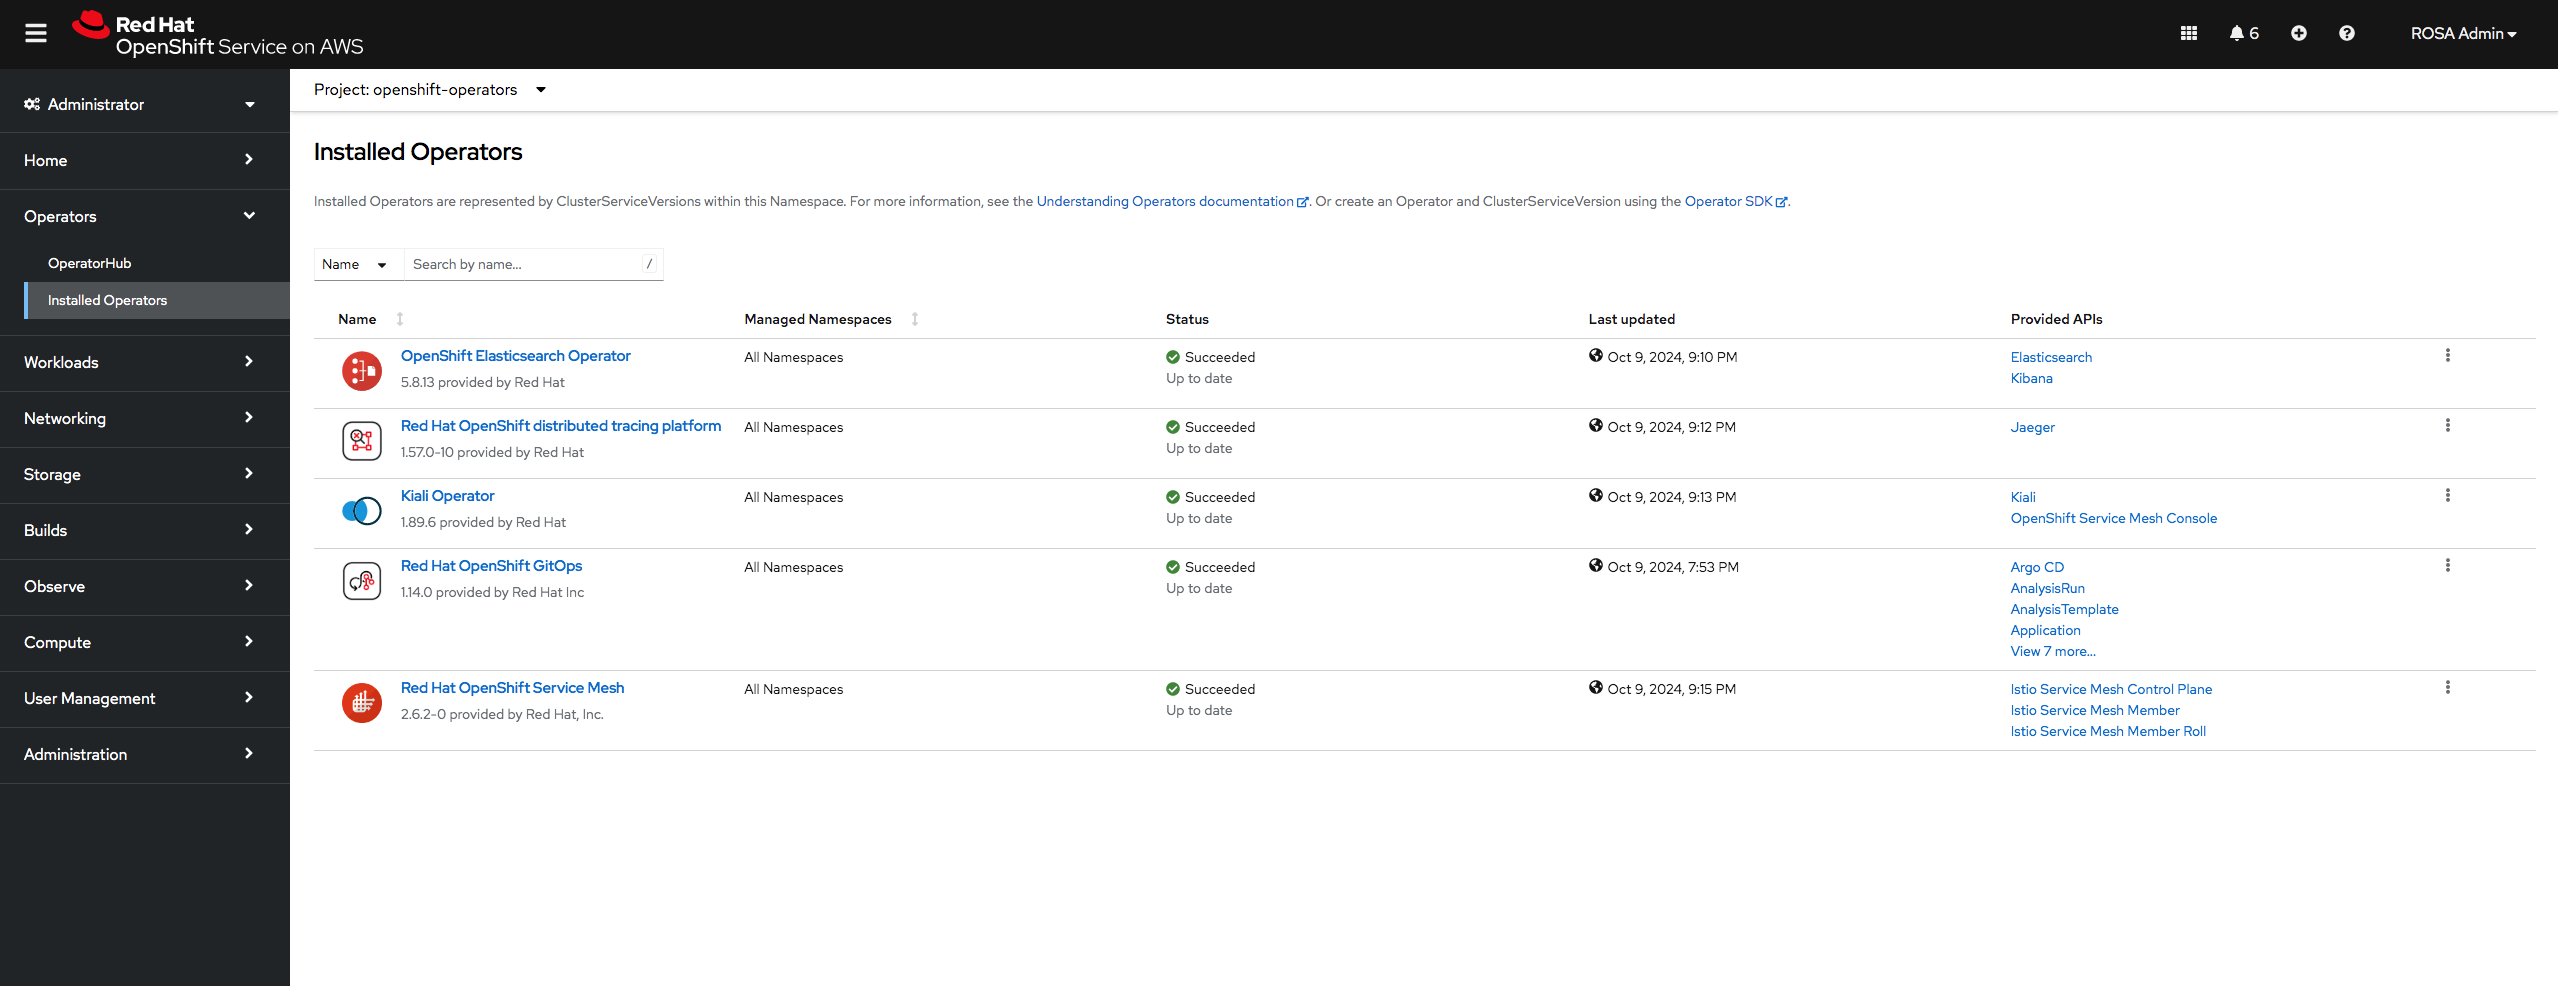
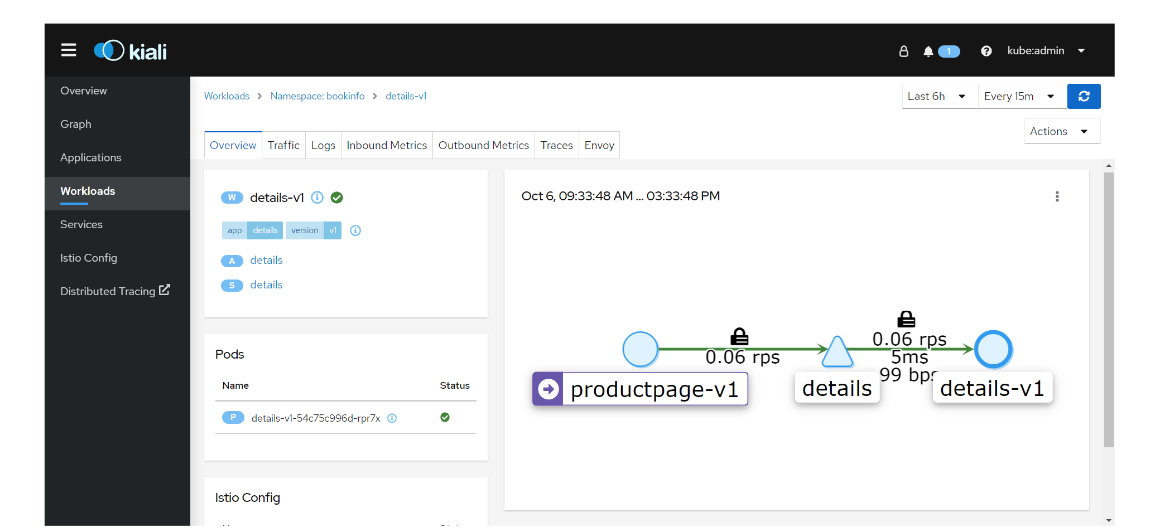
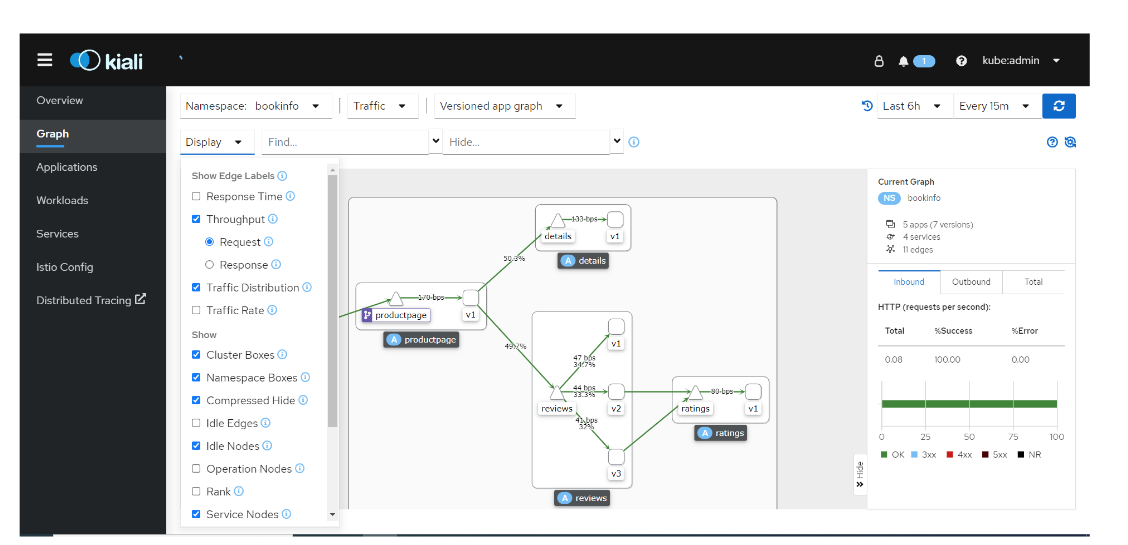
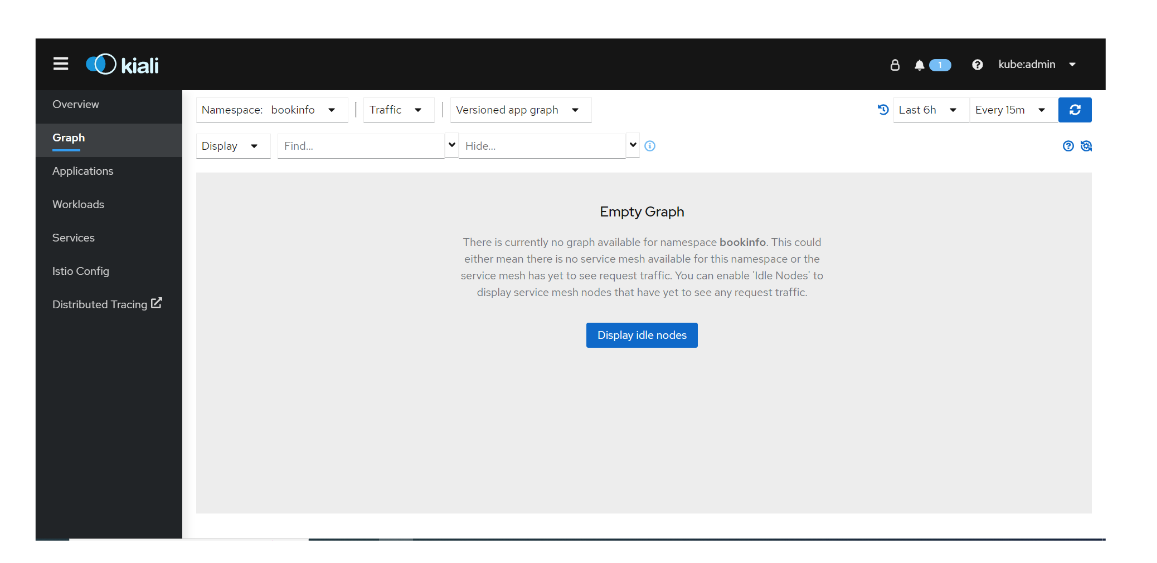
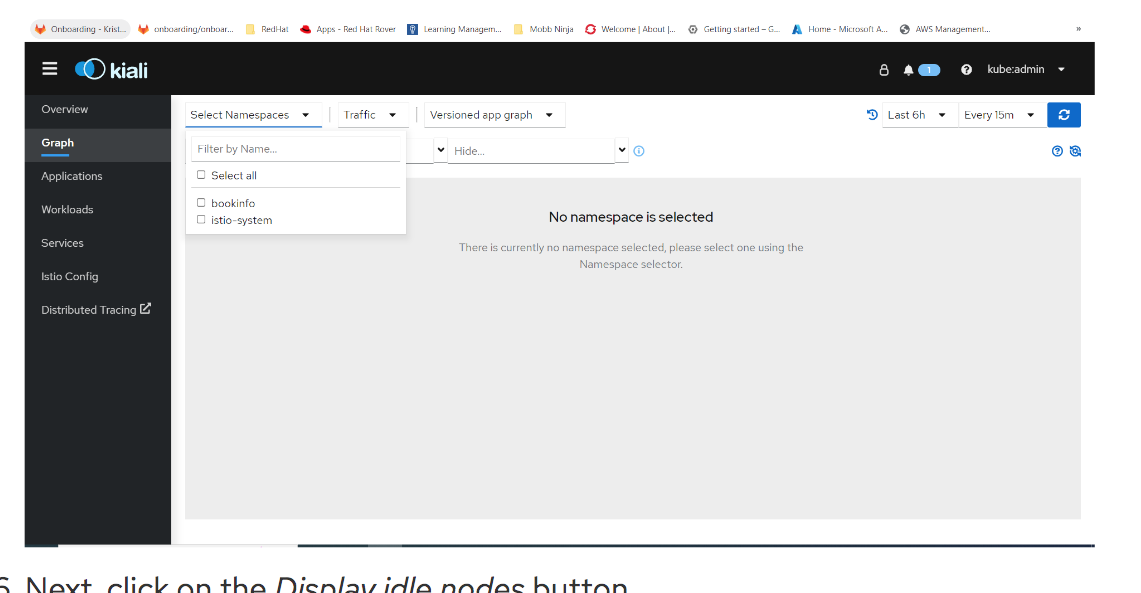
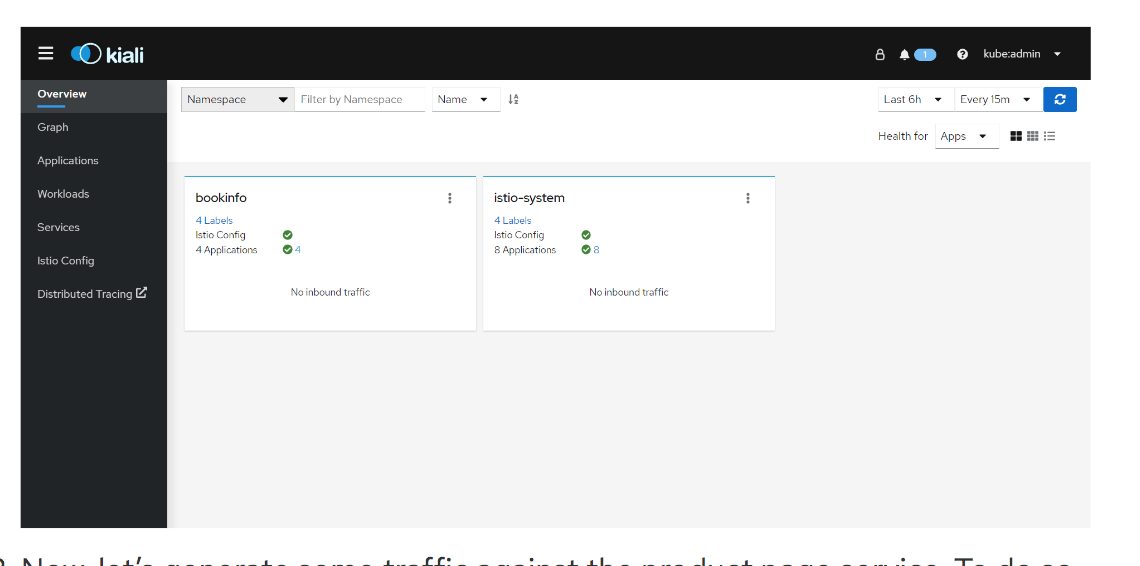
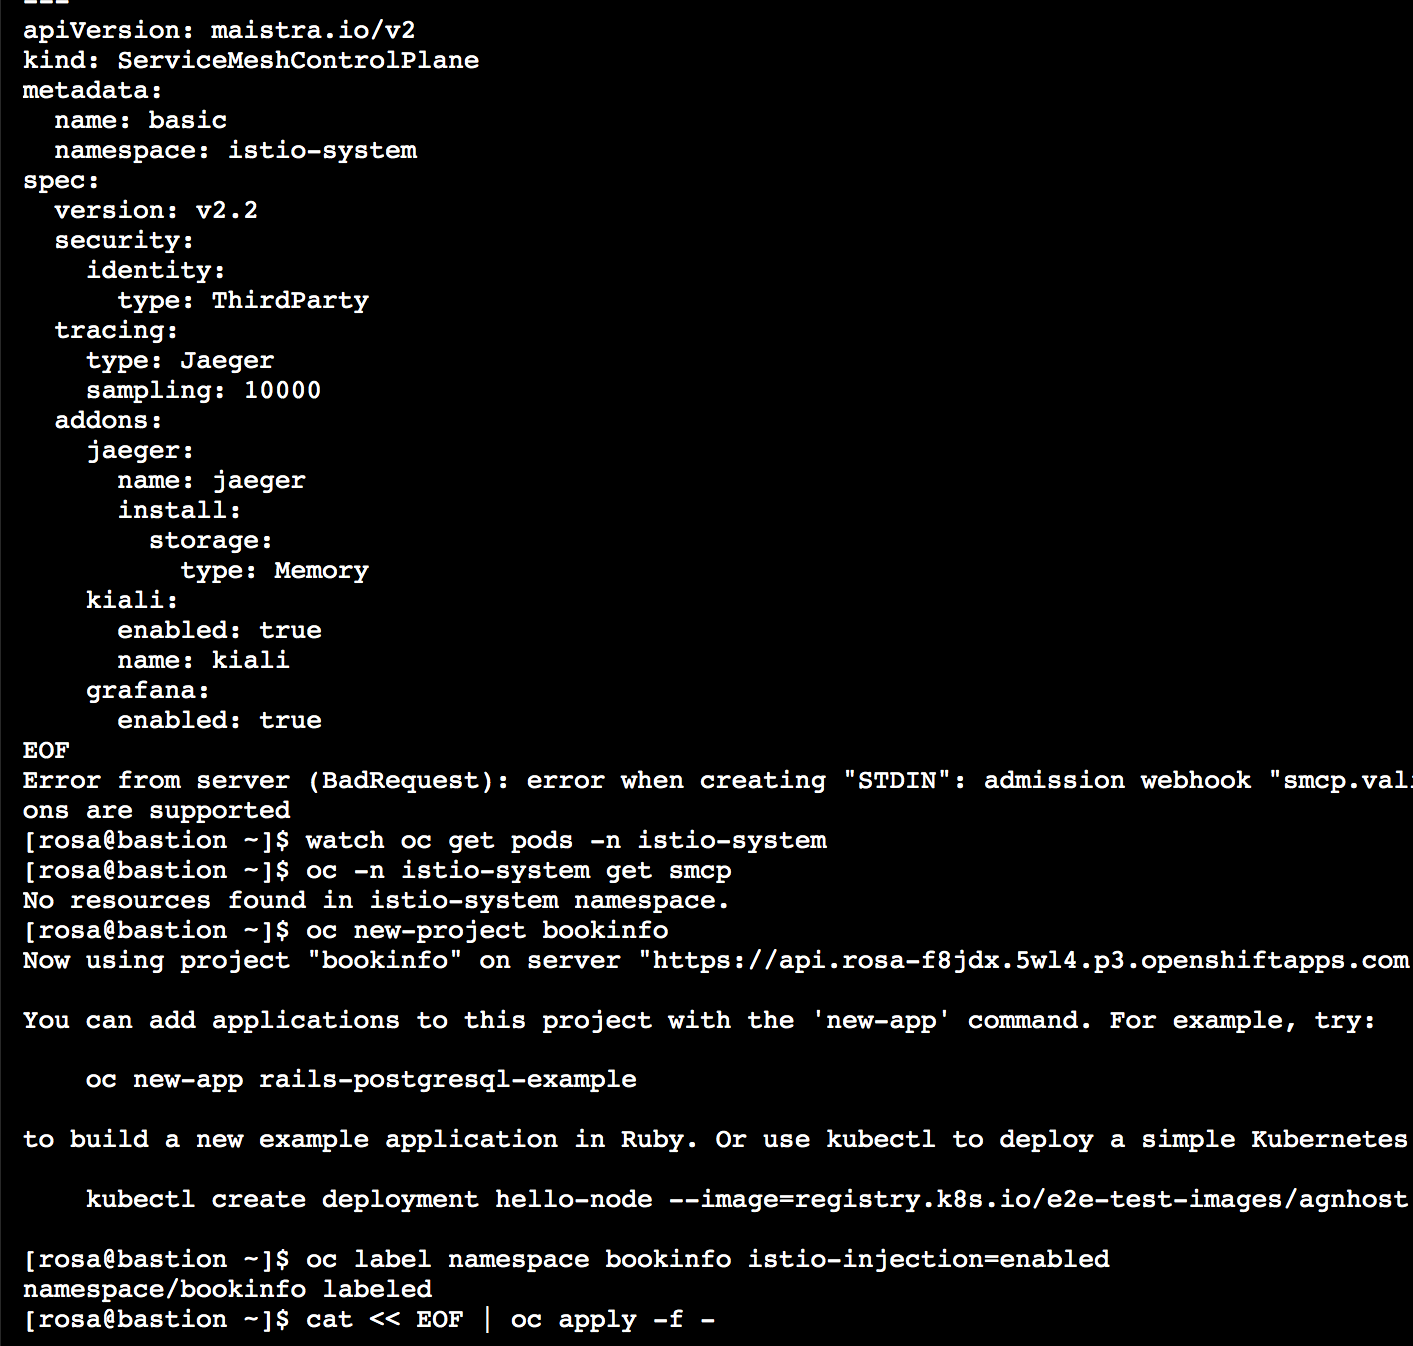
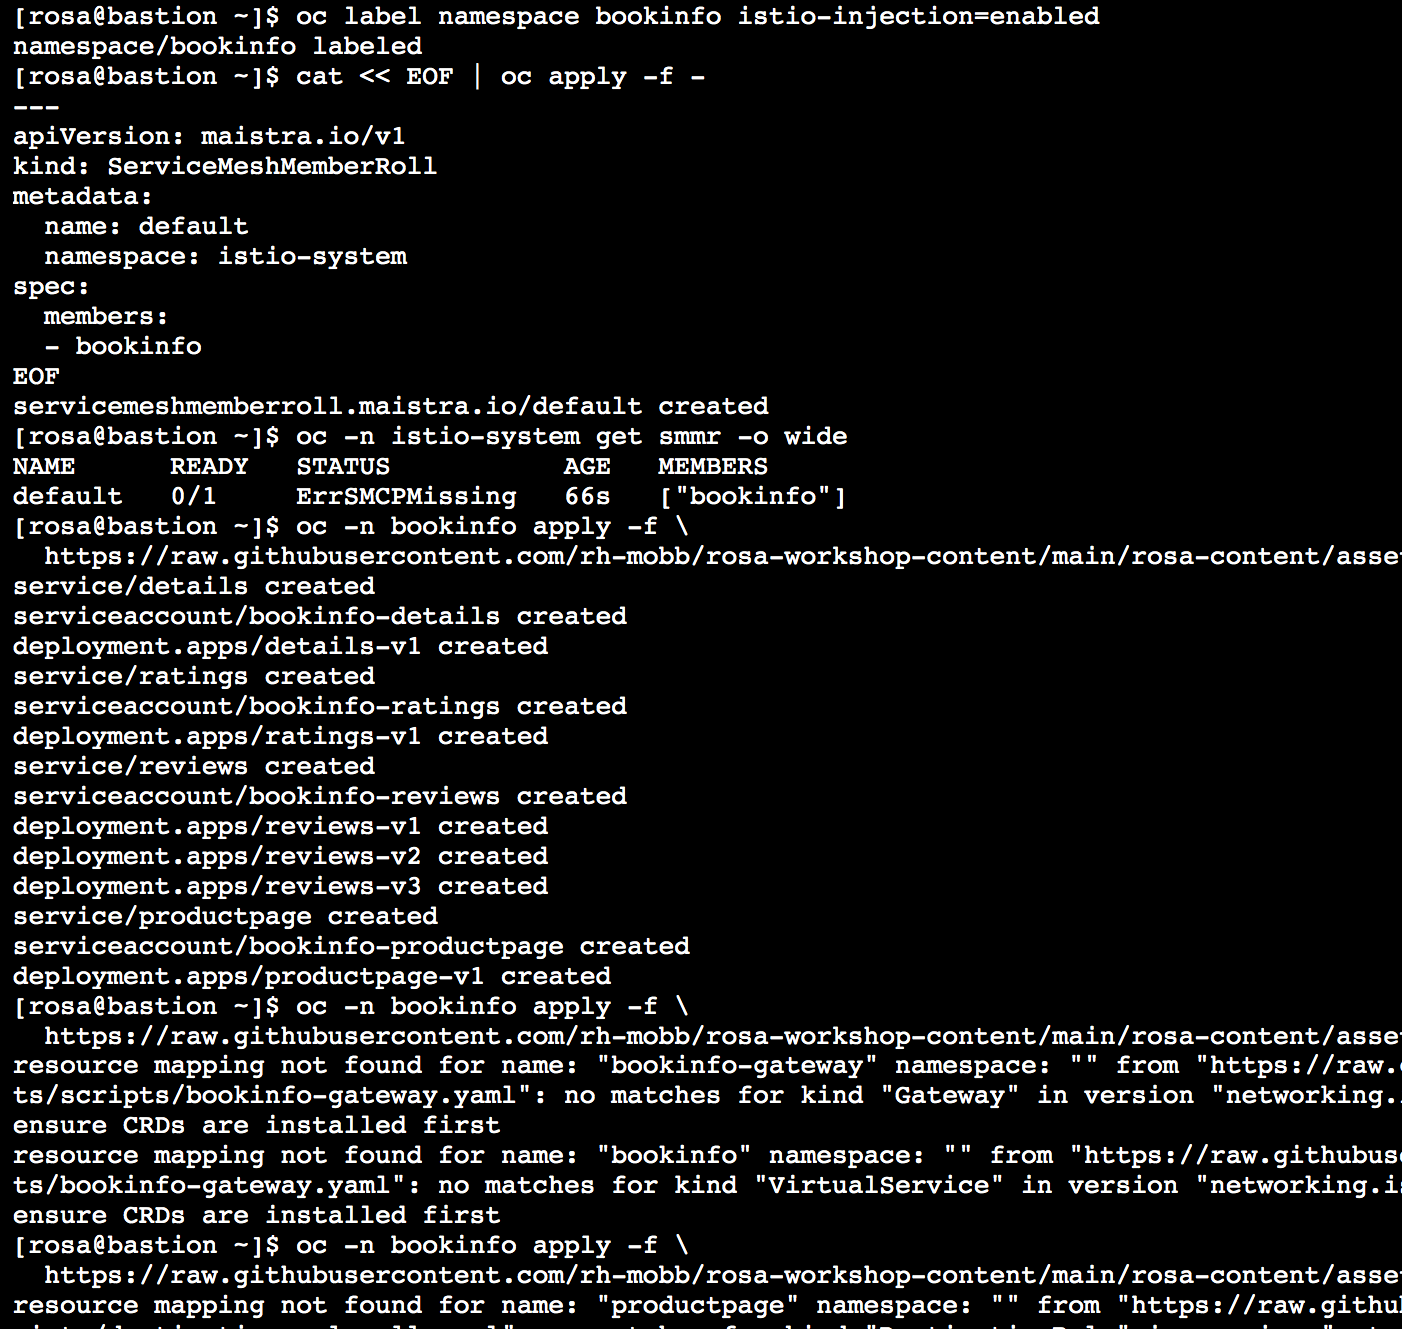
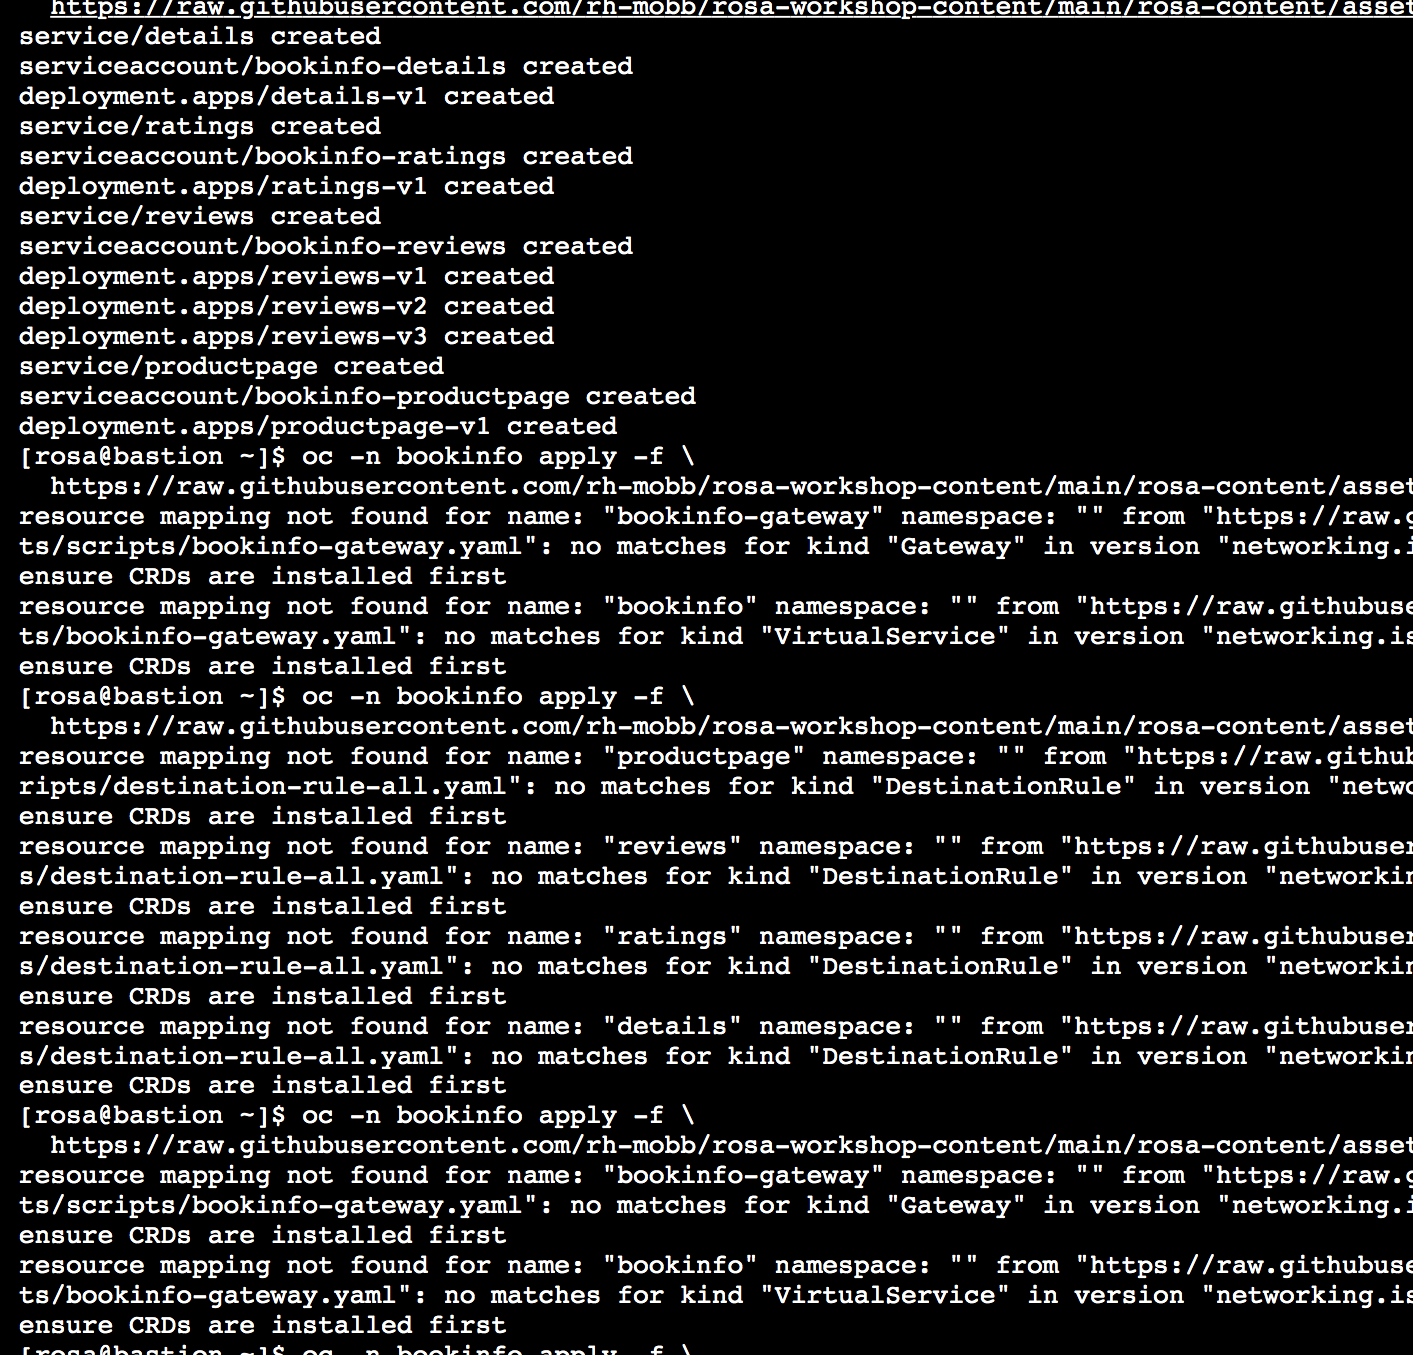
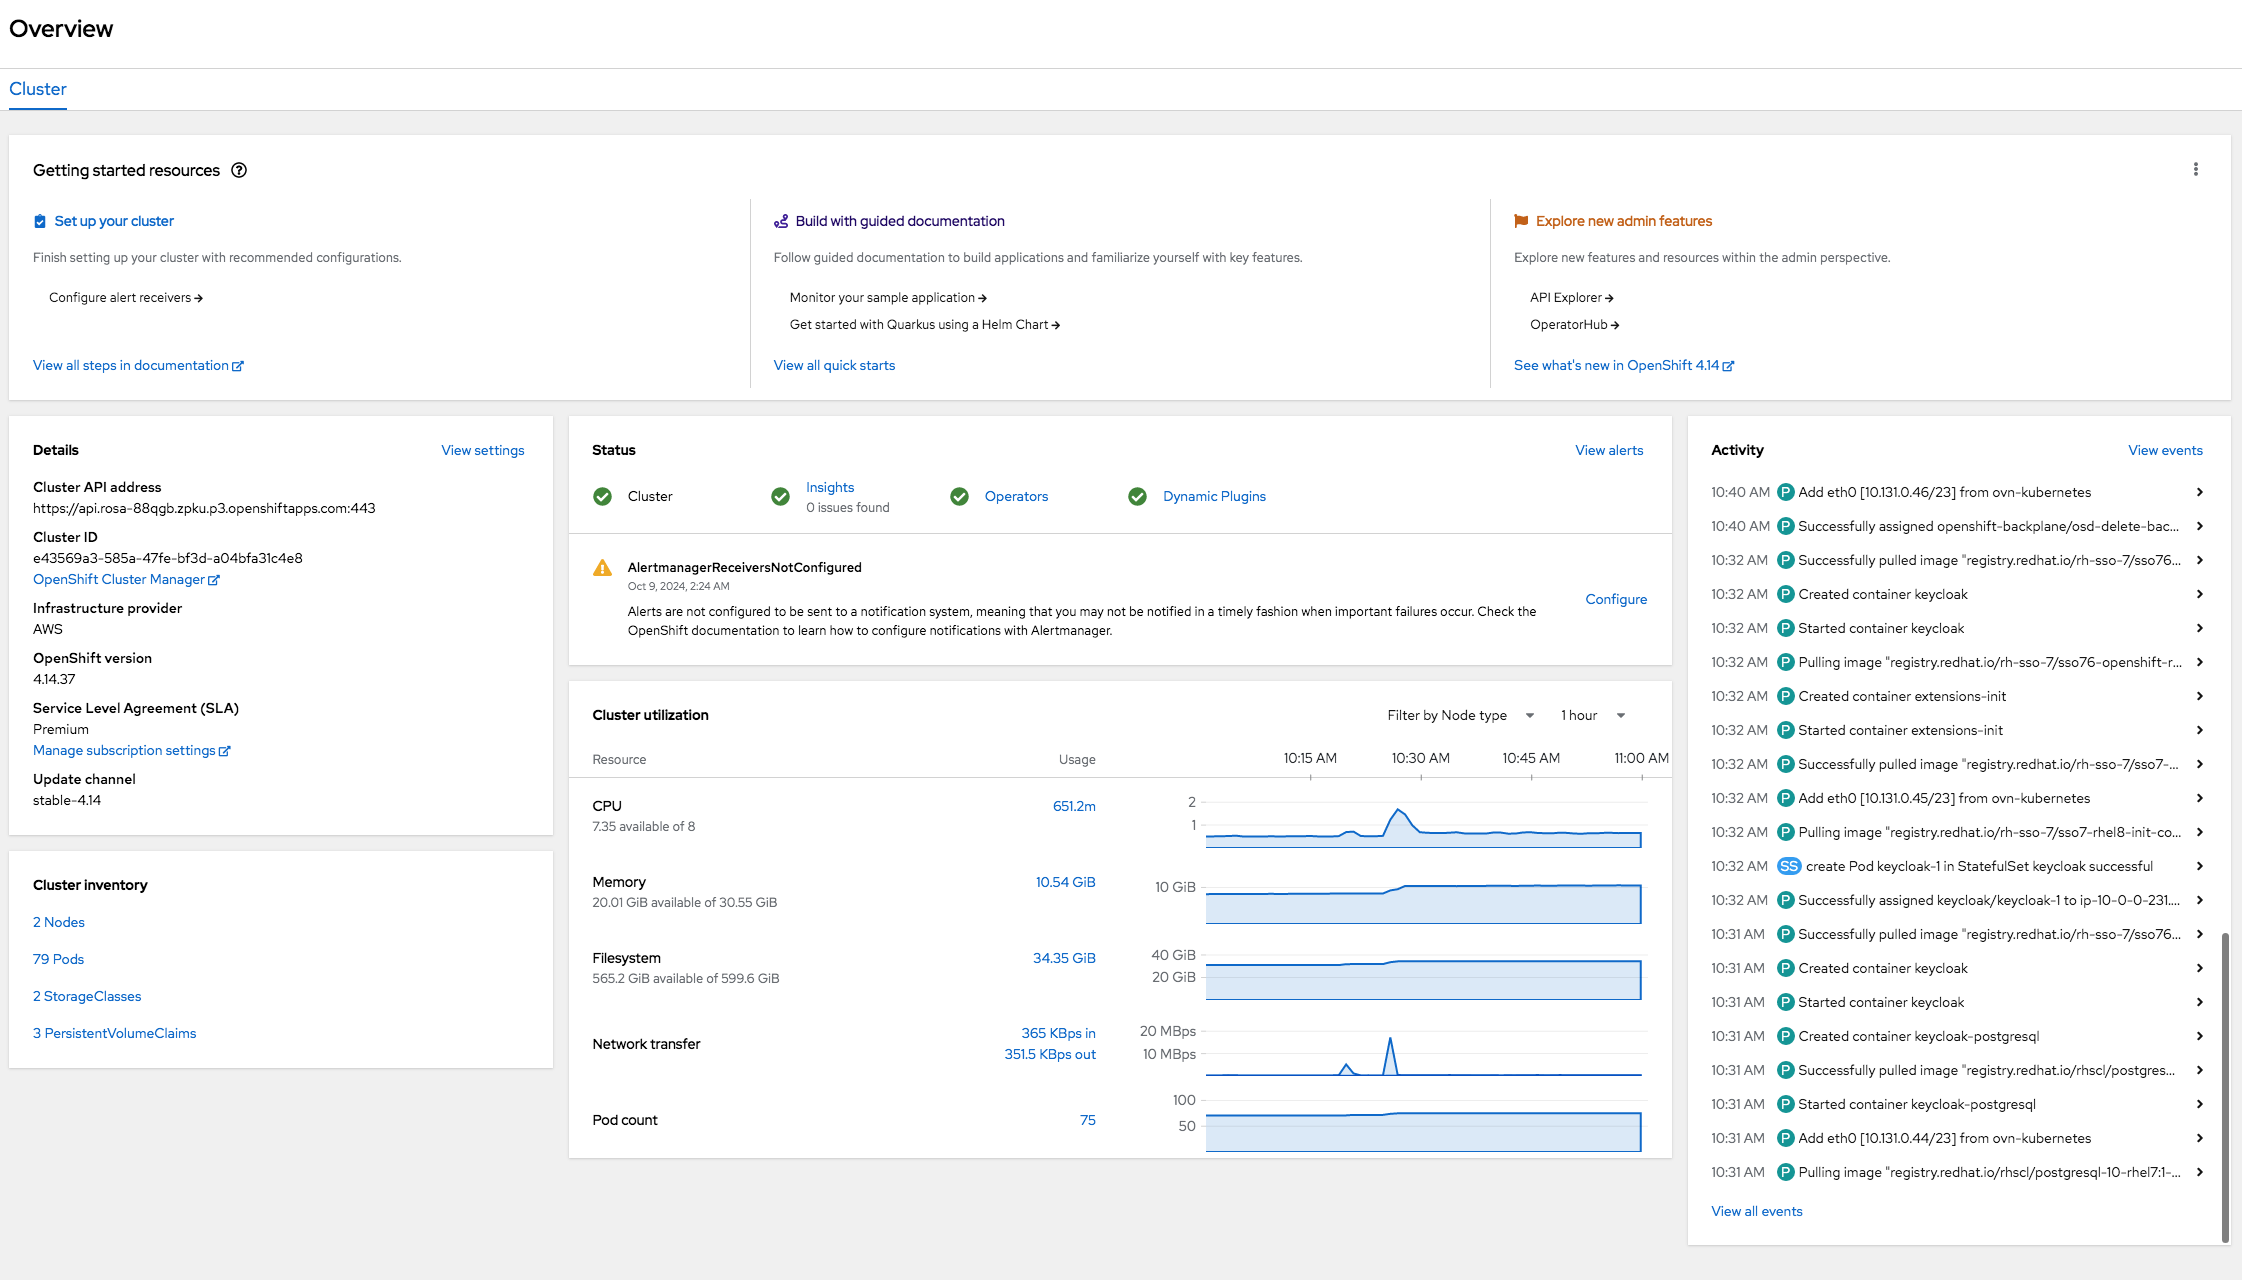
1.List all deployed ROSA clusters in the AWS account:
Warning: Permanently added ‘bastion.km7lp.sandbox2370.opentlc.com’ (ED25519) to the list of known hosts.
-—————————————————————————
Welcome to the Red Hat OpenShift Service on AWS Ops Hands-on Experience!
-—————————————————————————
By continuing to use this service you agree to use this environment
solely for the purposes of completing the steps in the lab guide.
Any other use is a violation of this service and appropriate action
will be taken. If you disagree with these terms you must disconnect now.
-—————————————————————————
[rosa@bastion ~]$ rosa list clusters
ID NAME STATE TOPOLOGY
2e9les6f8l4p9mikfeamcd4eiei5n4vk rosa-km7lp ready Hosted CP
[rosa@bastion ~]$
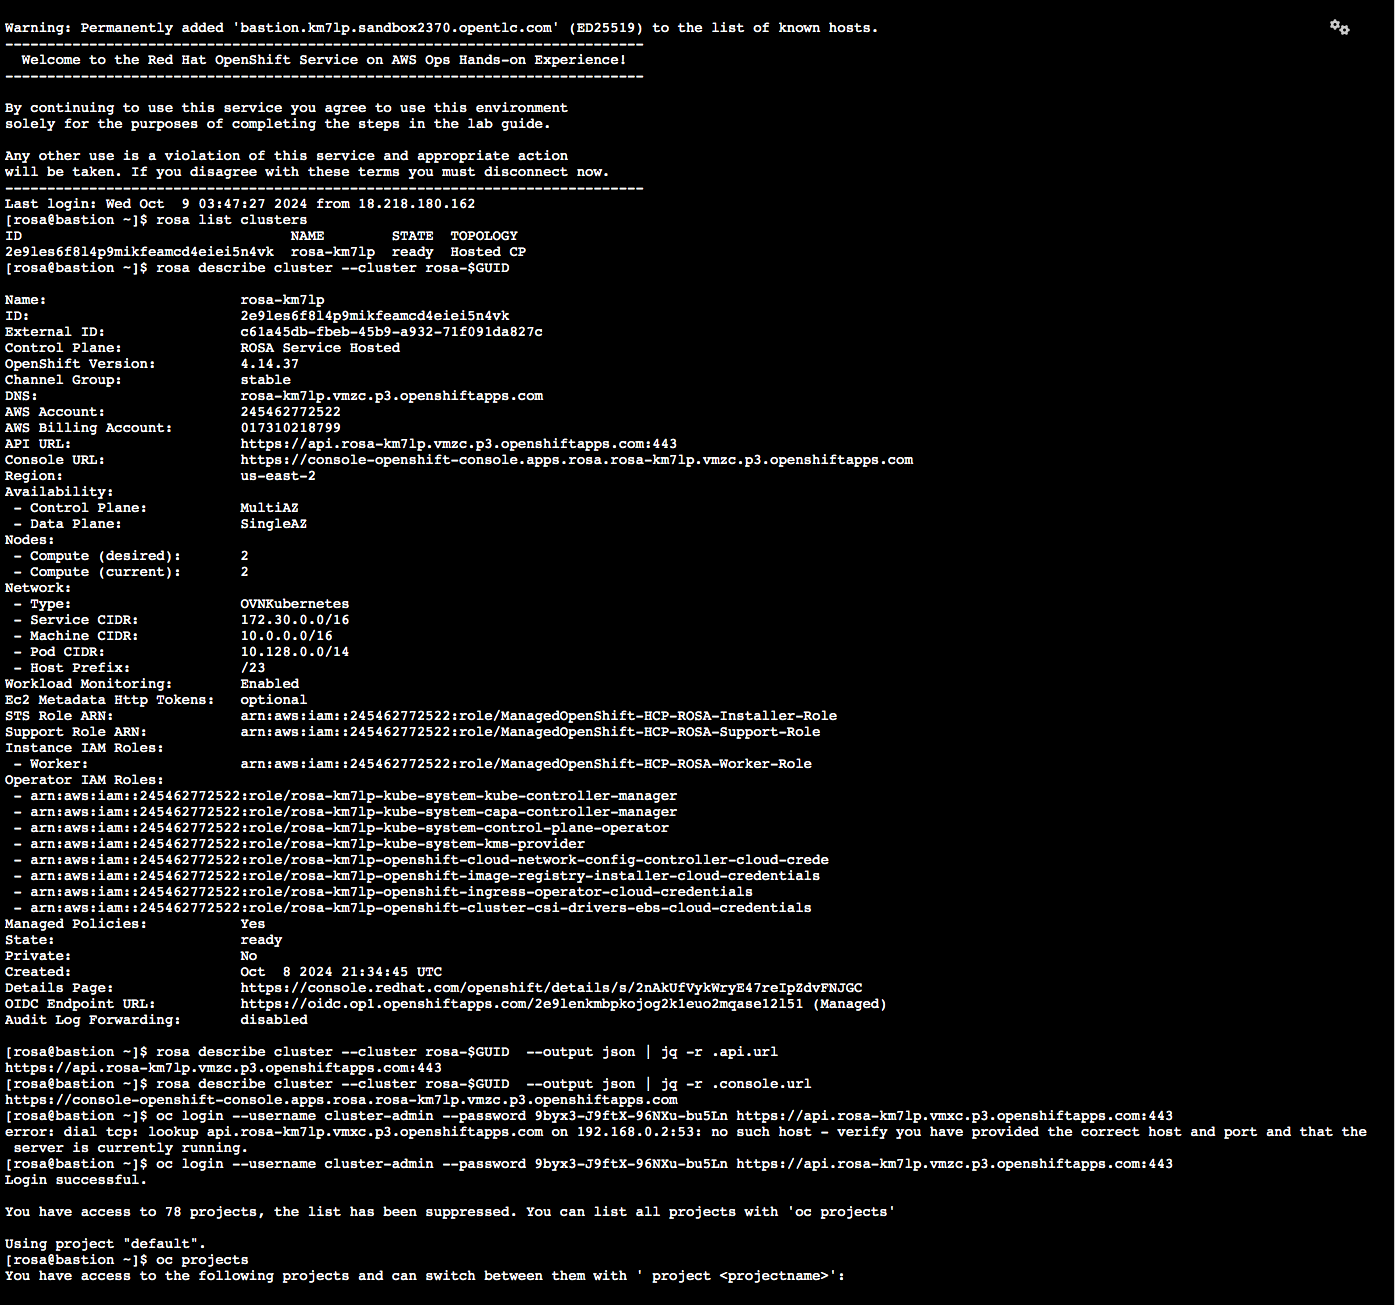
2. Now let’s examine this cluster a bit more by describing the cluster (the $GUID environment variable is already set for you so you can immediately describe your individual cluster):
[rosa@bastion ~]$ rosa describe cluster --cluster rosa-$GUID
Name: rosa-km7lp
ID: 2e9les6f8l4p9mikfeamcd4eiei5n4vk
External ID: c61a45db-fbeb-45b9-a932-71f091da827c
Control Plane: ROSA Service Hosted
OpenShift Version: 4.14.37
Channel Group: stable
DNS: rosa-km7lp.vmzc.p3.openshiftapps.com
AWS Account: 245462772522
AWS Billing Account: 017310218799
API URL: https://api.rosa-km7lp.vmzc.p3.openshiftapps.com:443
Console URL: https://console-openshift-console.apps.rosa.rosa-km7lp.vmzc.p3.openshiftapps.com
Region: us-east-2
Availability:
- Control Plane: MultiAZ
- Data Plane: SingleAZ
Nodes:
- Compute (desired): 2
- Compute (current): 2
Network:
- Type: OVNKubernetes
- Service CIDR: 172.30.0.0/16
- Machine CIDR: 10.0.0.0/16
- Pod CIDR: 10.128.0.0/14
- Host Prefix: /23
Workload Monitoring: Enabled
Ec2 Metadata Http Tokens: optional
STS Role ARN: arn:aws:iam::245462772522:role/ManagedOpenShift-HCP-ROSA-Installer-Role
Support Role ARN: arn:aws:iam::245462772522:role/ManagedOpenShift-HCP-ROSA-Support-Role
Instance IAM Roles:
- Worker: arn:aws:iam::245462772522:role/ManagedOpenShift-HCP-ROSA-Worker-Role
Operator IAM Roles:
- arn:aws:iam::245462772522:role/rosa-km7lp-kube-system-kube-controller-manager
- arn:aws:iam::245462772522:role/rosa-km7lp-kube-system-capa-controller-manager
- arn:aws:iam::245462772522:role/rosa-km7lp-kube-system-control-plane-operator
- arn:aws:iam::245462772522:role/rosa-km7lp-kube-system-kms-provider
- arn:aws:iam::245462772522:role/rosa-km7lp-openshift-cloud-network-config-controller-cloud-crede
- arn:aws:iam::245462772522:role/rosa-km7lp-openshift-image-registry-installer-cloud-credentials
- arn:aws:iam::245462772522:role/rosa-km7lp-openshift-ingress-operator-cloud-credentials
- arn:aws:iam::245462772522:role/rosa-km7lp-openshift-cluster-csi-drivers-ebs-cloud-credentials
Managed Policies: Yes
State: ready
Private: No
Created: Oct 8 2024 21:34:45 UTC
Details Page: https://console.redhat.com/openshift/details/s/2nAkUfVykWryE47reIpZdvFNJGC
OIDC Endpoint URL: https://oidc.op1.openshiftapps.com/2e9lenkmbpkojog2k1euo2mqase12l51 (Managed)
Audit Log Forwarding: disabled
[rosa@bastion ~]$
3. Get the API URL for your cluster:
[rosa@bastion ~]$ rosa describe cluster --cluster rosa-$GUID --output json | jq -r .api.url
https://api.rosa-km7lp.vmzc.p3.openshiftapps.com:443
[rosa@bastion ~]$
4. Get the OpenShift Console URL for your cluster:
[rosa@bastion ~]$ rosa describe cluster --cluster rosa-$GUID --output json | jq -r .console.url
https://console-openshift-console.apps.rosa.rosa-km7lp.vmzc.p3.openshiftapps.com
[rosa@bastion ~]$
5. A temporary admin user has already been created for you on the ROSA OpenShift cluster:
6. Now that you have the information about the Admin credentials and the API URL for your cluster you can log into your cluster:
[rosa@bastion ~]$ oc login --username cluster-admin --password 9byx3-J9ftX-96NXu-bu5Ln https://api.rosa-km7lp.vmzc.p3.openshiftapps.com:443
Login successful.
You have access to 78 projects, the list has been suppressed. You can list all projects with ‘oc projects’
Using project “default”.
Welcome! See ‘oc help’ to get started.
[rosa@bastion ~]$
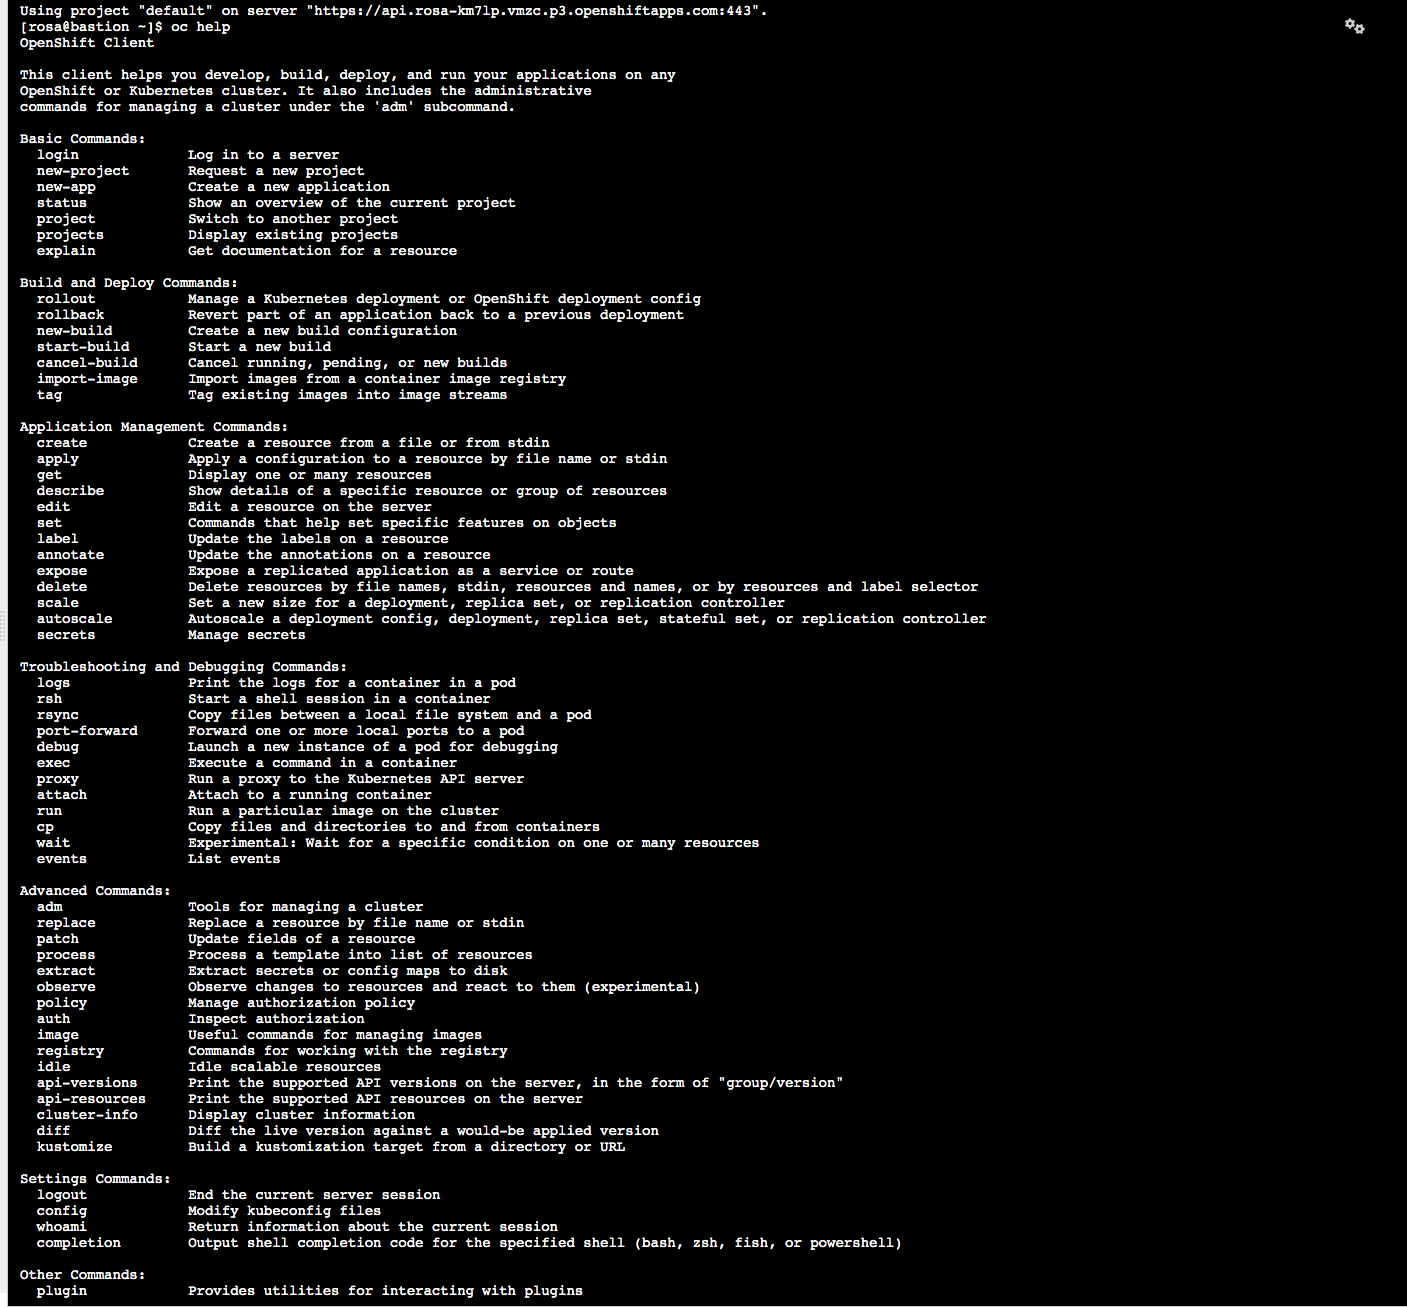
[rosa@bastion ~]$ oc help
OpenShift Client
This client helps you develop, build, deploy, and run your applications on any
OpenShift or Kubernetes cluster. It also includes the administrative
commands for managing a cluster under the ‘adm’ subcommand.
Basic Commands:
login Log in to a server
new-project Request a new project
new-app Create a new application
status Show an overview of the current project
project Switch to another project
projects Display existing projects
explain Get documentation for a resource
Build and Deploy Commands:
rollout Manage a Kubernetes deployment or OpenShift deployment config
rollback Revert part of an application back to a previous deployment
new-build Create a new build configuration
start-build Start a new build
cancel-build Cancel running, pending, or new builds
import-image Import images from a container image registry
tag Tag existing images into image streams
Application Management Commands:
create Create a resource from a file or from stdin
apply Apply a configuration to a resource by file name or stdin
get Display one or many resources
describe Show details of a specific resource or group of resources
edit Edit a resource on the server
set Commands that help set specific features on objects
label Update the labels on a resource
annotate Update the annotations on a resource
expose Expose a replicated application as a service or route
delete Delete resources by file names, stdin, resources and names, or by resources and label selector
scale Set a new size for a deployment, replica set, or replication controller
autoscale Autoscale a deployment config, deployment, replica set, stateful set, or replication controller
secrets Manage secrets
Troubleshooting and Debugging Commands:
logs Print the logs for a container in a pod
rsh Start a shell session in a container
rsync Copy files between a local file system and a pod
port-forward Forward one or more local ports to a pod
debug Launch a new instance of a pod for debugging
exec Execute a command in a container
proxy Run a proxy to the Kubernetes API server
attach Attach to a running container
run Run a particular image on the cluster
cp Copy files and directories to and from containers
wait Experimental: Wait for a specific condition on one or many resources
events List events
Advanced Commands:
adm Tools for managing a cluster
replace Replace a resource by file name or stdin
patch Update fields of a resource
process Process a template into list of resources
extract Extract secrets or config maps to disk
observe Observe changes to resources and react to them (experimental)
policy Manage authorization policy
auth Inspect authorization
image Useful commands for managing images
registry Commands for working with the registry
idle Idle scalable resources
api-versions Print the supported API versions on the server, in the form of “group/version”
api-resources Print the supported API resources on the server
cluster-info Display cluster information
diff Diff the live version against a would-be applied version
kustomize Build a kustomization target from a directory or URL
Settings Commands:
logout End the current server session
config Modify kubeconfig files
whoami Return information about the current session
completion Output shell completion code for the specified shell (bash, zsh, fish, or powershell)
Other Commands:
plugin Provides utilities for interacting with plugins
version Print the client and server version information
Usage:
oc [flags] [options]
Use “oc <command> --help” for more information about a given command.
Use “oc options” for a list of global command-line options (applies to all commands).
[rosa@bastion ~]$
7.To check that you are logged in as the admin user you can run oc whoami
rosa@bastion ~]$ oc whoami
cluster-admin
[rosa@bastion ~]$
8. You can now use the cluster as an admin user, which would suffice for this hands-on experience. Though, for any other use, it is highly recommended to set up an IdP. Which is why you will set up external authentication in the next module.
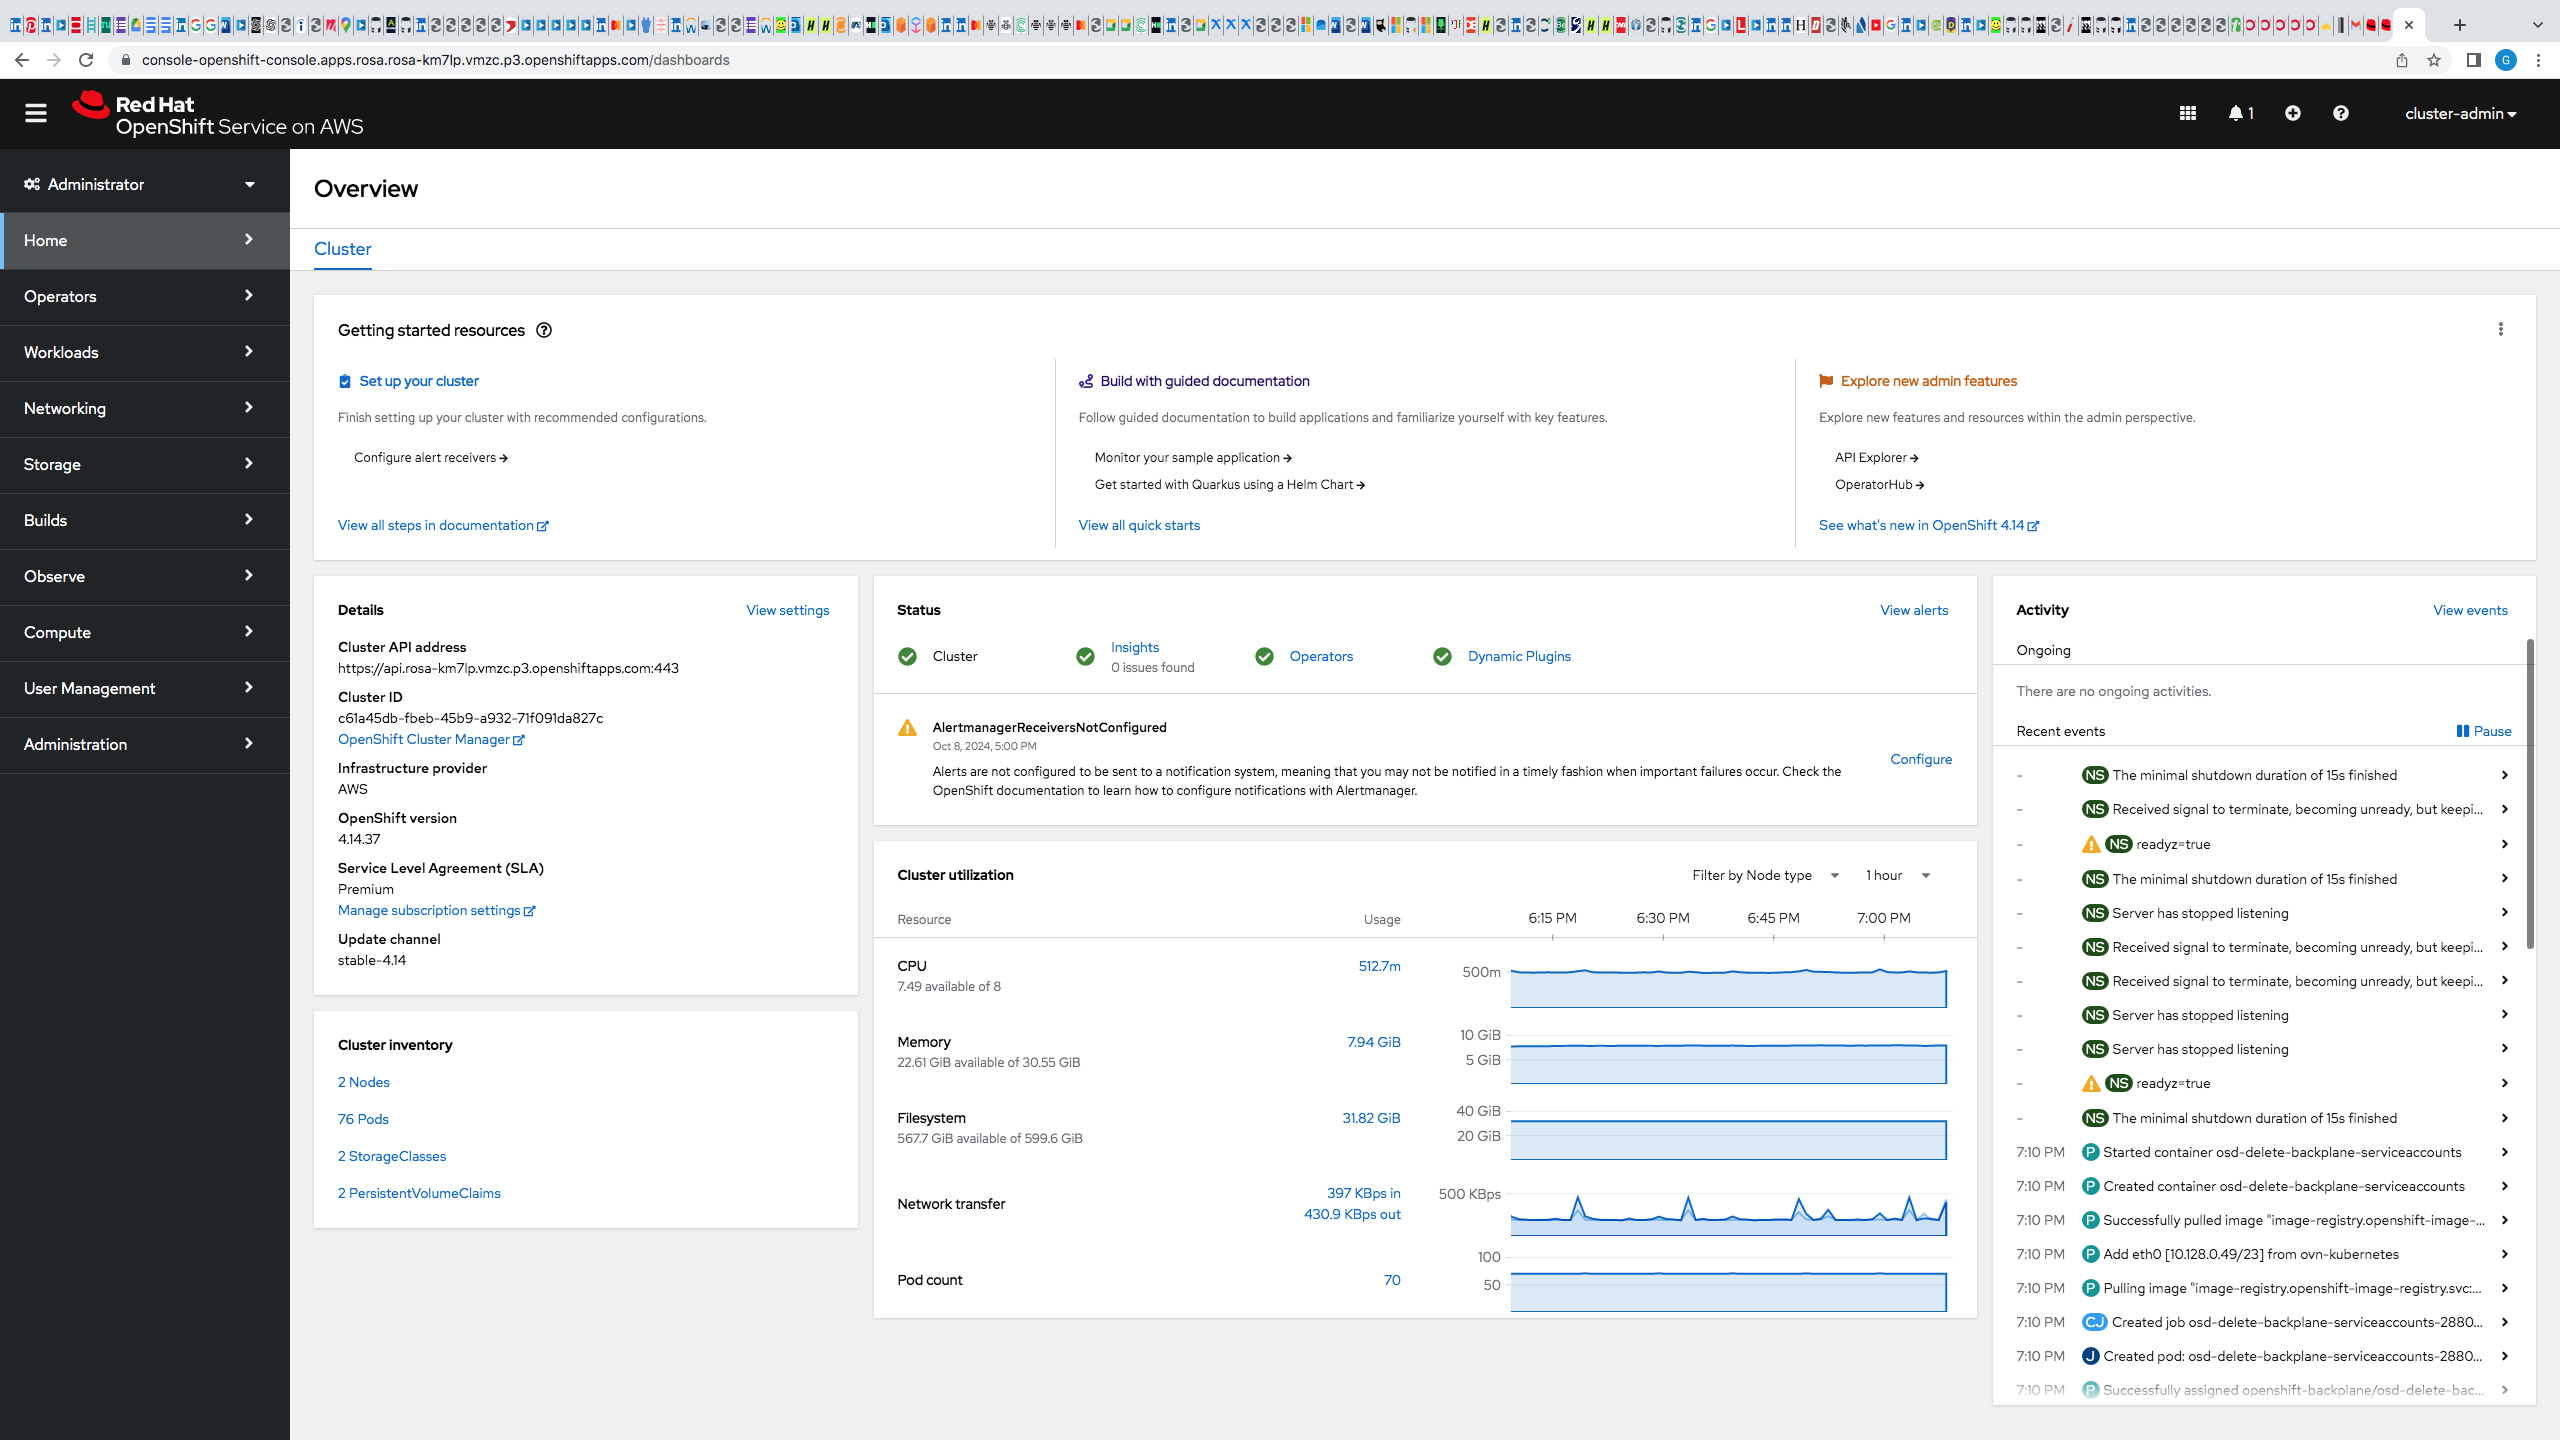
Login to the OpenShift Web Console
Next, let’s log in to the OpenShift Web Console. Remember that you used the rosa command before to retrieve the console URL.
However once you are logged into the cluster you can also use the OpenShift command to find out the console URL.
- Grab your cluster’s web console URL. To do so, run the following command:
rosa@bastion ~]$ oc whoami --show-console
https://console-openshift-console.apps.rosa.rosa-km7lp.vmzc.p3.openshiftapps.com
[rosa@bastion ~]$
-
Next, open the printed URL in a web browser.
-
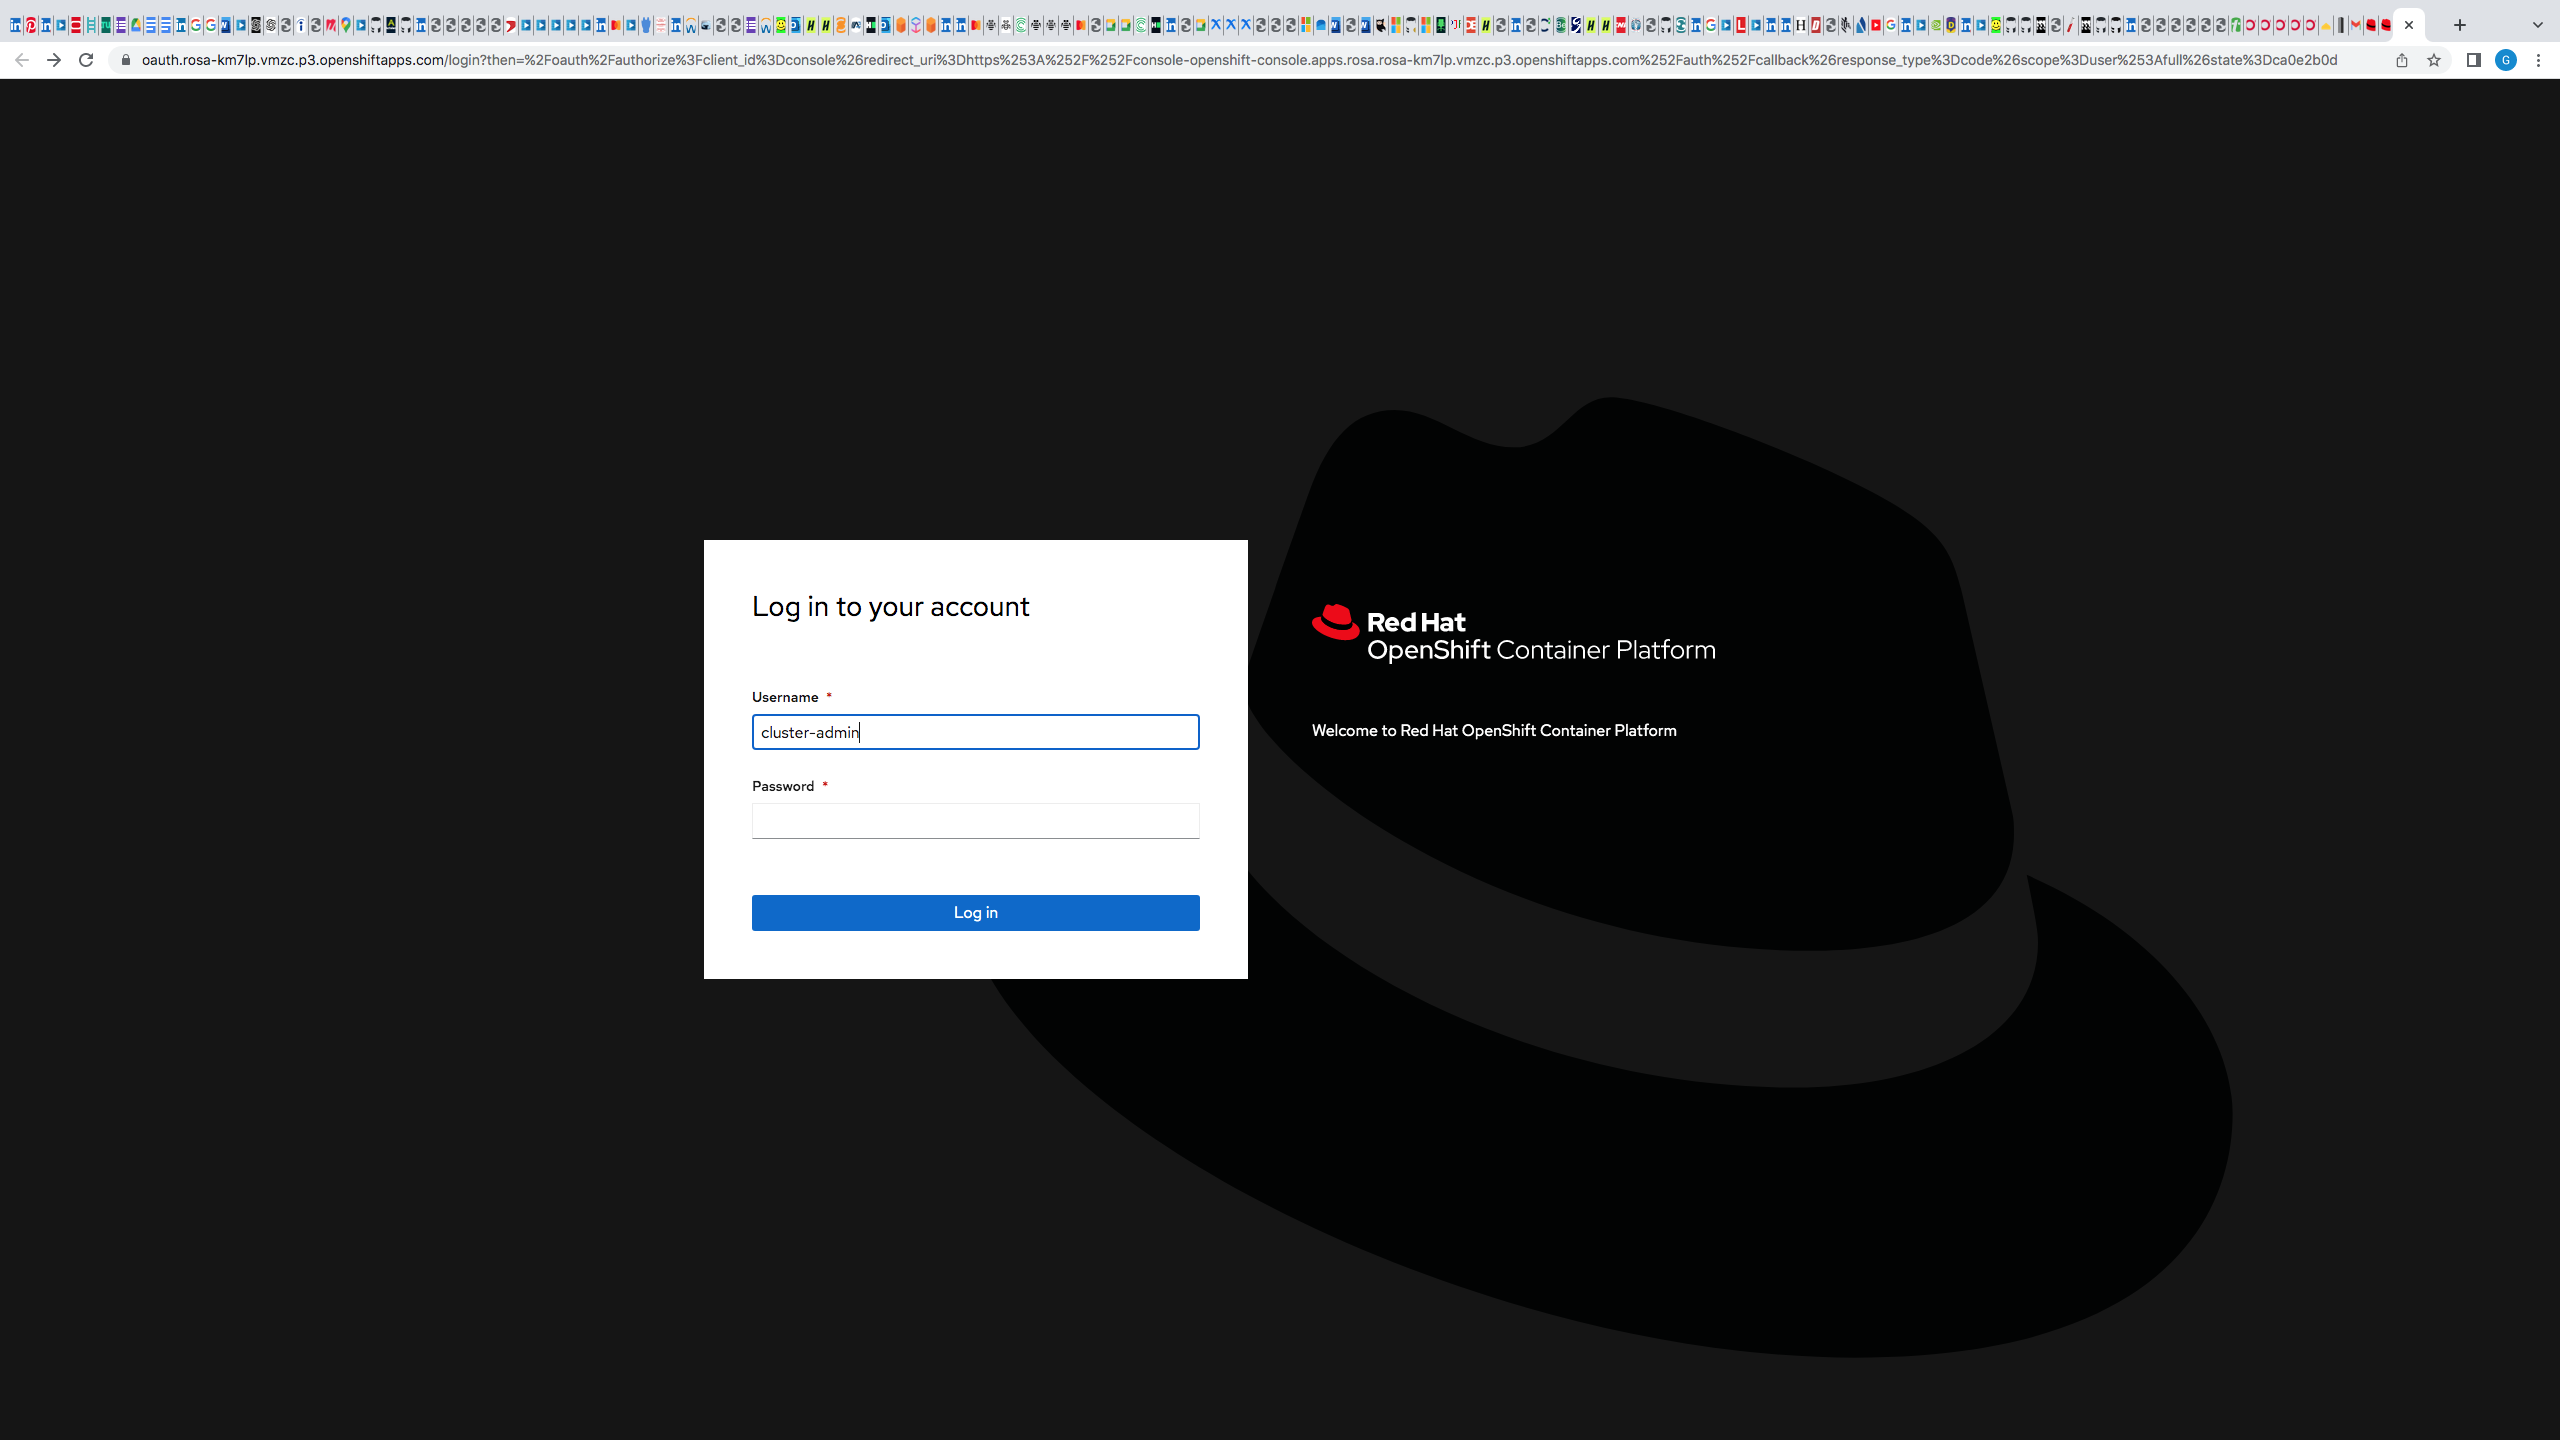
Enter the credentials from the previous section:
- Username: cluster-admin
- Password: 9byx3-J9ftX-96NXu-bu5Ln
If you don’t see an error, congratulations! You’re now logged into the cluster and ready to move on to the workshop content.
Upgrade your ROSA Cluster
1. Upgrade using the rosa command line interface
1.1 Remind yourself of the version of your cluster:
[rosa@bastion ~]$ oc version
Client Version: 4.14.37
Kustomize Version: v5.0.1
Server Version: 4.14.37
Kubernetes Version: v1.27.16+03a907c
[rosa@bastion ~]$
1.2. List available versions for the ROSA upgrade (depending on when you run this command there may not be any upgrades available):
[rosa@bastion ~]$ rosa list upgrades -c rosa-$GUID
VERSION NOTES
4.15.34 recommended
4.15.33
[rosa@bastion ~]$
1.3. You can also use the OpenShift CLI to list available versions - but for ROSA it’s preferred to use the rosa cli.:
[rosa@bastion ~]$ oc adm upgrade
Cluster version is 4.14.37
Upstream is unset, so the cluster will use an appropriate default.
Channel: stable-4.14 (available channels: candidate-4.14, candidate-4.15, eus-4.14, eus-4.16, fast-4.14, fast-4.15, stable-4.14, stable-4.15)
No updates available. You may still upgrade to a specific release image with --to-image or wait for new updates to be available.
[rosa@bastion ~]$
1.4.Set a variable for the cluster version you want to upgrade to. For the example above this would be:
[rosa@bastion ~]$ export CLUSTER_VERSION=”4.15.33”
[rosa@bastion ~]$
1.5.You probably don’t want to actually upgrade the cluster right now since that may disrupt your lab environment. Luckily it is possible to schedule an update at a less inconvenient time.
Get a date and time that is 24 hours from now:
[rosa@bastion ~]$ export CLUSTER_VERSION=”4.15.33”
[rosa@bastion ~]$ export UPGRADE_DATE=$(date -d “+24 hours” ‘+%Y-%m-%d’)
export UPGRADE_TIME=$(date ‘+%H:%M’)
echo Date: $UPGRADE_DATE, Time: $UPGRADE_TIME
Date: 2024-10-10, Time: 05:04
[rosa@bastion ~]$
1.6. Now schedule the cluster upgrade to the latest version that is shown in the list of available versions:
[rosa@bastion ~]$ rosa upgrade cluster \
-c rosa-$GUID \
--version $CLUSTER_VERSION \
--mode auto \
--schedule-date $UPGRADE_DATE \
--schedule-time $UPGRADE_TIME \
--control-plane \
--yes
I: Ensuring account and operator role policies for cluster ‘2e9les6f8l4p9mikfeamcd4eiei5n4vk’ are compatible with upgrade.
I: Account roles with the prefix ‘ManagedOpenShift’ have attached managed policies.
I: Cluster ‘rosa-km7lp’ operator roles have attached managed policies. An upgrade isn’t needed
I: Account and operator roles for cluster ‘rosa-km7lp’ are compatible with upgrade
I: Upgrade successfully scheduled for cluster ‘rosa-km7lp’
[rosa@bastion ~]$
Managing Worker Nodes
##
1. Scaling worker nodes
1.1. Via the CLI
1.1.1 First, let’s see what MachinePools already exist in our cluster. To
do so, run the following command:
sa@bastion ~]$ rosa list machinepools -c rosa-$GUID
ID AUTOSCALING REPLICAS INSTANCE TYPE LABELS TAINTS AVAILABILITY ZONE SUBNET VERSION AUTOREPAIR
workers No 2/2 m6a.xlarge us-east-2a subnet-0f9639acc5cd103d9 4.14.37 Yes
[rosa@bastion ~]$
1.1.2 Now, let’s scale up our MachinePool from two to three machines. To do so, run the following command:
[rosa@bastion ~]$ rosa update machinepool -c rosa-$GUID --replicas 3 workers
I: Updated machine pool ‘workers’ on hosted cluster ‘rosa-km7lp’
[rosa@bastion ~]$
1.1.3 It will take about 5 minutes for the additional worker node to be available. You can either continue to the next step - or if you want to see the worker node just run the following command until you see three worker nodes (then hit CTRL+c to abort the watch):
osa@bastion ~]$ watch -n 10 oc get nodes
[rosa@bastion ~]$
1.1.4. Double check your machine pool to validate that it also is now showing 3 replicas:
[rosa@bastion ~]$ rosa list machinepools -c rosa-$GUID
ID AUTOSCALING REPLICAS INSTANCE TYPE LABELS TAINTS AVAILABILITY ZONE SUBNET VERSION AUTOREPAIR
workers No 3/3 m6a.xlarge us-east-2a subnet-0f9639acc5cd103d9 4.14.37 Yes
[rosa@bastion ~]$
1.1.5 We don’t actually need this extra worker node so let’s scale the cluster back down to a total of 2 worker nodes by scaling down the Machine Pool.
[rosa@bastion ~]$ rosa update machinepool -c rosa-$GUID --replicas 2 workers
I: Updated machine pool ‘workers’ on hosted cluster ‘rosa-km7lp’
[rosa@bastion ~]$
If you want to wait until the additional node has been removed repeat the previous command (oc get nodes) until you see just two worker nodes again.
0-0-0-100.us-east-2.compute.internal Ready worker 23m v1.27.16+03a907c
ip-10-0-0-249.us-east-2.compute.internal NotReady,SchedulingDisabled worker 8h v1.27.16+03a907c
ip-10-0-0-43.us-east-2.compute.internal Ready worker 8h v1.27.16+03a907c
[rosa@bastion ~]$
AutoScale Your ROSA Cluster
##
1. Enable Autoscaling on the Default MachinePool
You can enable autoscaling on your cluster using either the rosa CLI or the Red Hat OpenShift Cluster Manager. Because you do not have credentials for the Red Hat OpenShift Cluster Manager you will be using the CLI in this lab. There are instructions at the end of the lab showing how to do it in the console.
You will need to set up autoscaling for each MachinePool in the cluster separately.
1.1 To identify the machine pool IDs in a cluster, enter the following command:
sa@bastion ~]$ rosa list machinepools --cluster rosa-$GUID
ID AUTOSCALING REPLICAS INSTANCE TYPE LABELS TAINTS AVAILABILITY ZONE SUBNET VERSION AUTOREPAIR
workers No 2/2 m6a.xlarge
The ID of the MachinePool that you want to add autoscaling to is workers.
1.2. To enable autoscaling on a machine pool, enter the following command:
[rosa@bastion ~]$ rosa edit machinepool --cluster rosa-$GUID workers --enable-autoscaling --min-replicas=2 --max-replicas=4
I: Updated machine pool ‘workers’ on hosted cluster ‘rosa-km7lp’
[rosa@bastion ~]$
2. Test the Cluster Autoscaler
Now let’s test the cluster autoscaler and see it in action. To do so, we’ll deploy a job with a load that this cluster cannot handle. This should force the cluster to scale to handle the load.
2.1. First, let’s create a namespace (also known as a project in OpenShift). To do so, run the following command:
[rosa@bastion ~]$ oc new-project autoscale-ex
Now using project “autoscale-ex” on server “https://api.rosa-km7lp.vmzc.p3.openshiftapps.com:443”.
You can add applications to this project with the ‘new-app’ command. For example, try:
oc new-app rails-postgresql-example
to build a new example application in Ruby. Or use kubectl to deploy a simple Kubernetes application:
kubectl create deployment hello-node \--image=registry.k8s.io/e2e-test-images/agnhost:2.43 \-- /agnhost serve-hostname
[rosa@bastion ~]$
2.2. Next, let’s deploy our job that will exhaust the cluster’s resources and cause it to scale more worker nodes. To do so, run the following command:
[rosa@bastion ~]$ cat << EOF | oc apply -f -
-–
apiVersion: batch/v1
kind: Job
metadata:
name: maxscale
namespace: autoscale-ex
spec:
template:
spec:
containers:
- name: work
image: busybox
command: [“sleep”, “300”]
resources:
requests:
memory: 500Mi
cpu: 500m
securityContext:
allowPrivilegeEscalation: false
capabilities:
drop:
- ALL
restartPolicy: Never
backoffLimit: 4
completions: 50
parallelism: 50
EOF
job.batch/maxscale created
2.3. After a few seconds, run the following to see what pods have been created.
[rosa@bastion ~]$ oc -n autoscale-ex get pods
NAME READY STATUS RESTARTS AGE
maxscale-2dl29 0/1 Pending 0 2m16s
maxscale-2jgph 1/1 Running 0 2m16s
maxscale-2xcdb 1/1 Running 0 2m16s
maxscale-42k7k 0/1 Pending 0 2m16s
maxscale-47rlx 0/1 Pending 0 2m16s
maxscale-4zq5n 1/1 Running 0 2m16s
maxscale-5ft69 0/1 Pending 0 2m16s
maxscale-68xws 0/1 Pending 0 2m16s
maxscale-6dxwj 0/1 Pending 0 2m16s
maxscale-78m54 0/1 Pending 0 2m16s
maxscale-7gfsk 0/1 Pending 0 2m16s
maxscale-b4gtk 0/1 Pending 0 2m16s
maxscale-b5kv4 1/1 Running 0 2m16s
maxscale-ccjj5 0/1 Pending 0 2m16s
maxscale-cw859 0/1 Pending 0 2m16s
maxscale-d27ws 0/1 Pending 0 2m16s
maxscale-dxpwc 0/1 Pending 0 2m16s
maxscale-dzj67 0/1 Pending 0 2m16s
maxscale-fmzrc 0/1 Pending 0 2m16s
maxscale-fpvsq 0/1 Pending 0 2m16s
maxscale-fv8bp 0/1 Pending 0 2m16s
maxscale-hdm67 0/1 Pending 0 2m16s
maxscale-hjrft 1/1 Running 0 2m16s
maxscale-hnzdj 0/1 Pending 0 2m16s
maxscale-k8dhc 0/1 Pending 0 2m16s
maxscale-ksrvk 1/1 Running 0 2m16s
maxscale-kzxqr 1/1 Running 0 2m16s
maxscale-lp6hs 0/1 Pending 0 2m16s
maxscale-lv4lm 0/1 Pending 0 2m16s
maxscale-mlw2j 0/1 Pending 0 2m16s
maxscale-mpx5x 0/1 Pending 0 2m16s
maxscale-mr4lf 0/1 Pending 0 2m16s
maxscale-n28m5 0/1 Pending 0 2m16s
maxscale-nllqg 0/1 Pending 0 2m16s
maxscale-p78h7 1/1 Running 0 2m16s
maxscale-phclj 0/1 Pending 0 2m16s
maxscale-pncbj 1/1 Running 0 2m16s
maxscale-psrsn 0/1 Pending 0 2m16s
maxscale-qrt8s 1/1 Running 0 2m16s
maxscale-rqbgn 0/1 Pending 0 2m16s
maxscale-rscbl 0/1 Pending 0 2m16s
maxscale-srfwh 0/1 Pending 0 2m16s
maxscale-szzsh 0/1 Pending 0 2m16s
maxscale-tb6rw 0/1 Pending 0 2m16s
maxscale-vlbhd 0/1 Pending 0 2m16s
maxscale-vllpk 0/1 Pending 0 2m16s
maxscale-wnmc7 0/1 Pending 0 2m16s
maxscale-wvw79 0/1 Pending 0 2m16s
maxscale-zqbcj 0/1 Pending 0 2m16s
maxscale-zrtd9 0/1 Pending 0 2m16s
[rosa@bastion ~]$
2.3. It will take a few minutes (around 5 minutes) for the new nodes to be available.
2.4. Check the number of nodes in your cluster. Repeat this command until you see 4 nodes - the maximum that you configured for autoscaling the Machinepool. It will take a few minutes (around 5 minutes) for the new nodes to be available.
[rosa@bastion ~]$ oc get nodes
NAME STATUS ROLES AGE VERSION
ip-10-0-0-100.us-east-2.compute.internal Ready worker 68m v1.27.16+03a907c
ip-10-0-0-43.us-east-2.compute.internal Ready worker 9h v1.27.16+03a907c
ip-10-0-0-64.us-east-2.compute.internal Ready worker 8m32s v1.27.16+03a907c
ip-10-0-0-70.us-east-2.compute.internal Ready worker 8m31s v1.27.16+03a907c
[rosa@bastion ~]$
Once the nodes are available re-run the command to display the pods for the job. You should see that more pods are now running. If you still see some pods in Pending state that is normal because even 4 worker nodes may not be enough to handle the node - but you limited the autoscaler to 4 worker nodes.
NAME READY STATUS RESTARTS AGE
maxscale-4hwnz 0/1 Pending 0 50s
maxscale-4mzln 0/1 Pending 0 50s
maxscale-5tv2v 0/1 Pending 0 50s
maxscale-76sgq 0/1 Pending 0 51s
maxscale-89spz 0/1 Pending 0 50s
maxscale-8q9sk 1/1 Running 0 51s
maxscale-9726r 0/1 Pending 0 50s
maxscale-9d7gq 1/1 Running 0 51s
maxscale-9ng7f 0/1 Pending 0 50s
maxscale-cxhzr 0/1 Pending 0 50s
maxscale-dmdh9 1/1 Running 0 51s
maxscale-fh8b8 0/1 Pending 0 51s
maxscale-fqfst 1/1 Running 0 51s
maxscale-fs65w 0/1 Pending 0 50s
maxscale-fsfgl 1/1 Running 0 51s
maxscale-fsl9n 0/1 Pending 0 51s
maxscale-fxqxd 0/1 Pending 0 50s
maxscale-gc92v 0/1 Pending 0 50s
maxscale-gdccz 1/1 Running 0 51s
maxscale-hpn5d 0/1 Pending 0 51s
maxscale-j2b78 0/1 Pending 0 51s
maxscale-jkxh7 0/1 Pending 0 50s
maxscale-jsl45 0/1 Pending 0 50s
maxscale-jxd4g 0/1 Pending 0 50s
maxscale-k5gmn 0/1 Pending 0 50s
maxscale-k66fj 1/1 Running 0 51s
maxscale-kbhbz 0/1 Pending 0 50s
maxscale-kls7k 0/1 Pending 0 50s
maxscale-kpfln 0/1 Pending 0 50s
maxscale-kthlh 0/1 Pending 0 50s
maxscale-l7jr2 0/1 Pending 0 50s
maxscale-l8xm4 1/1 Running 0 51s
maxscale-m57r6 0/1 Pending 0 50s
maxscale-mks4g 0/1 Pending 0 50s
maxscale-p8kst 0/1 Pending 0 50s
maxscale-pm486 0/1 Pending 0 50s
maxscale-r2mkx 0/1 Pending 0 51s
maxscale-rcwr2 0/1 Pending 0 51s
maxscale-rqhjd 1/1 Running 0 51s
maxscale-rsr6h 0/1 Pending 0 51s
maxscale-rz8cd 0/1 Pending 0 50s
maxscale-s9xlj 0/1 Pending 0 50s
maxscale-schv7 0/1 Pending 0 50s
maxscale-stxqs 0/1 Pending 0 50s
maxscale-txkln 0/1 Pending 0 51s
maxscale-w8h8c 0/1 Pending 0 51s
maxscale-wkjmp 0/1 Pending 0 50s
maxscale-x47hp 0/1 Pending 0 50s
maxscale-zdm4m 1/1 Running 0 51s
maxscale-zjtk4 0/1 Pending 0 50s
2.1. Turn off autoscaling
[rosa@bastion ~]$ rosa edit machinepool --cluster rosa-$GUID workers -–enable-autoscaling=false --replicas=2
I: Updated machine pool ‘workers’ on hosted cluster ‘rosa-88qgb’
[rosa@bastion ~]$
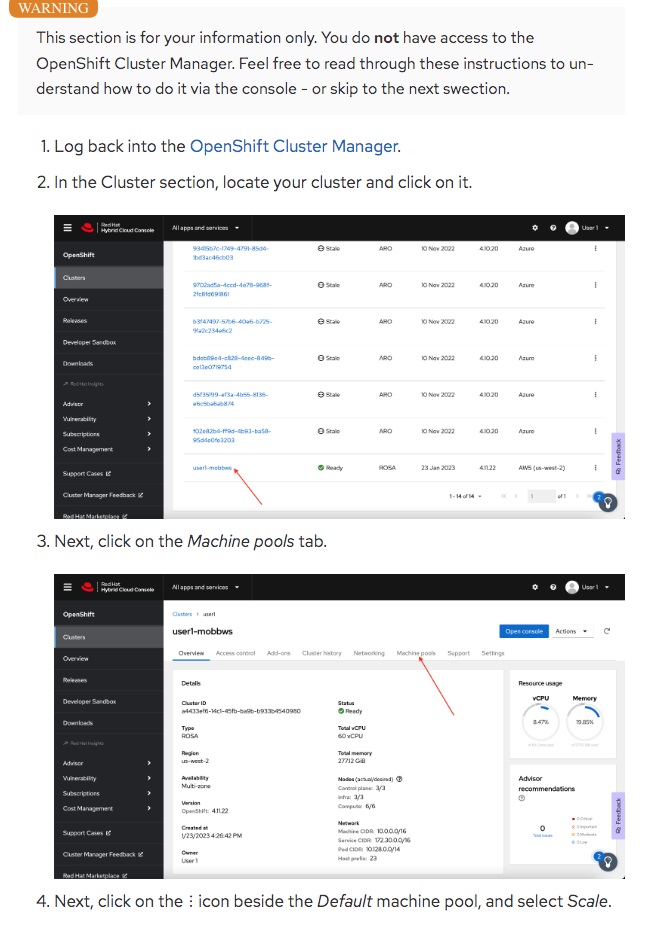
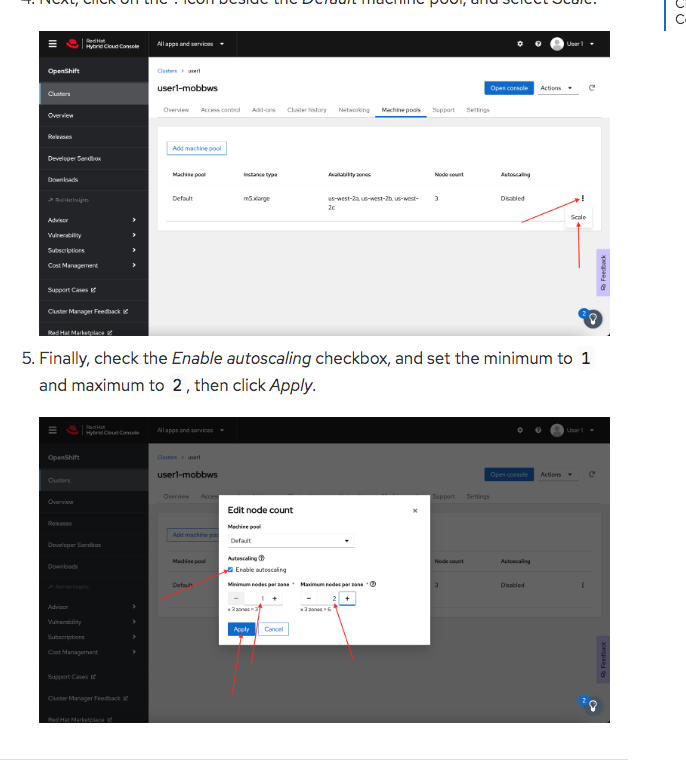
Enable Autoscaling via Red Hat OpenShift Cluster Manager Console
Labeling your Worker Nodes
##
1. Set a label for the Machine Pool
1.Just like the last section, let’s use the default machine pool to add our label. To do so, run the following command:
[rosa@bastion ~]$ rosa edit machinepool -c rosa-$GUID --labels tier=frontend workers
I: Updated machine pool ‘workers’ on hosted cluster ‘rosa-88qgb’
[rosa@bastion ~]$
2. Label the nodes manually:
[rosa@bastion ~]$ oc label nodes $(oc get nodes|grep -v NAME|cut -d’ ‘ -f1) tier=frontend
node/ip-10-0-0-139.us-east-2.compute.internal labeled
node/ip-10-0-0-231.us-east-2.compute.internal labeled
[rosa@bastion ~]$
3.Now, let’s verify the nodes are properly labeled. To do so, run the following command:
[rosa@bastion ~]$ oc get nodes --selector=’tier=frontend’ -o name
node/ip-10-0-0-139.us-east-2.compute.internal
node/ip-10-0-0-231.
Deploy an app to the labeled nodes
1.First, let’s create a project (or namespace) for our application. To do so, run the following command:
rosa@bastion ~]$ oc new-project nodeselector-ex
Now using project “nodeselector-ex” on server “https://api.rosa-88qgb.zpku.p3.openshiftapps.com:443”.
You can add applications to this project with the ‘new-app’ command. For example, try:
oc new-app rails-postgresql-example
to build a new example application in Ruby. Or use kubectl to deploy a simple Kubernetes application:
kubectl create deployment hello-node \--image=registry.k8s.io/e2e-test-images/agnhost:2.43 \-- /agnhost serve-hostname
[rosa@bastion ~]$
2. Next, let’s deploy our application and associated resources that will target our labeled nodes. To do so, run the following command:
[rosa@bastion ~]$ oc new-project nodeselector-ex
Now using project “nodeselector-ex” on server “https://api.rosa-88qgb.zpku.p3.openshiftapps.com:443”.
You can add applications to this project with the ‘new-app’ command. For example, try:
oc new-app rails-postgresql-example
to build a new example application in Ruby. Or use kubectl to deploy a simple Kubernetes application:
kubectl create deployment hello-node \--image=registry.k8s.io/e2e-test-images/agnhost:2.43 \-- /agnhost serve-hostname
[rosa@bastion ~]$ cat << EOF | oc apply -f -
-–
kind: Deployment
apiVersion: apps/v1
metadata:
name: nodeselector-app
namespace: nodeselector-ex
spec:
replicas: 1
selector:
matchLabels:
app: nodeselector-app
template:
metadata:
labels:
app: nodeselector-app
spec:
nodeSelector:
tier: frontend
containers:
- name: hello-openshift
image: “docker.io/openshift/hello-openshift”
ports:
- containerPort: 8080
protocol: TCP
- containerPort: 8888
protocol: TCP
securityContext:
allowPrivilegeEscalation: false
capabilities:
drop:
- ALL
EOF
deployment.apps/nodeselector-app created
3. Now, let’s validate that the application has been deployed to one of the labeled nodes. To do so, run the following command:
[rosa@bastion ~]$ oc -n nodeselector-ex get pod -l app=nodeselector-app -o json \
| jq -r .items[0].spec.nodeName
ip-10-0-0-231.us-east-2.compute.internal
4. Double check the name of the node to compare it to the output above to ensure the node selector worked to put the pod on the correct node.
a@bastion ~]$ oc get nodes --selector=’tier=frontend’ -o name
node/ip-10-0-0-139.us-east-2.compute.internal
node/ip-10-0-0-231.us-east-2.compute.internal
[rosa@bastion ~]$
5. Next create a service using the oc expose command
a@bastion ~]$ oc expose deployment nodeselector-app
service/nodeselector-app exposed
6. Fetch the URL for the newly created route
>
-rbash: unexpected EOF while looking for matching `’’
-rbash: syntax error: unexpected end of file
[rosa@bastion ~]$ echo “https://$(oc get routes/nodeselector-app -o json | jq -r ‘.spec.host’)”
Error from server (NotFound): routes.route.openshift.io “nodeselector-app” not found
https://
[rosa@bastion ~]$
Configure Red Hat SSO IDP for ROSA
##
1. Deploy Red Hat SSO
1.1. Deploy the operator
1.1.1. Set an environment variable to specify the project into which to deploy the operator and Red Hat SSO:
[rosa@bastion ~]$ export SSO_NAMESPACE=keycloak
[rosa@bastion ~]$
1.1.2. Create the project where your operator will be installed to:
rosa@bastion ~]$ oc new-project $SSO_NAMESPACE
Now using project “keycloak” on server “https://api.rosa-88qgb.zpku.p3.openshiftapps.com:443”.
You can add applications to this project with the ‘new-app’ command. For example, try:
oc new-app rails-postgresql-example
to build a new example application in Ruby. Or use kubectl to deploy a simple Kubernetes application:
kubectl create deployment hello-node \--image=registry.k8s.io/e2e-test-images/agnhost:2.43 \-- /agnhost serve-hostname
[rosa@bastion ~]$
- 1.1.3. To install, first create an Operator Group for the operator (the Operator Group allows the operator to manage a set of projects - in this case our keycloak project):
- operators.coreos.com/v1
kind: OperatorGroup
metadata:
name: keycloak-operator
namespace: $SSO_NAMESPACE
spec:
targetNamespaces:
- $SSO_NAMESPACE
EOF
operatorgroup.operators.coreos.com/keycloak-operator created
[rosa@bastion ~]$
1.1.4. Next, install the subscription - this tells the Operator Lifecycle Manager in ROSA to install the Red Hat SSO operator. The most important setting is the channel - we are using the latest available version in the stable channel:
rosa@bastion ~]$ cat << EOF | oc apply -f -
-–
apiVersion: operators.coreos.com/v1alpha1
kind: Subscription
metadata:
name: rhsso-operator
namespace: $SSO_NAMESPACE
spec:
channel: stable
installPlanApproval: Automatic
name: rhsso-operator
source: redhat-operators
sourceNamespace: openshift-marketplace
EOF
subscription.operators.coreos.com/rhsso-operator created
1.1.5. Wait until the operator pod is running (repeat until it is and your output looks similar to the one below):
ME READY STATUS RESTARTS AGE
rhsso-operator-56b4c6ccb9-xj9nw 1/1 Running 0 71s
###
1.2. Deploy Red Hat SSO
1.2.1. Create the Keycloak object - which deploys the Red Hat SSO server. Note that we are using 2 instances of the server for redundancy:
[rosa@bastion ~]$ cat <<EOF | oc apply -f -
-–
apiVersion: keycloak.org/v1alpha1
kind: Keycloak
metadata:
name: keycloak
namespace: $SSO_NAMESPACE
labels:
app: sso
spec:
instances: 2
externalAccess:
enabled: True
EOF
keycloak.keycloak.org/keycloak created
1.2.2. Wait until Keycloak is fully deployed (repeat until the output looks like the example output):
[osa@bastion ~]$ oc get pod -n $SSO_NAMESPACE
NAME READY STATUS RESTARTS AGE
keycloak-0 1/1 Running 0 2m3s
keycloak-1 0/1 Running 0 32s
keycloak-postgresql-d495f8747-lpvhl 1/1 Running 0 2m3s
rhsso-operator-56b4c6ccb9-xj9nw 1/1 Running 0 7m25s
[rosa@bastion ~]$ oc get pod -n $SSO_NAMESPACE
NAME READY STATUS RESTARTS AGE
keycloak-0 1/1 Running 0 3m21s
keycloak-1 1/1 Running 0 110s
keycloak-postgresql-d495f8747-lpvhl 1/1 Running 0 3m21s
rhsso-operator-56b4c6ccb9-xj9nw 1/1 Running 0 8m43s
[rosa@bastion ~]$
1.2.3. Validate that in fact the Keycloak server is ready (if you get false then wait a few seconds and retry the command - eventually it will be ready):
rosa@bastion ~]$ oc get keycloak keycloak -n $SSO_NAMESPACE -o json | jq .status.ready
True
###
1.3.1. Set some environment variables to use when setting up the Keycloak Client on Red Hat SSO:
1.3.2. Set your OAuth Callback URL base variable.
1.3.2.a. Your cluster is a ROSA cluster using a hosted control plane. Therefore the command to determine the OAuth Callback URL is the following:
osa@bastion ~]$ export CALLBACK_URL_BASE=https://oauth.$CLUSTER_DOMAIN:443/oauth2callback
[rosa@bastion ~]$
###
In order to set up Red Hat SSO you need to create the following objects:
- Keycloak Realm
- Keycloak Client
- Keycloak User(s)
1.4. 1. Create a Keycloak Realm to use with ROSA:
KeycloakRealm
metadata:
name: rosa
namespace: $SSO_NAMESPACE
labels:
app: sso
spec:
instanceSelector:
matchLabels:
app: sso
realm:
realm: rosa
enabled: true
loginTheme: rh-sso
EOF
keycloakrealm.keycloak.org/rosa created
1.4. 2. Create the Keycloak Client. The most important setting to get right is the redirectUri which points back to the ROSA OAuth endpoint (remember you set a variable before for this URL):
[rosa@bastion ~]$ cat <<EOF | oc apply -f -
-–
apiVersion: keycloak.org/v1alpha1
kind: KeycloakRealm
metadata:
name: rosa
namespace: $SSO_NAMESPACE
labels:
app: sso
spec:
instanceSelector:
matchLabels:
app: sso
realm:
realm: rosa
enabled: true
loginTheme: rh-sso
EOF
keycloakrealm.keycloak.org/rosa created
[rosa@bastion ~]$ cat <<EOF | oc apply -f -
-–
apiVersion: keycloak.org/v1alpha1
kind: KeycloakClient
metadata:
name: rosa
namespace: $SSO_NAMESPACE
labels:
app: sso
spec:
realmSelector:
matchLabels:
app: sso
client:
clientId: rosa
name: rosa
description: “Red Hat OpenShift Service on AWS”
protocol: openid-connect
enabled: true
publicClient: false
directAccessGrantsEnabled: true
implicitFlowEnabled: true
standardFlowEnabled: true
serviceAccountsEnabled: true
loginTheme: rh-sso
redirectUris:
- $CALLBACK_URL_BASE/RosaKeycloak
webOrigins:
- “/*”
defaultClientScopes:
- acr
- email
- profile
- roles
- web-origins
optionalClientScopes:
- address
- microprofile-jwt
- offline_access
- phone
serviceAccountRealmRoles:
- default-roles-rosa
EOF
keycloakclient.keycloak.org/rosa created
[rosa@bastion ~]$
1.4.3. Now that your Keycloak has been configured you can create a user which will become the ROSA admin (for security reasons you are using a random password for this user):
echo “
-–
apiVersion: keycloak.org/v1alpha1
kind: KeycloakUser
metadata:
name: rosa-admin
namespace: $SSO_NAMESPACE
labels:
app: sso
spec:
realmSelector:
matchLabels:
app: sso
user:
enabled: true
username: rosa-admin
firstName: ROSA
lastName: Admin
email: rosa-admin@example.com
credentials:
- temporary: false
type: password
value: ‘HjfBY6oRi9ydiXDv’
“ | oc apply -f -
keycloakuser.keycloak.org/rosa-admin created
1.4.4.Then create a user which will become the just a regular developer user:
echo “
-–
apiVersion: keycloak.org/v1alpha1
kind: KeycloakUser
metadata:
name: rosa-developer
namespace: $SSO_NAMESPACE
labels:
app: sso
spec:
realmSelector:
matchLabels:
app: sso
user:
enabled: true
username: rosa-developer
firstName: ROSA
lastName: Developer
email: rosa-developer@example.com
credentials:
- temporary: false
type: password
value: ‘HjfBY6oRi9ydiXDv’
“ | oc apply -f -
cloakuser.keycloak.org/rosa-developer created
##
2. Set up OpenShift authentication to use Red Hat SSO
2.1. First retrieve the client secret for your configured Keycloak Client:
[rosa@bastion ~]$ export SSO_CLIENT_SECRET=$(oc get secret keycloak-client-secret-rosa -o json | jq -r ‘.data.CLIENT_SECRET’ | base64 -d)
2.2. Now you can set up the identity provider in ROSA:
[rosa@bastion ~]$ rosa create idp \
--cluster rosa-$GUID \
--type openid \
--name RosaKeycloak \
--client-id rosa \
--client-secret $SSO_CLIENT_SECRET \
--issuer-url $SSO_ADMIN_CONSOLE/auth/realms/rosa \
--email-claims email \
--name-claims name \
--username-claims preferred_username
I: Configuring IDP for cluster ‘rosa-88qgb’
I: Identity Provider ‘RosaKeycloak’ has been created.
It may take several minutes for this access to become active.
To add cluster administrators, see ‘rosa grant user --help’.
I: Callback URI: https://oauth.rosa-88qgb.zpku.p3.openshiftapps.com:443/oauth2callback/RosaKeycloak
I: To log in to the console, open https://console-openshift-console.apps.rosa.rosa-88qgb.zpku.p3.openshiftapps.com and click on ‘RosaKeycloak’.
[rosa@bastion ~]$
See screenshot
2.2.1.Logout from your OpenShift Web Console and browse back to the Console URL (rosa describe cluster -c rosa-$GUID -o json | jq -r ‘.console.url’ if you have forgotten it) and you should see a new option to login called RosaKeycloak.(If you do not see the RosaKeycloak option wait a few seconds and refresh the screen.)
2.2.2 Click on RosaKeycloak and use the userid rosa-admin with password HjfBY6oRi9ydiXDv.
See screeshot
2.2.3.Let’s give Cluster Admin permissions to your RosaKeycloak admin.
Find out the existing users in OpenShift (note for this to work you must have logged in via the web console before - OpenShift does not create user objects until a user has logged in).
rosa@bastion ~]$ rosa describe cluster -c rosa-$GUID -o json | jq -r ‘.console.url’
https://console-openshift-console.apps.rosa.rosa-88qgb.zpku.p3.openshiftapps.com
[rosa@bastion ~]$ oc get users
NAME UID FULL NAME IDENTITIES
backplane-cluster-admin 02ba374e-09e9-4152-b90c-4d33a5326064
cluster-admin 65f1deec-98cf-4184-a8a5-278868946cf3 cluster-admin:cluster-admin
rosa-admin 5ab970ff-6278-4d40-a343-f2bc6d7814dc ROSA Admin RosaKeycloak:f8a9d17a-de2d-4585-bdea-6305de06a103
[rosa@bastion ~]$
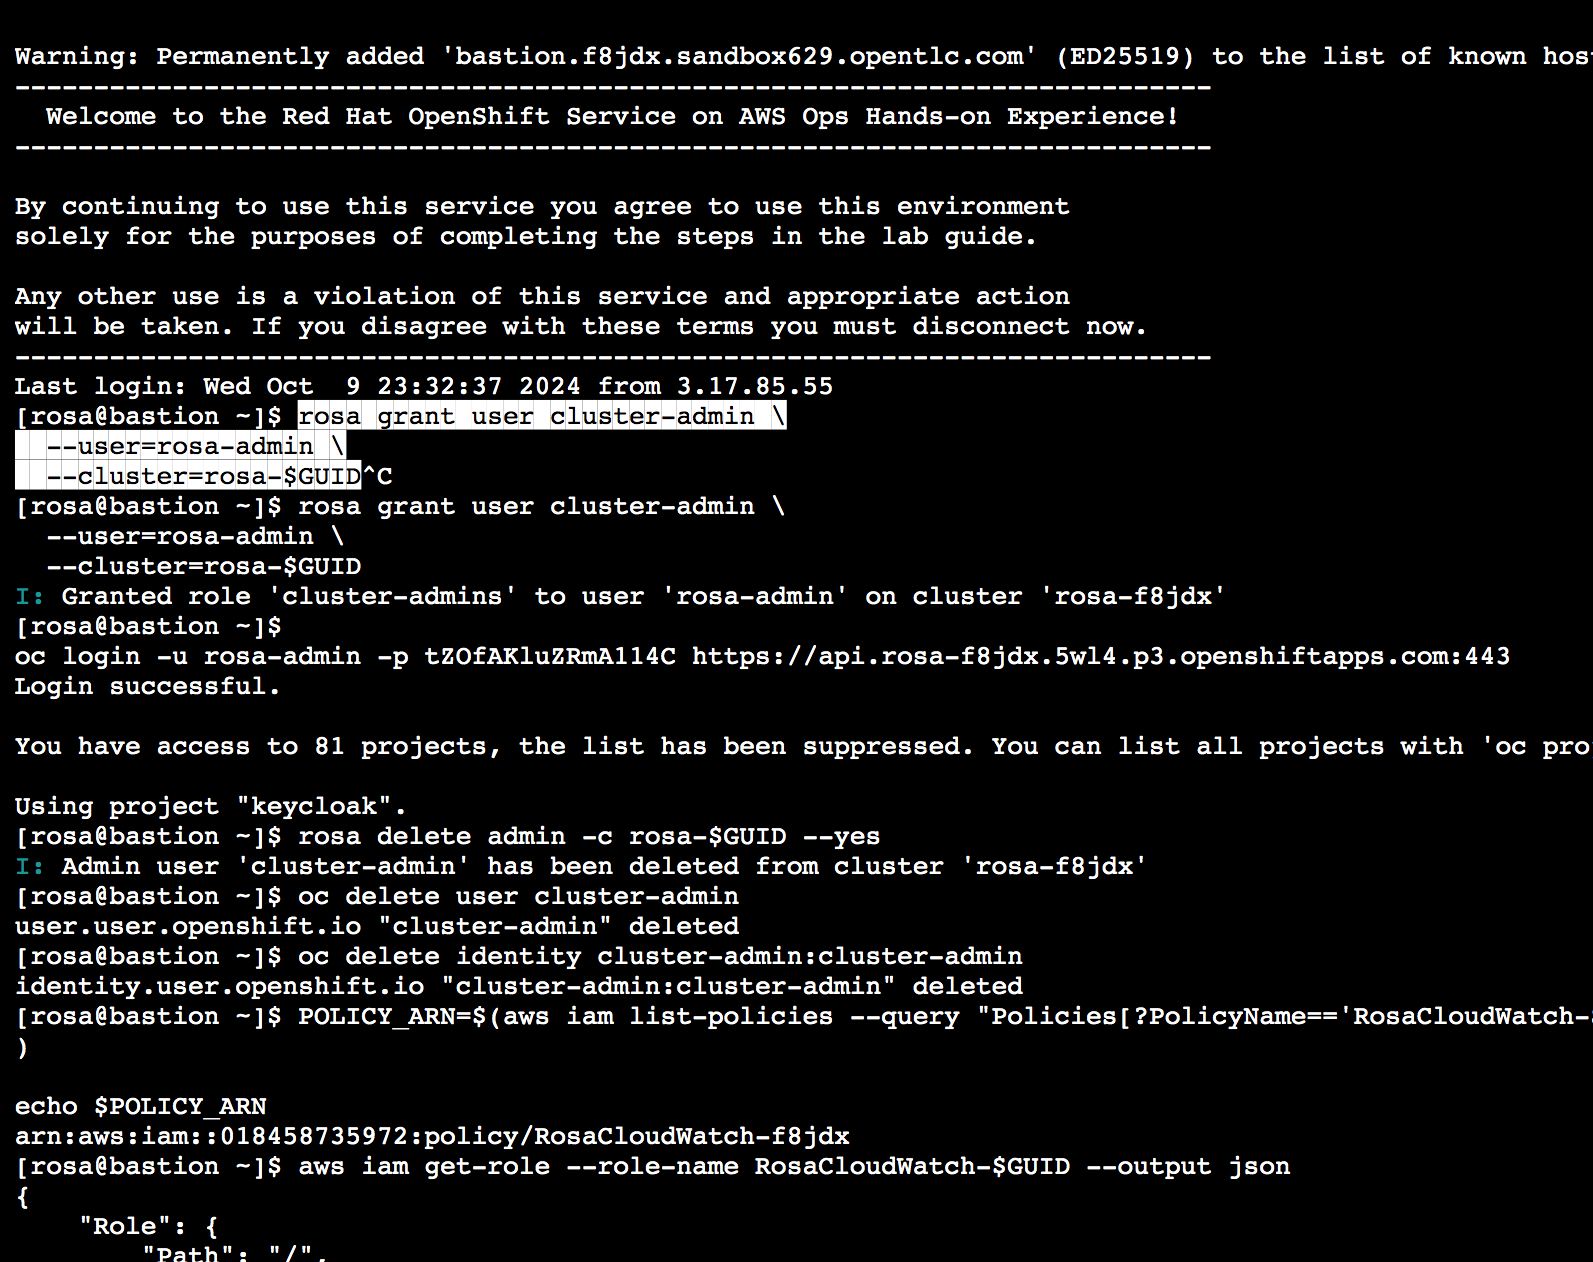
2.2.4. Since this is ROSA you can’t just use oc adm policy to grant cluster-admin permissions to your rosa-admin user. You have to use the rosa CLI instead. If you don’t then you may run into issues later on where some commands are prohibited by the ROSA web hook. So use the rosa CLI:
[rosa@bastion ~]$ rosa grant user cluster-admin --user=rosa-admin --cluster=rosa-$GUID
I: Granted role ‘cluster-admins’ to user ‘rosa-admin’ on cluster ‘rosa-88qgb’
[rosa@bastion ~]$
2.2.5. Refresh the OpenShift web console - you should now be able to switch to the Administrator view. If you don’t see the Administrator view log out and back into the web console.
See screenshot
2.2.6. Log into the API using the new user:
rosa@bastion ~]$ oc login -u rosa-admin -p HjfBY6oRi9ydiXDv https://api.rosa-88qgb.zpku.p3.openshiftapps.com:443
Login successful.
You have access to 81 projects, the list has been suppressed. You can list all projects with ‘oc projects’
Using project “keycloak”.
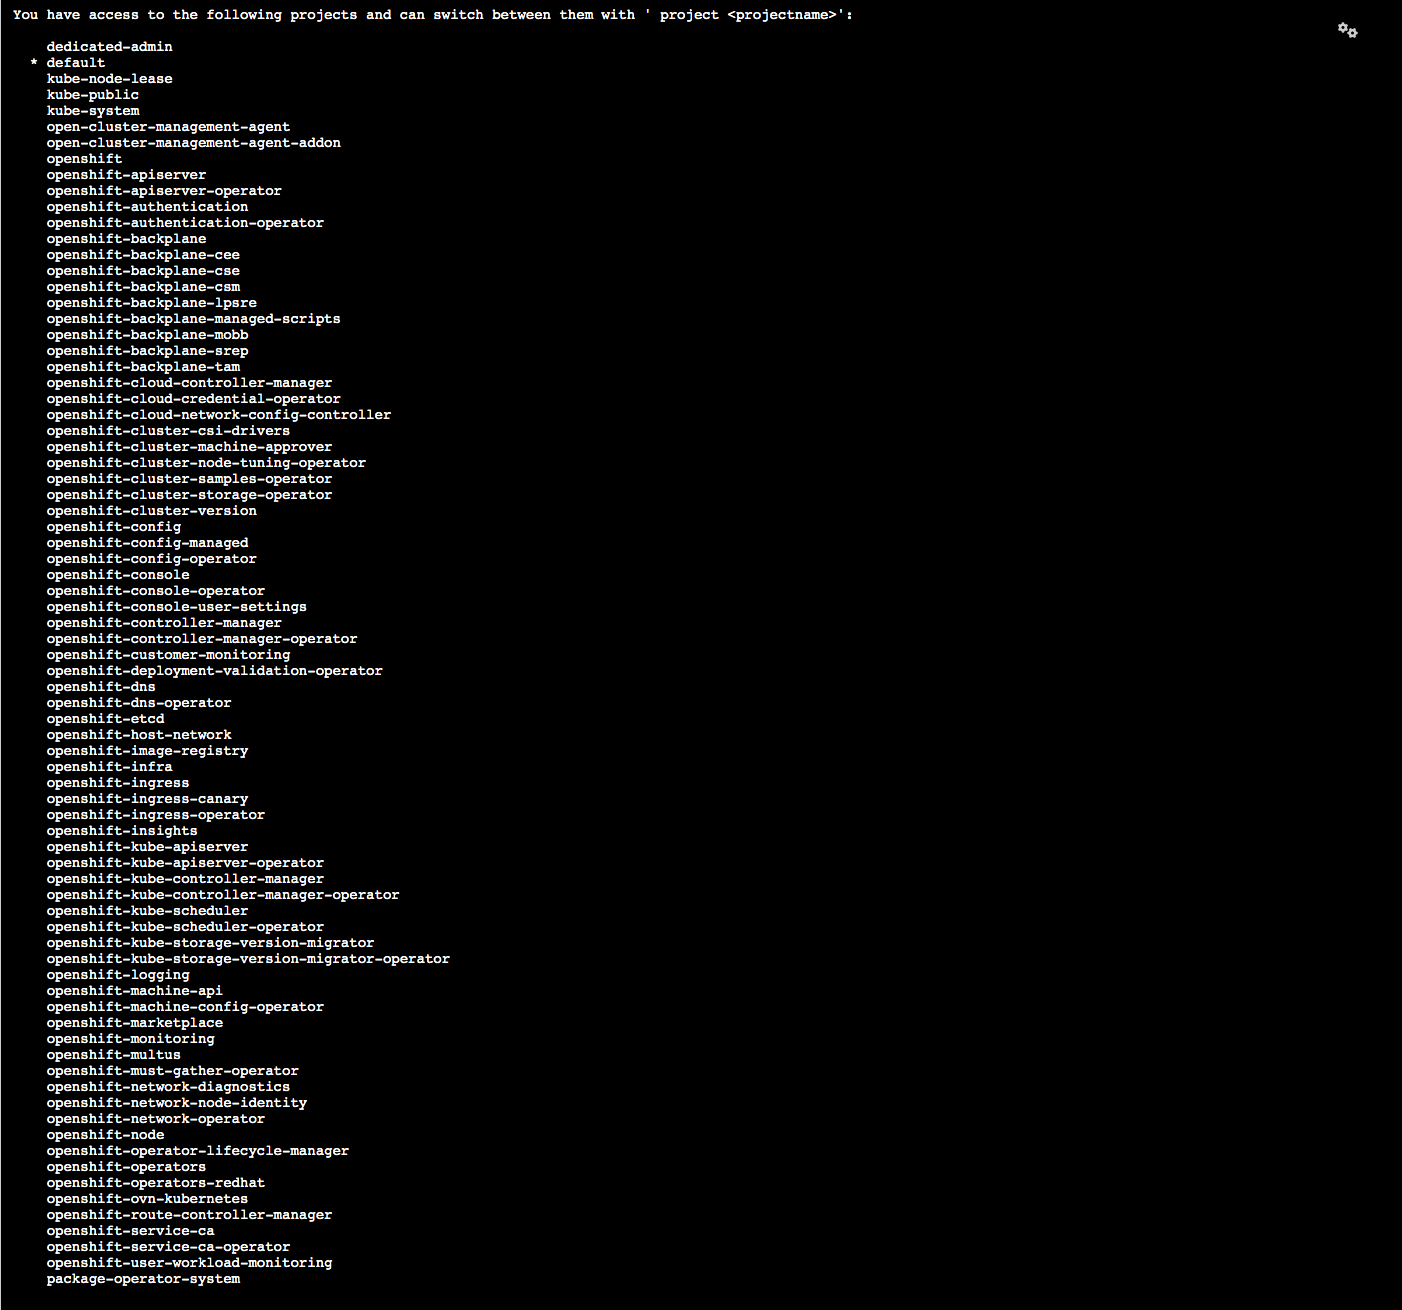
[rosa@bastion ~]$ oc projects
You have access to the following projects and can switch between them with ‘ project <projectname>’:
2.2.7 . The final step is to delete the temporary ROSA admin user:
osa@bastion ~]$ rosa delete admin -c rosa-$GUID --yes
I: Admin user ‘cluster-admin’ has been deleted from cluster ‘rosa-88qgb’
[rosa@bastion ~]$
2.2.8.You can delete the cluster-admin user object and it’s associated identity:
[rosa@bastion ~]$ oc delete user cluster-admin
user.user.openshift.io “cluster-admin” deleted
[rosa@bastion ~]$ oc delete identity cluster-admin:cluster-admin
identity.user.openshift.io “cluster-admin:cluster-admin” deleted
[rosa@bastion ~]$
Configure Red Hat OpenShift Logging with AWS Cloudwatch
##
1. Prepare Amazon CloudWatch
1.1.Validate that a policy RosaCloudWatch-$GUID already exists:
[rosa@bastion ~]$ POLICY_ARN=$(aws iam list-policies --query “Policies[?PolicyName==’RosaCloudWatch-$GUID’].{ARN:Arn}” --output text
)
[rosa@bastion ~]$ echo $POLICY_ARN
arn:aws:iam::965696256290:policy/RosaCloudWatch-88qgb
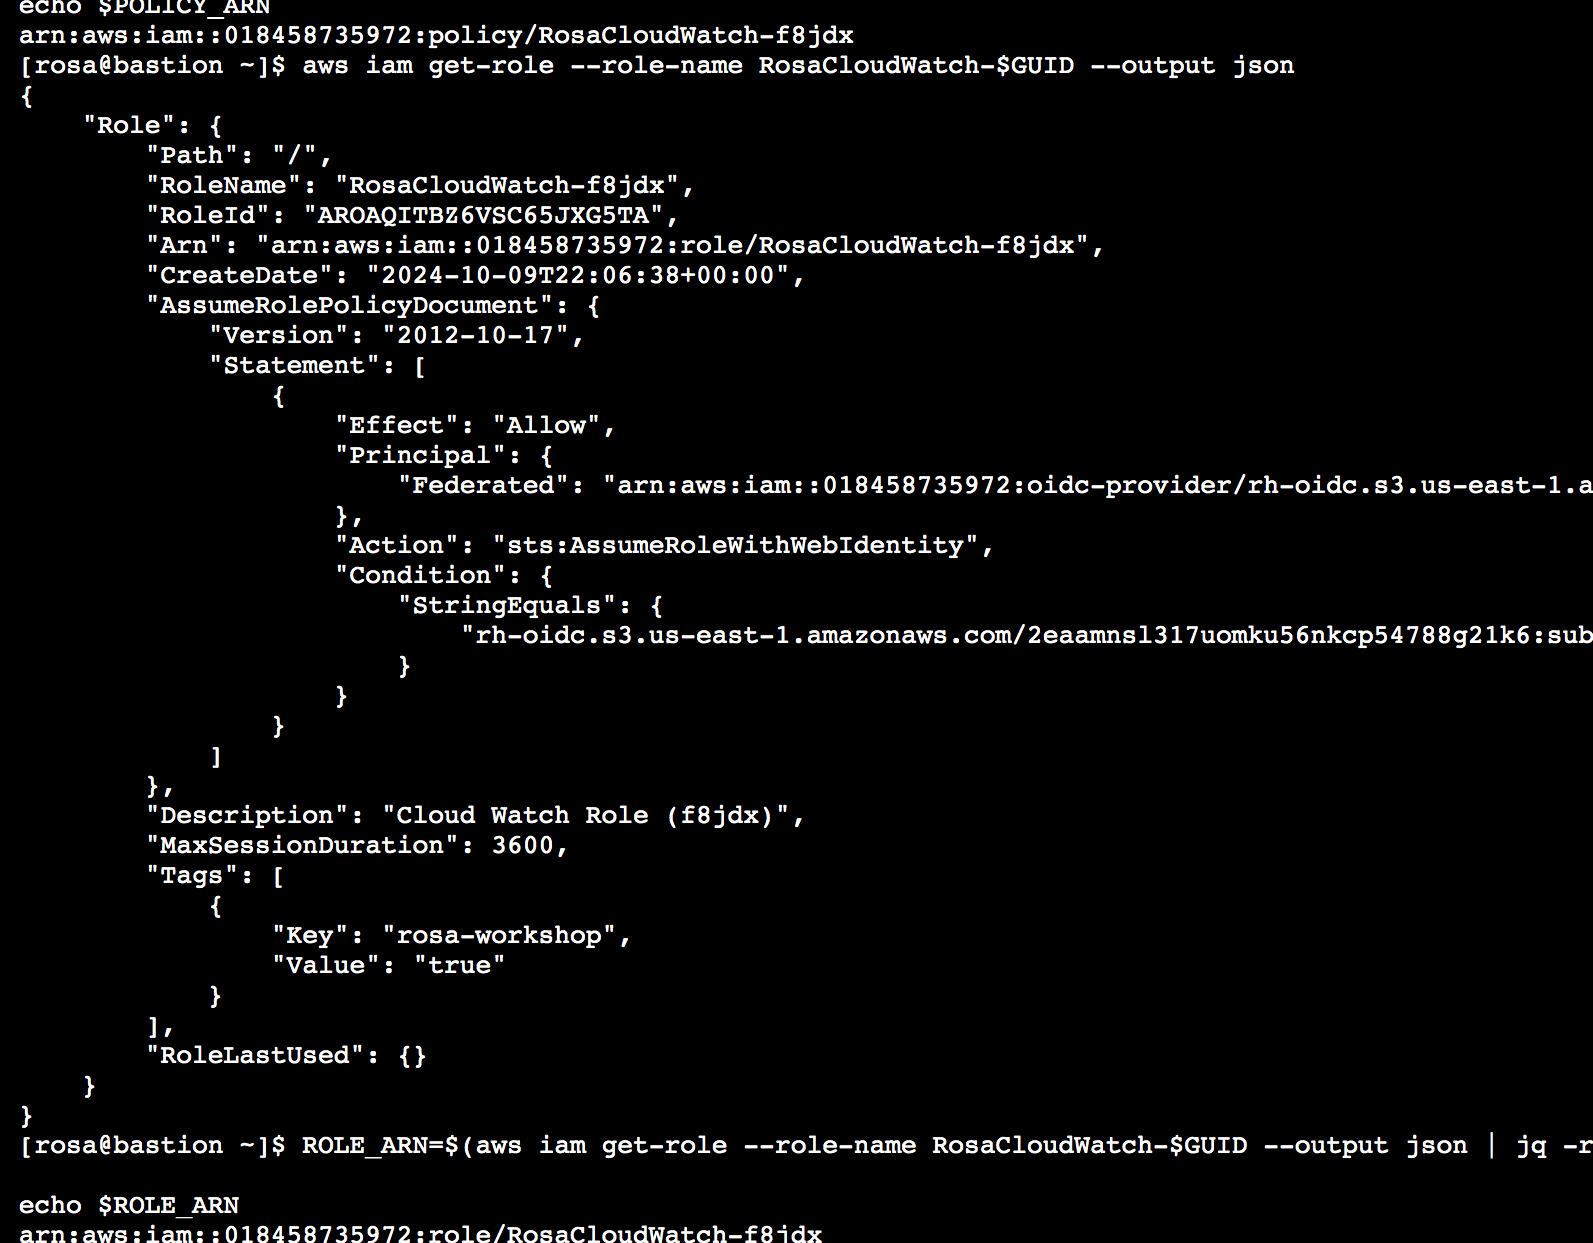
1.2. As part of the hands on experience an AWS IAM role has been set up for the OpenShift Logging infrastructure to use.
Examine the role that has been created:
osa@bastion ~]$ aws iam get-role --role-name RosaCloudWatch-$GUID --output json
{
“Role”: {
“Path”: “/”,
“RoleName”: “RosaCloudWatch-88qgb”,
“RoleId”: “AROA6BV73PERATCC6DV3Z”,
“Arn”: “arn:aws:iam::965696256290:role/RosaCloudWatch-88qgb”,
“CreateDate”: “2024-10-09T07:26:55+00:00”,
“AssumeRolePolicyDocument”: {
“Version”: “2012-10-17”,
“Statement”: [
{
“Effect”: “Allow”,
“Principal”: {
“Federated”: “arn:aws:iam::965696256290:oidc-provider/rh-oidc.s3.us-east-1.amazonaws.com/2e9tm35qg5orqaeqjvfjn0nnk9885st3”
},
“Action”: “sts:AssumeRoleWithWebIdentity”,
“Condition”: {
“StringEquals”: {
“rh-oidc.s3.us-east-1.amazonaws.com/2e9tm35qg5orqaeqjvfjn0nnk9885st3:sub”: “system:serviceaccount:openshift-logging:logcollector”
}
}
}
]
},
“Description”: “Cloud Watch Role (88qgb)”,
“MaxSessionDuration”: 3600,
“Tags”: [
{
“Key”: “rosa-workshop”,
“Value”: “true”
}
],
“RoleLastUsed”: {}
}
}
[rosa@bastion ~]$
1.3.Get the ARN of the Role - we will use that later to configure the log collector:
[rosa@bastion ~]$ ROLE_ARN=$(aws iam get-role --role-name RosaCloudWatch-$GUID --output json | jq -r .Role.Arn)
[rosa@bastion ~]$ echo $ROLE_ARN
arn:aws:iam::965696256290:role/RosaCloudWatch-88qgb
2. Configure Cluster Logging
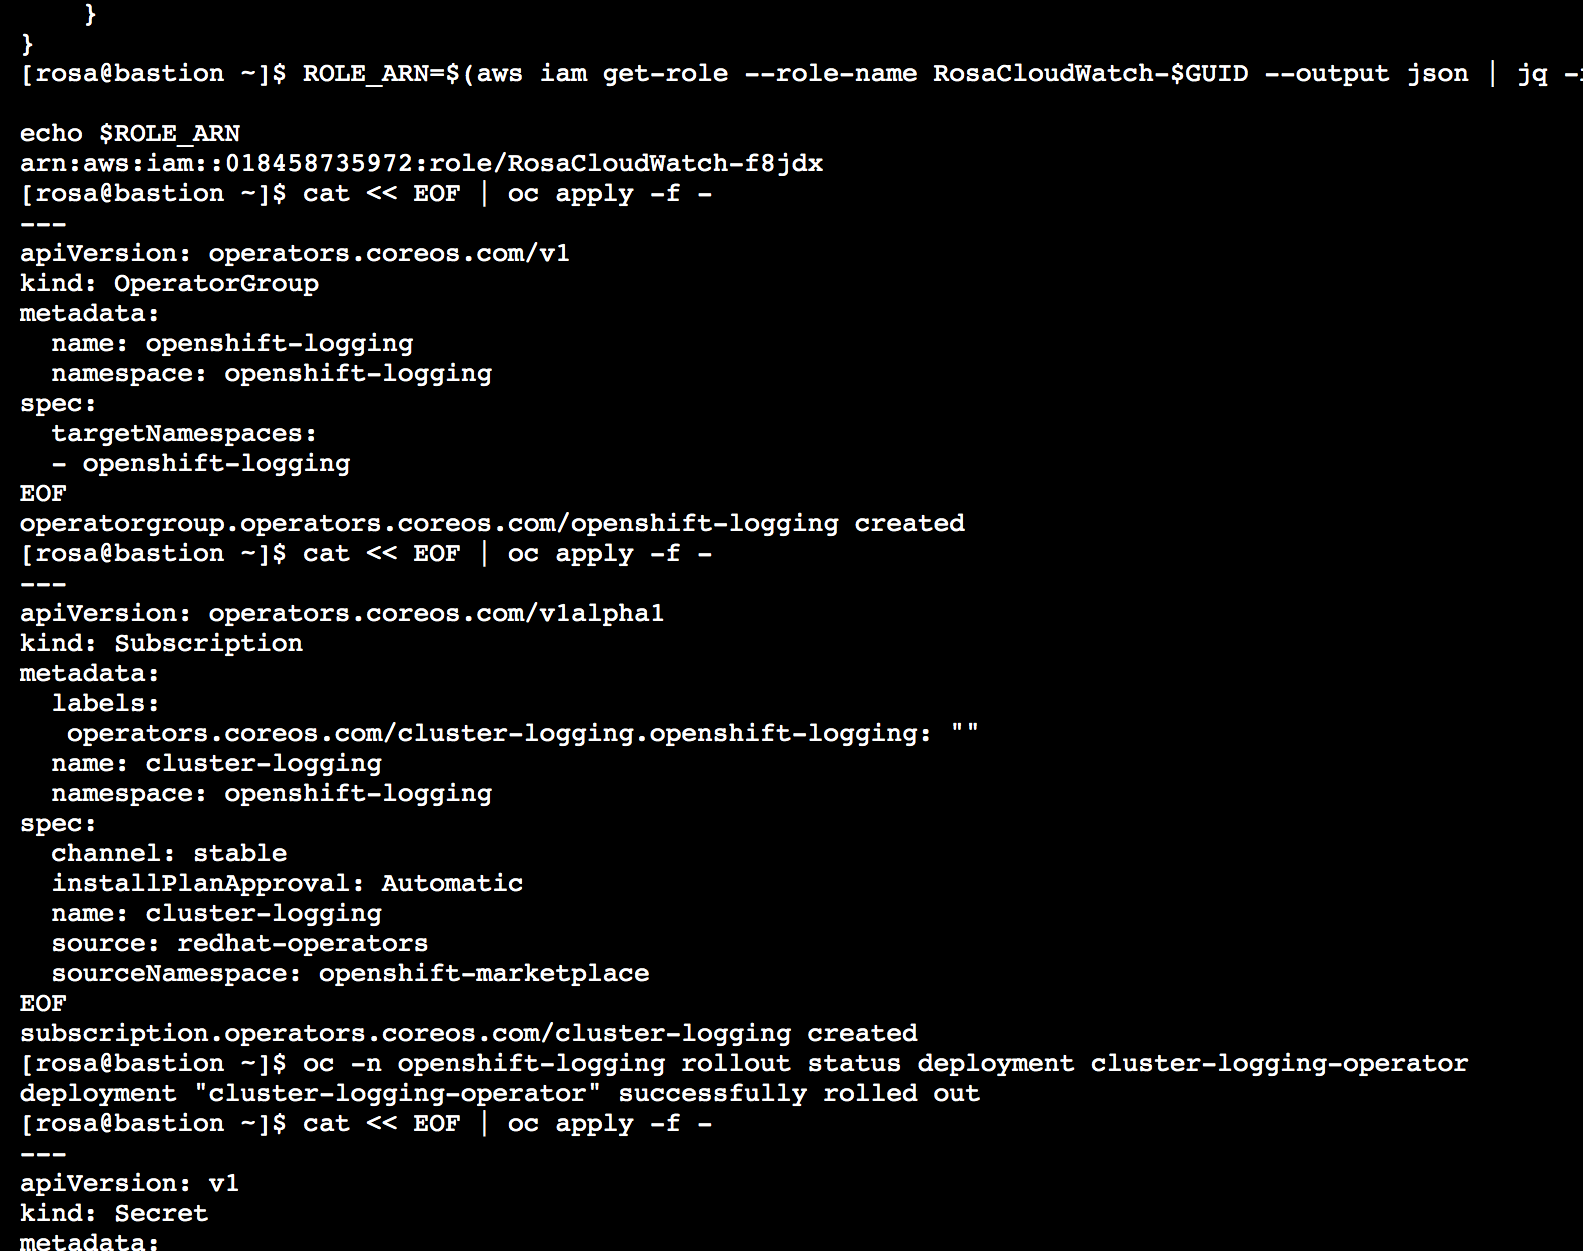
2.1. Now, we need to deploy the OpenShift Cluster Logging Operator. First we need to create an OperatorGroup for the operator:
[rosa@bastion ~]$ cat << EOF | oc apply -f -
-–
apiVersion: operators.coreos.com/v1
kind: OperatorGroup
metadata:
name: openshift-logging
namespace: openshift-logging
spec:
targetNamespaces:
- openshift-logging
EOF
operatorgroup.operators.coreos.com/openshift-logging created
[rosa@bastion ~]$
2.2. Now we can create the Operator Subscription. To do so, run the following command:
cat << EOF | oc apply -f -
-–
apiVersion: operators.coreos.com/v1alpha1
kind: Subscription
metadata:
labels:
operators.coreos.com/cluster-logging.openshift-logging: “”
name: cluster-logging
namespace: openshift-logging
spec:
channel: stable
installPlanApproval: Automatic
name: cluster-logging
source: redhat-operators
sourceNamespace: openshift-marketplace
EOF
subscription.operators.coreos.com/cluster-logging created
2.3. Now, we will wait for the OpenShift Cluster Logging Operator to install. To do so, we can run the following command to watch the status of the installation:
rosa@bastion ~]$ oc -n openshift-logging rollout status deployment cluster-logging-operator
deployment “cluster-logging-operator” successfully rolled out
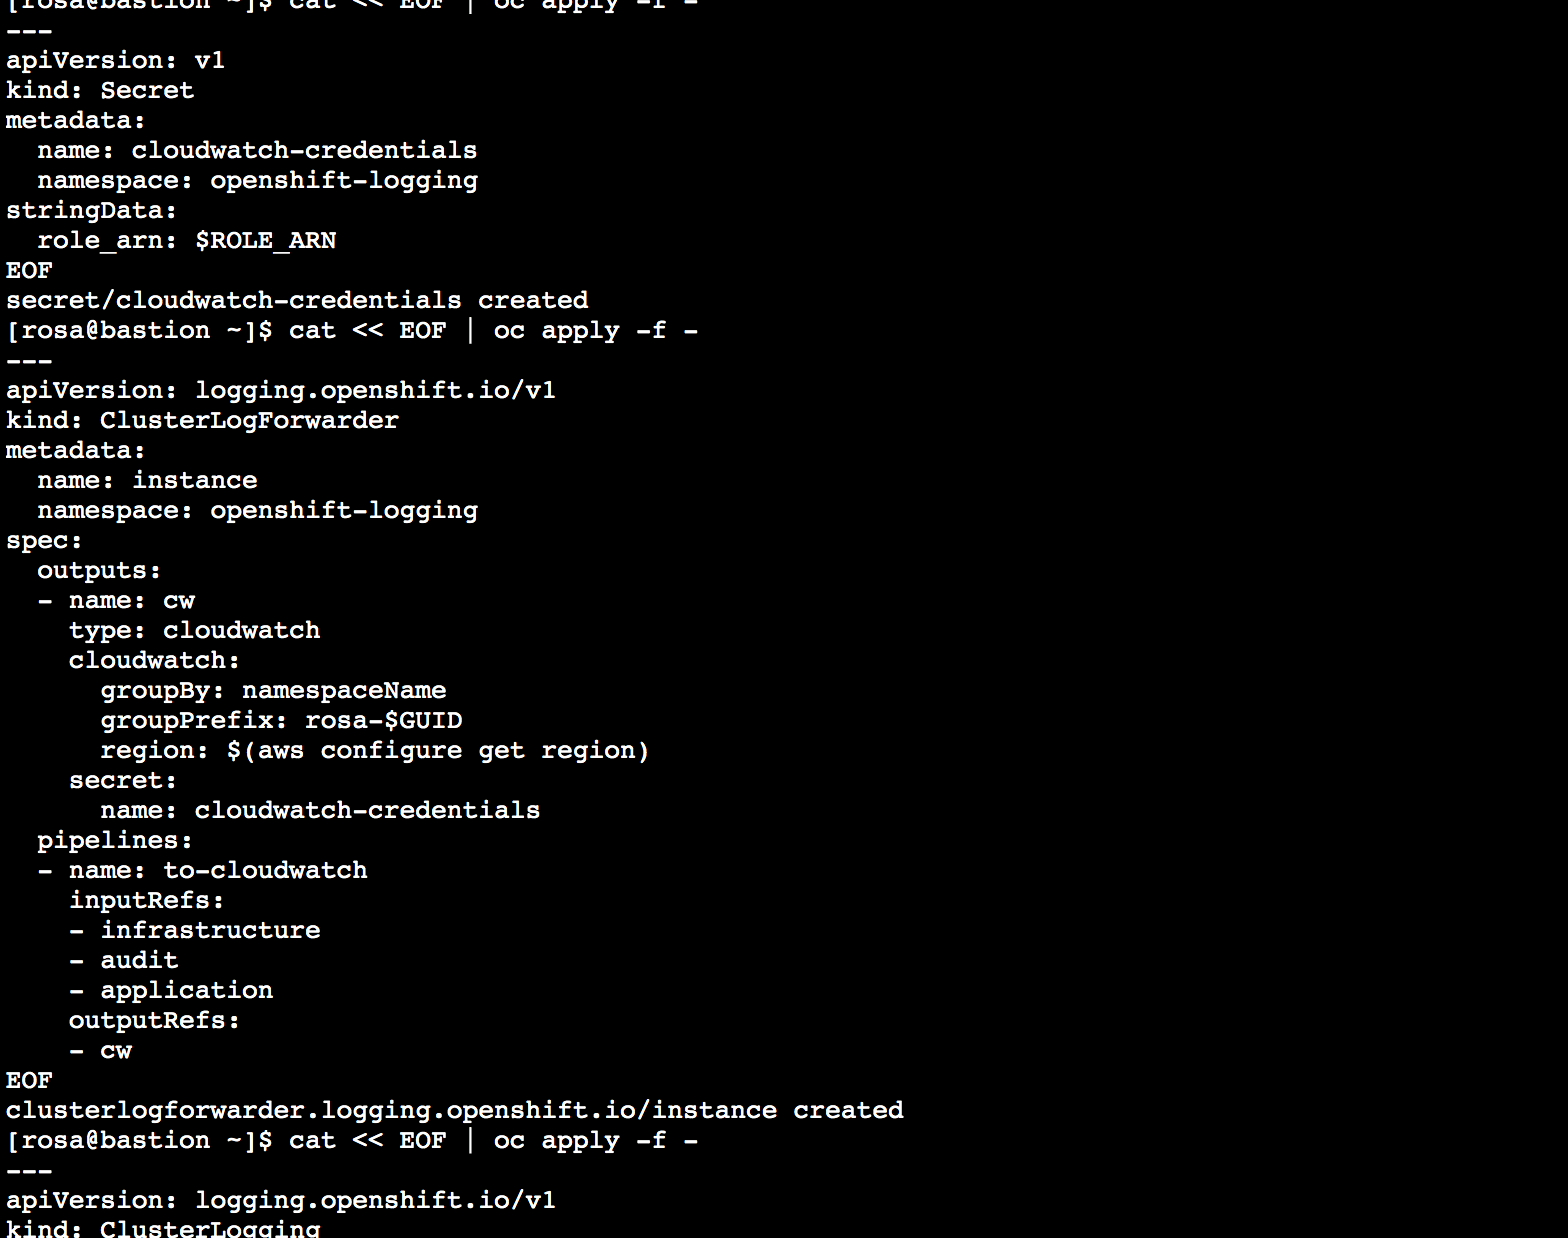
2.4. Next, we need to create a secret containing the ARN of the IAM role that was previously created. To do so, run the following command:
[rosa@bastion ~]$ cat << EOF | oc apply -f -
-–
apiVersion: v1
kind: Secret
metadata:
name: cloudwatch-credentials
namespace: openshift-logging
stringData:
role_arn: $ROLE_ARN
EOF
secret/cloudwatch-credentials created
2.5. Next, let’s configure the OpenShift Cluster Logging Operator by creating a Cluster Log Forwarding custom resource that will forward logs to Amazon CloudWatch. To do so, run the following command:
[rosa@bastion ~]$ cat << EOF | oc apply -f -
-–
apiVersion: v1
kind: Secret
metadata:
name: cloudwatch-credentials
namespace: openshift-logging
stringData:
role_arn: $ROLE_ARN
EOF
secret/cloudwatch-credentials created
[rosa@bastion ~]$ cat << EOF | oc apply -f -
-–
apiVersion: logging.openshift.io/v1
kind: ClusterLogForwarder
metadata:
name: instance
namespace: openshift-logging
spec:
outputs:
- name: cw
type: cloudwatch
cloudwatch:
groupBy: namespaceName
groupPrefix: rosa-$GUID
region: $(aws configure get region)
secret:
name: cloudwatch-credentials
pipelines:
- name: to-cloudwatch
inputRefs:
- infrastructure
- audit
- application
outputRefs:
- cw
EOF
clusterlogforwarder.logging.openshift.io/instance created
[rosa@bastion ~]$
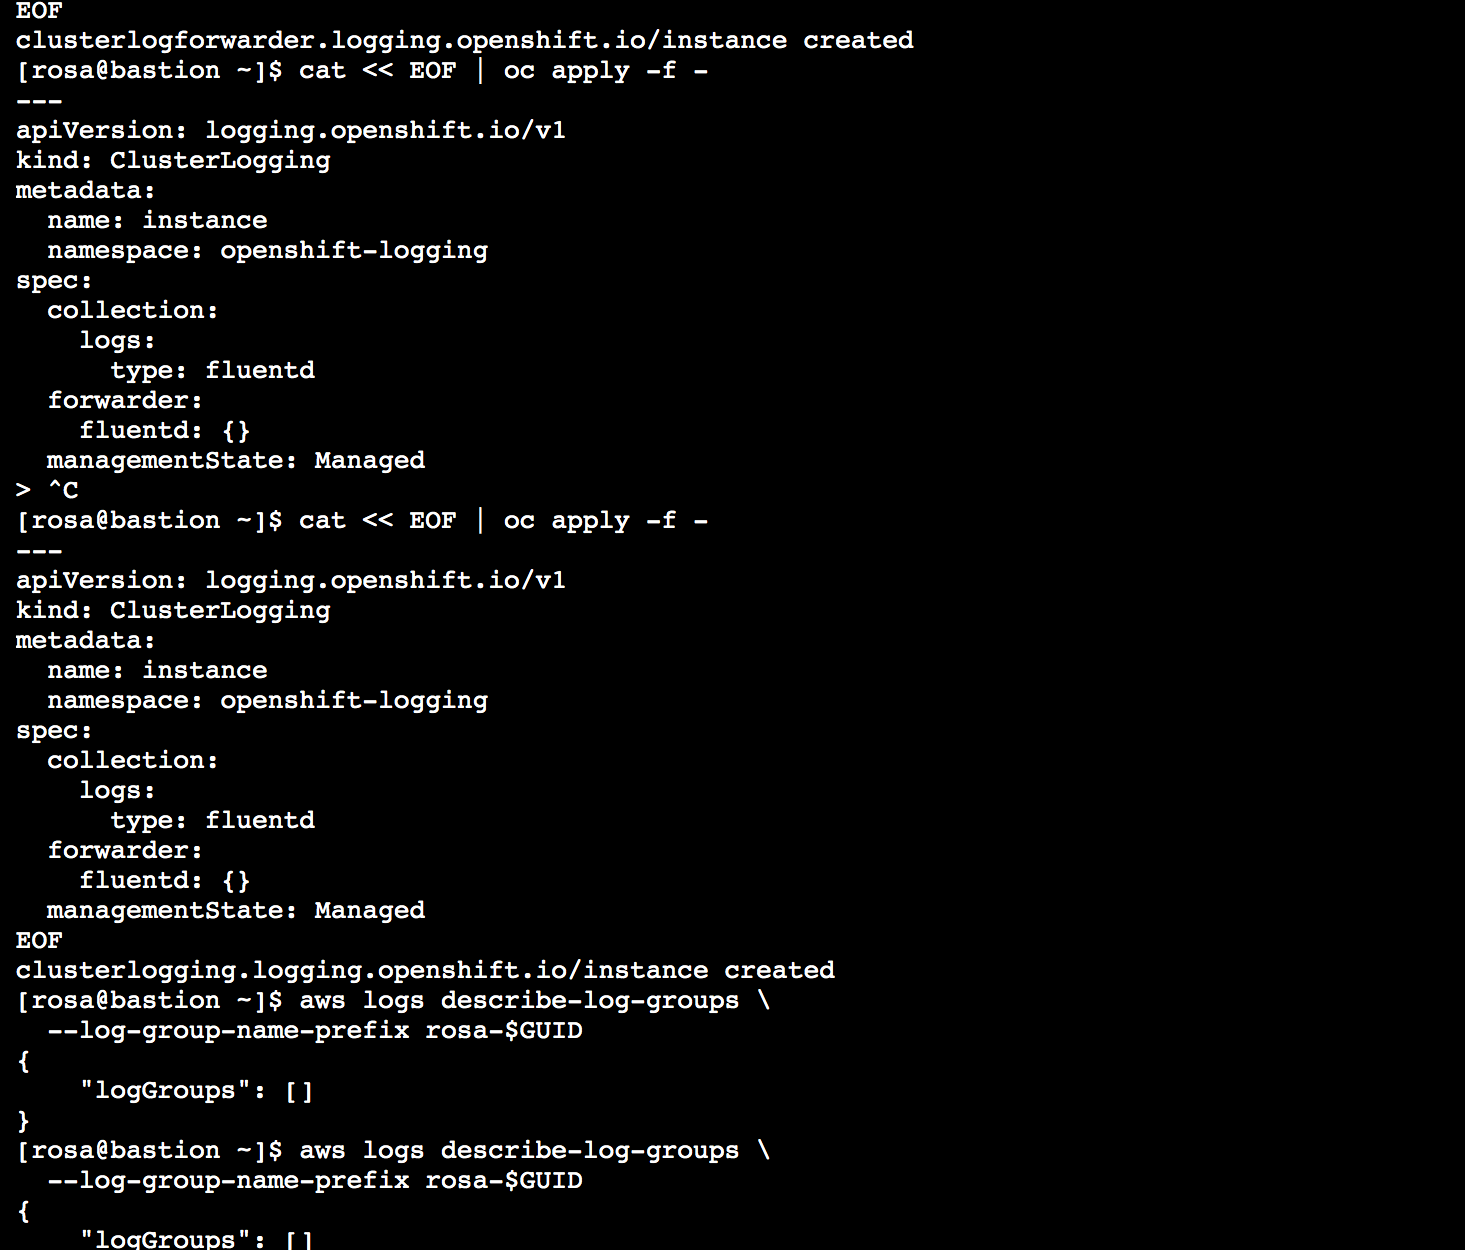
2.6. Next, let’s create a Cluster Logging custom resource which will enable the OpenShift Cluster Logging Operator to start collecting logs.
[rosa@bastion ~]$ cat << EOF | oc apply -f -
-–
apiVersion: logging.openshift.io/v1
kind: ClusterLogging
metadata:
name: instance
namespace: openshift-logging
spec:
collection:
logs:
type: fluentd
forwarder:
fluentd: {}
managementState: Managed
EOF
clusterlogging.logging.openshift.io/instance created
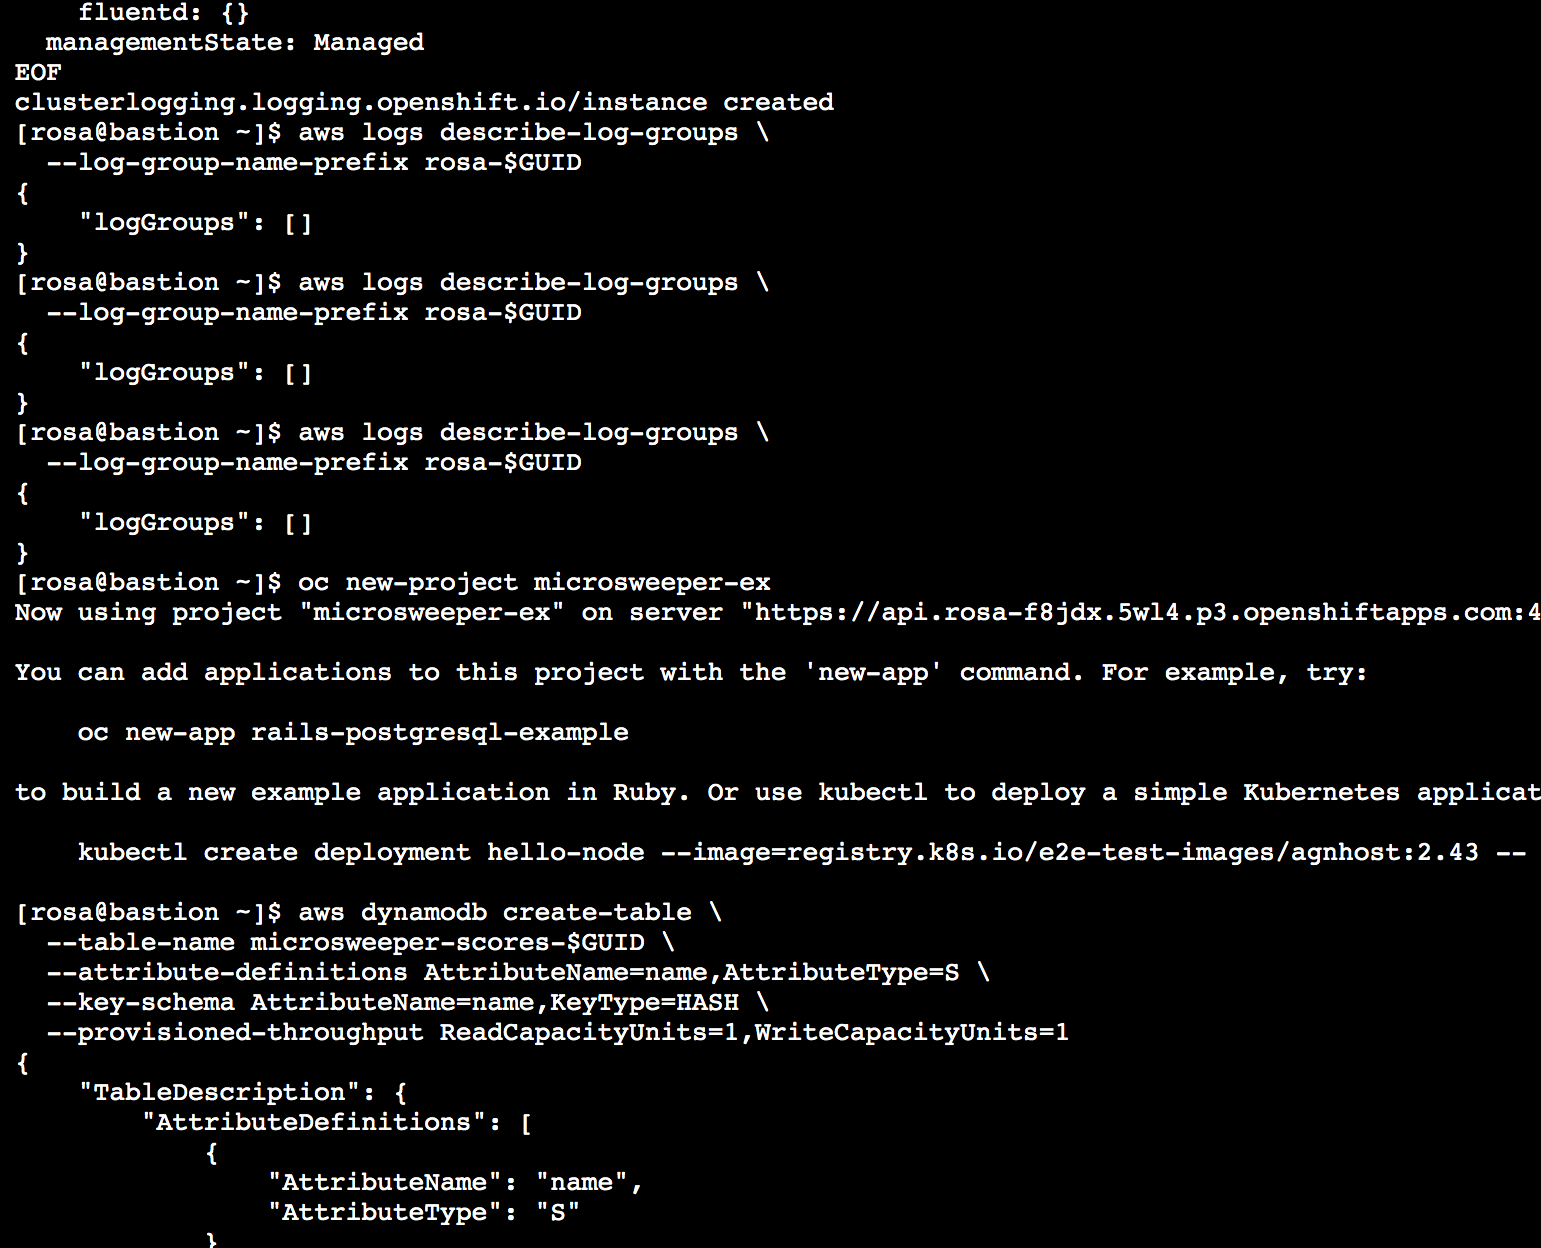
2.7. After a few minutes, you should begin to see log groups inside of Amazon CloudWatch. Repeat this command until you see output resembling the example output below.
[rosa@bastion ~]$ aws logs describe-log-groups --log-group-name-prefix rosa-$GUID
{
“logGroups”: []
}
[rosa@bastion ~]$ aws logs describe-log-groups --log-group-name-prefix rosa-$GUID
{
“logGroups”: []
}
[rosa@bastion ~]$ aws logs describe-log-groups --log-group-name-prefix rosa-$GUID
{
“logGroups”: []
}
[rosa@bastion ~]$ aws logs describe-log-groups --log-group-name-prefix rosa-$GUID
{
“logGroups”: []
}
[rosa@bastion ~]$
Deploy an Application with AWS Database
It’s time for us to put our cluster to work and deploy a workload! We’re going to build an example Java application, microsweeper, using Quarkus (a Kubernetes-native Java stack) and Amazon DynamoDB. We’ll then deploy the application to our ROSA cluster and connect to the database over AWS’s secure network.
This lab demonstrates how ROSA (an AWS native service) can easily and securely access and utilize other AWS native services using AWS Secure Token Service (STS). To achieve this, we will be using AWS IAM, Amazon DynamoDB, and a service account within OpenShift. After configuring the latter, we will use both Quarkus - a Kubernetes-native Java framework optimized for containers - and Source-to-Image (S2I) - a toolkit for building container images from source code - to deploy the microsweeper application.
| | You are working in an environment where your AWS credentials have been set up with exactly the permissions you need to complete this lab. AWS commands other than the ones in this lab will fail with missing authorization. |
| :—- | :—- |
##
1. Create an Amazon DynamoDB instance
1.1. First, let’s create a project (also known as namespace). A project is a unit of organization within OpenShift that provides isolation for applications and resources. To do so, run the following command:
osa@bastion ~]$ oc new-project microsweeper-ex
Now using project “microsweeper-ex” on server “https://api.rosa-88qgb.zpku.p3.openshiftapps.com:443”.
You can add applications to this project with the ‘new-app’ command. For example, try:
oc new-app rails-postgresql-example
to build a new example application in Ruby. Or use kubectl to deploy a simple Kubernetes application:
kubectl create deployment hello-node \--image=registry.k8s.io/e2e-test-images/agnhost:2.43 \-- /agnhost serve-hostname
[rosa@bastion ~]$
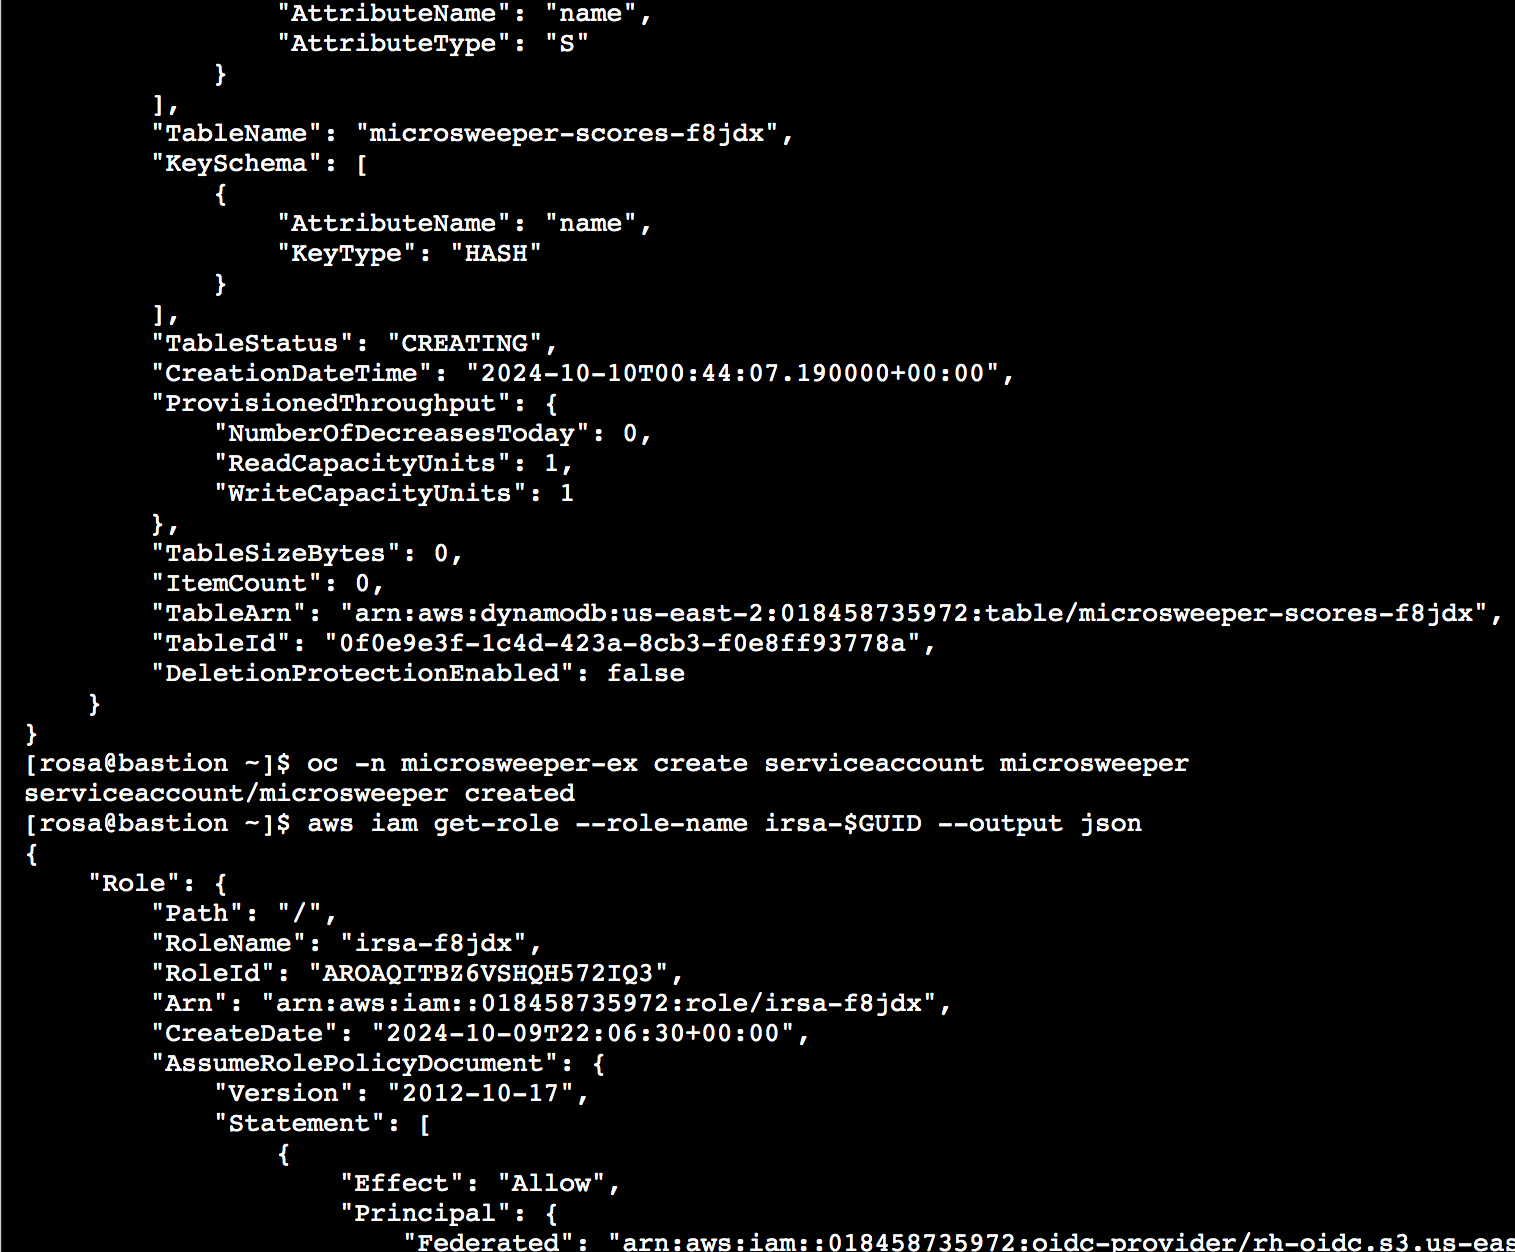
1.2. Next, create the Amazon DynamoDB table resource. Amazon DynamoDB will be used to store information from our application and ROSA will utilize AWS Secure Token Service(STS) to access this native service. More information on STS and how it is utilized in ROSA will be provided in the next section. For now lets create the Amazon DynamoDB table, To do so, run the following command:
rosa@bastion ~]$ aws dynamodb create-table \
--table-name microsweeper-scores-$GUID \
--attribute-definitions AttributeName=name,AttributeType=S \
--key-schema AttributeName=name,KeyType=HASH \
--provisioned-throughput ReadCapacityUnits=1,WriteCapacityUnits=1
{
“TableDescription”: {
“AttributeDefinitions”: [
{
“AttributeName”: “name”,
“AttributeType”: “S”
}
],
“TableName”: “microsweeper-scores-88qgb”,
“KeySchema”: [
{
“AttributeName”: “name”,
“KeyType”: “HASH”
}
],
“TableStatus”: “CREATING”,
“CreationDateTime”: “2024-10-09T17:52:27.423000+00:00”,
“ProvisionedThroughput”: {
“NumberOfDecreasesToday”: 0,
“ReadCapacityUnits”: 1,
“WriteCapacityUnits”: 1
},
“TableSizeBytes”: 0,
“ItemCount”: 0,
“TableArn”: “arn:aws:dynamodb:us-east-2:965696256290:table/microsweeper-scores-88qgb”,
“TableId”: “5164562c-eb93-416b-9f51-61e76a5397bb”,
“DeletionProtectionEnabled”: false
}
}
[rosa@bastion ~]$
##
2. IAM Roles for Service Account (IRSA) Configuration
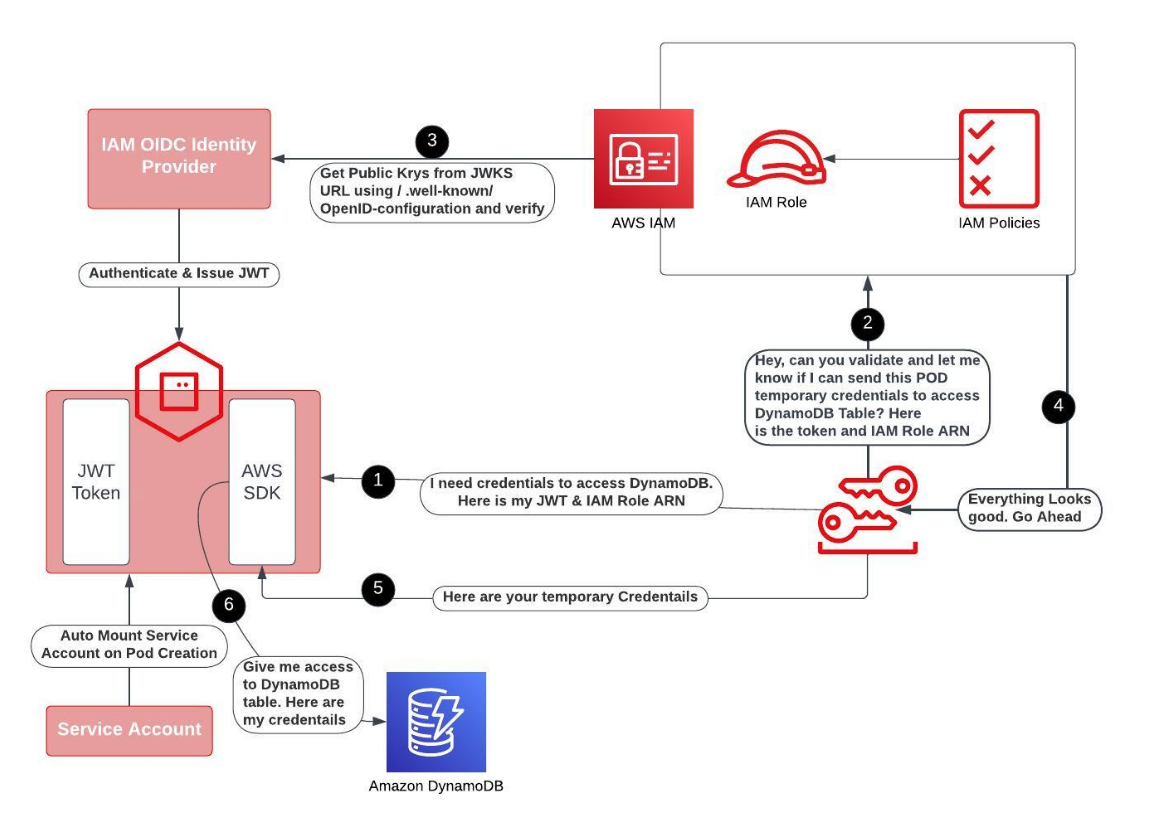
Our application uses AWS Secure Token Service(STS) to establish connections with Amazon DynamoDB. Traditionally, one would use static IAM credentials for this purpose, but this approach goes against AWS’ recommended best practices. Instead, AWS suggests utilizing their Secure Token Service (STS). Fortunately, our ROSA cluster has already been deployed using AWS STS, making it effortless to adopt IAM Roles for Service Accounts (IRSA), also known as pod identity.
Service accounts play a crucial role in managing the permissions and access control of applications running within ROSA. They act as identities for pods and allow them to interact securely with various AWS services.
IAM roles, on the other hand, define a set of permissions that can be assumed by trusted entities within AWS. By associating an AWS IAM role with a service account, we enable the pods in our ROSA cluster to leverage the permissions defined within that role. This means that instead of relying on static IAM credentials, our application can obtain temporary security tokens from AWS STS by assuming the associated IAM role.
This approach aligns with AWS’ recommended best practices and provides several benefits. Firstly, it enhances security by reducing the risk associated with long-lived static credentials. Secondly, it simplifies the management of access controls by leveraging IAM roles, which can be centrally managed and easily updated. Finally, it enables seamless integration with AWS services, such as DynamoDB, by granting the necessary permissions to the service accounts associated with our pods.
2.1. First, create a service account to use to assume an IAM role. To do so, run the following command:
sa@bastion ~]$ oc -n microsweeper-ex create serviceaccount microsweeper
serviceaccount/microsweeper created
2.2. An AWS IAM role has been set up for your service account to use. This role includes permissions to access the DynamoDB database that you created in the previous section. The role that has been created is called irsa-$GUID. You will need the ARN of that role to associate it with the microsweeper service account.
2.3. Examine the role that has been created for you:
[rosa@bastion ~]$ aws iam get-role --role-name irsa-$GUID --output json
{
“Role”: {
“Path”: “/”,
“RoleName”: “irsa-88qgb”,
“RoleId”: “AROA6BV73PERGC5UMTEIE”,
“Arn”: “arn:aws:iam::965696256290:role/irsa-88qgb”,
“CreateDate”: “2024-10-09T07:26:46+00:00”,
“AssumeRolePolicyDocument”: {
“Version”: “2012-10-17”,
“Statement”: [
{
“Effect”: “Allow”,
“Principal”: {
“Federated”: “arn:aws:iam::965696256290:oidc-provider/rh-oidc.s3.us-east-1.amazonaws.com/2e9tm35qg5orqaeqjvfjn0nnk9885st3”
},
“Action”: “sts:AssumeRoleWithWebIdentity”,
“Condition”: {
“StringEquals”: {
“rh-oidc.s3.us-east-1.amazonaws.com/2e9tm35qg5orqaeqjvfjn0nnk9885st3:sub”: “system:serviceaccount:microsweeper-ex:microsweeper”
}
}
}
]
},
“Description”: “IRSA Role (88qgb)”,
“MaxSessionDuration”: 3600,
“RoleLastUsed”: {}
}
}
[rosa@bastion ~]$
Note how the service account microsweeper in the namespace microsweeper-ex has been granted the permissions to assume the role. Also note that creating this service account in another namespace would therefore not work to elevate the service account’s permissions.
2.4.Get the Role ARN:
[rosa@bastion ~]$ ROLE_ARN=$(aws iam get-role --role-name irsa-$GUID --output json | jq -r .Role.Arn)
[rosa@bastion ~]$ echo $ROLE_ARN
arn:aws:iam::965696256290:role/irsa-88qgb
[rosa@bastion ~]$
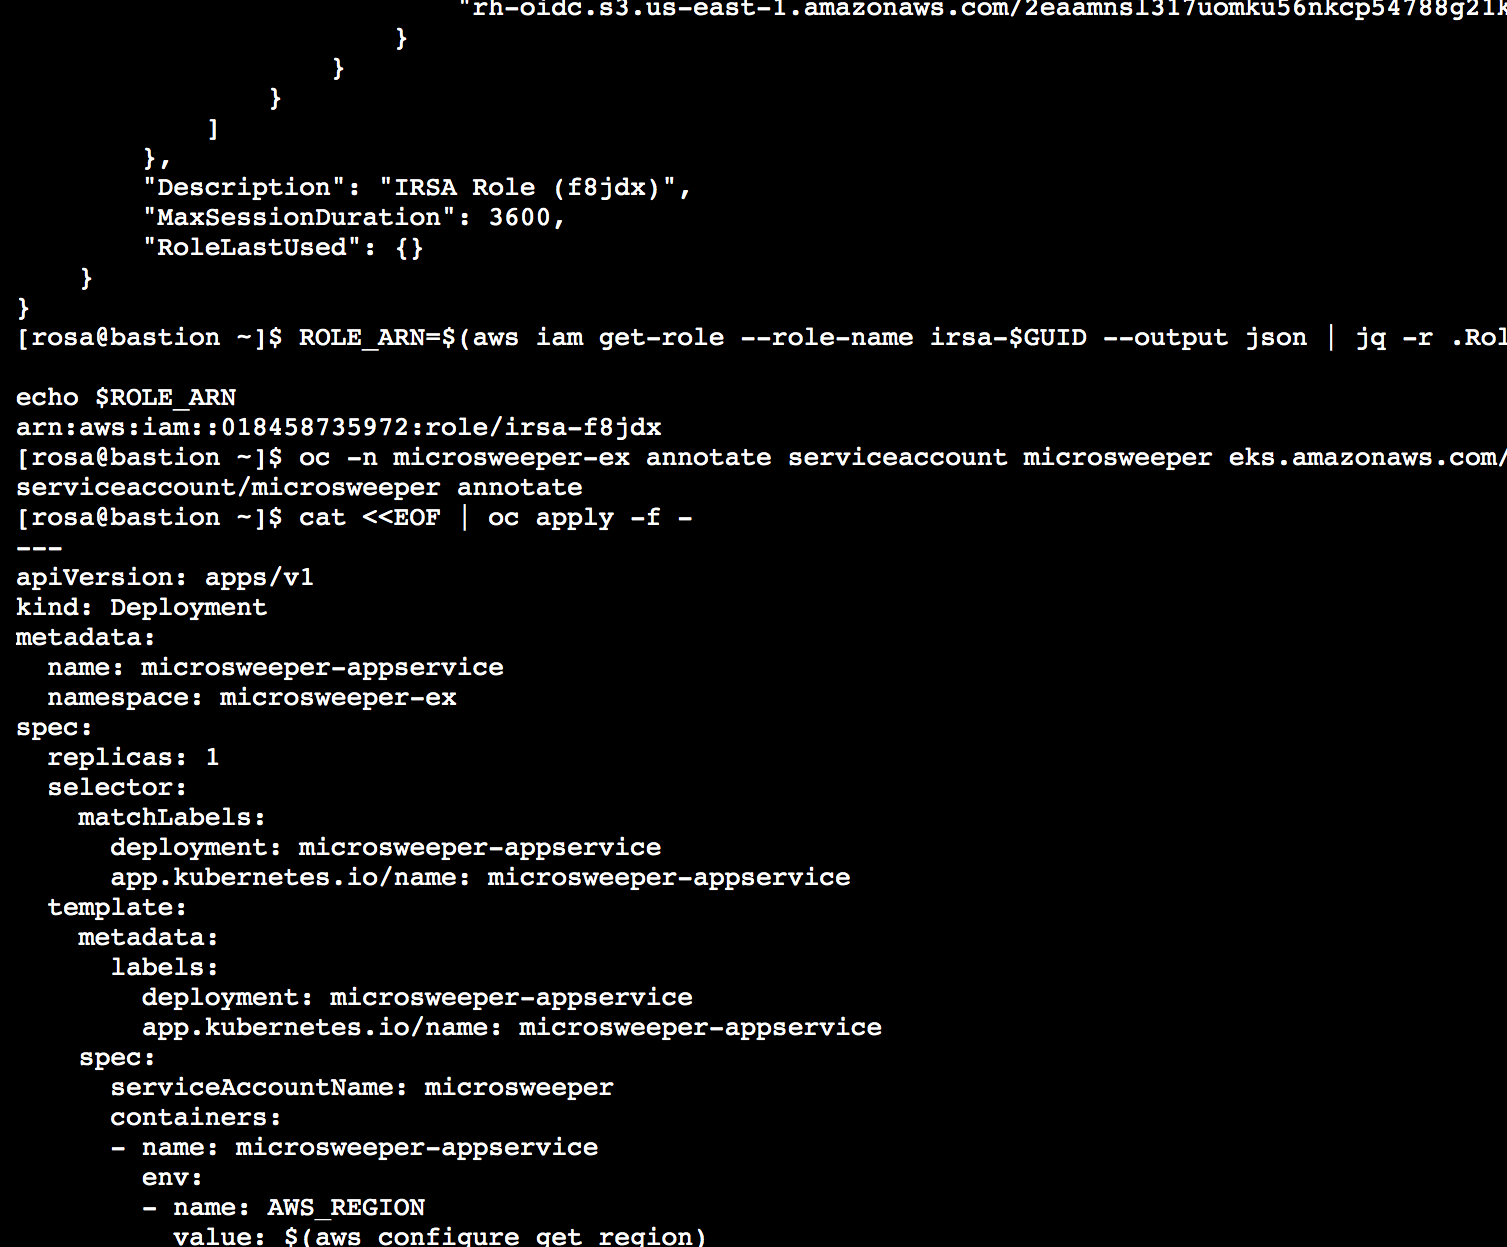
2.5. Now you can annotate the service account with the ARN of the pre-created IAM role. To do so, run the following command:
osa@bastion ~]$ oc -n microsweeper-ex annotate serviceaccount microsweeper eks.amazonaws.com/role-arn=$ROLE_ARN
serviceaccount/microsweeper annotate
##
3. Deploy the Microsweeper app
Now that we’ve got a DynamoDB instance up and running and our IRSA configuration completed, let’s deploy our application.
The example application that we use is a Quarkus application. You can find the source code for the application at https://github.com/rhpds/rosa-workshop-app.git. But for the purposes of this experience you will be deploying a pre-built container image.
3.1.Create the microsweeper-appservice Deployment:
osa@bastion ~]$ cat <<EOF | oc apply -f -
-–
apiVersion: apps/v1
kind: Deployment
metadata:
name: microsweeper-appservice
namespace: microsweeper-ex
spec:
replicas: 1
selector:
matchLabels:
deployment: microsweeper-appservice
app.kubernetes.io/name: microsweeper-appservice
template:
metadata:
labels:
deployment: microsweeper-appservice
app.kubernetes.io/name: microsweeper-appservice
spec:
serviceAccountName: microsweeper
containers:
- name: microsweeper-appservice
env:
- name: AWS_REGION
value: $(aws configure get region)
- name: DYNAMODB_AWS_CREDENTIALS_TYPE
value: default
- name: DYNAMODB_TABLE
value: microsweeper-scores-$GUID
image: quay.io/rhpds/microsweeper:1.0.0
imagePullPolicy: IfNotPresent
ports:
- containerPort: 8080
protocol: TCP
EOF
deployment.apps/microsweeper-appservice created
[rosa@bastion ~]$
The application is configured using environment variables and the service account name.
- serviceAccountName: microsweeper tells OpenShift to use the service account that you configured previously to run this pod.
- AWS_REGION tells the application in which region the database table is deployed.
- DYNAMODB_AWS__CREDENTIALS_TYPE tells the Quarkus database client to look for credentials in the usual places (amongst which is our service account)
- DYNAMODB_TABLE is the name of the database table that you previously created.
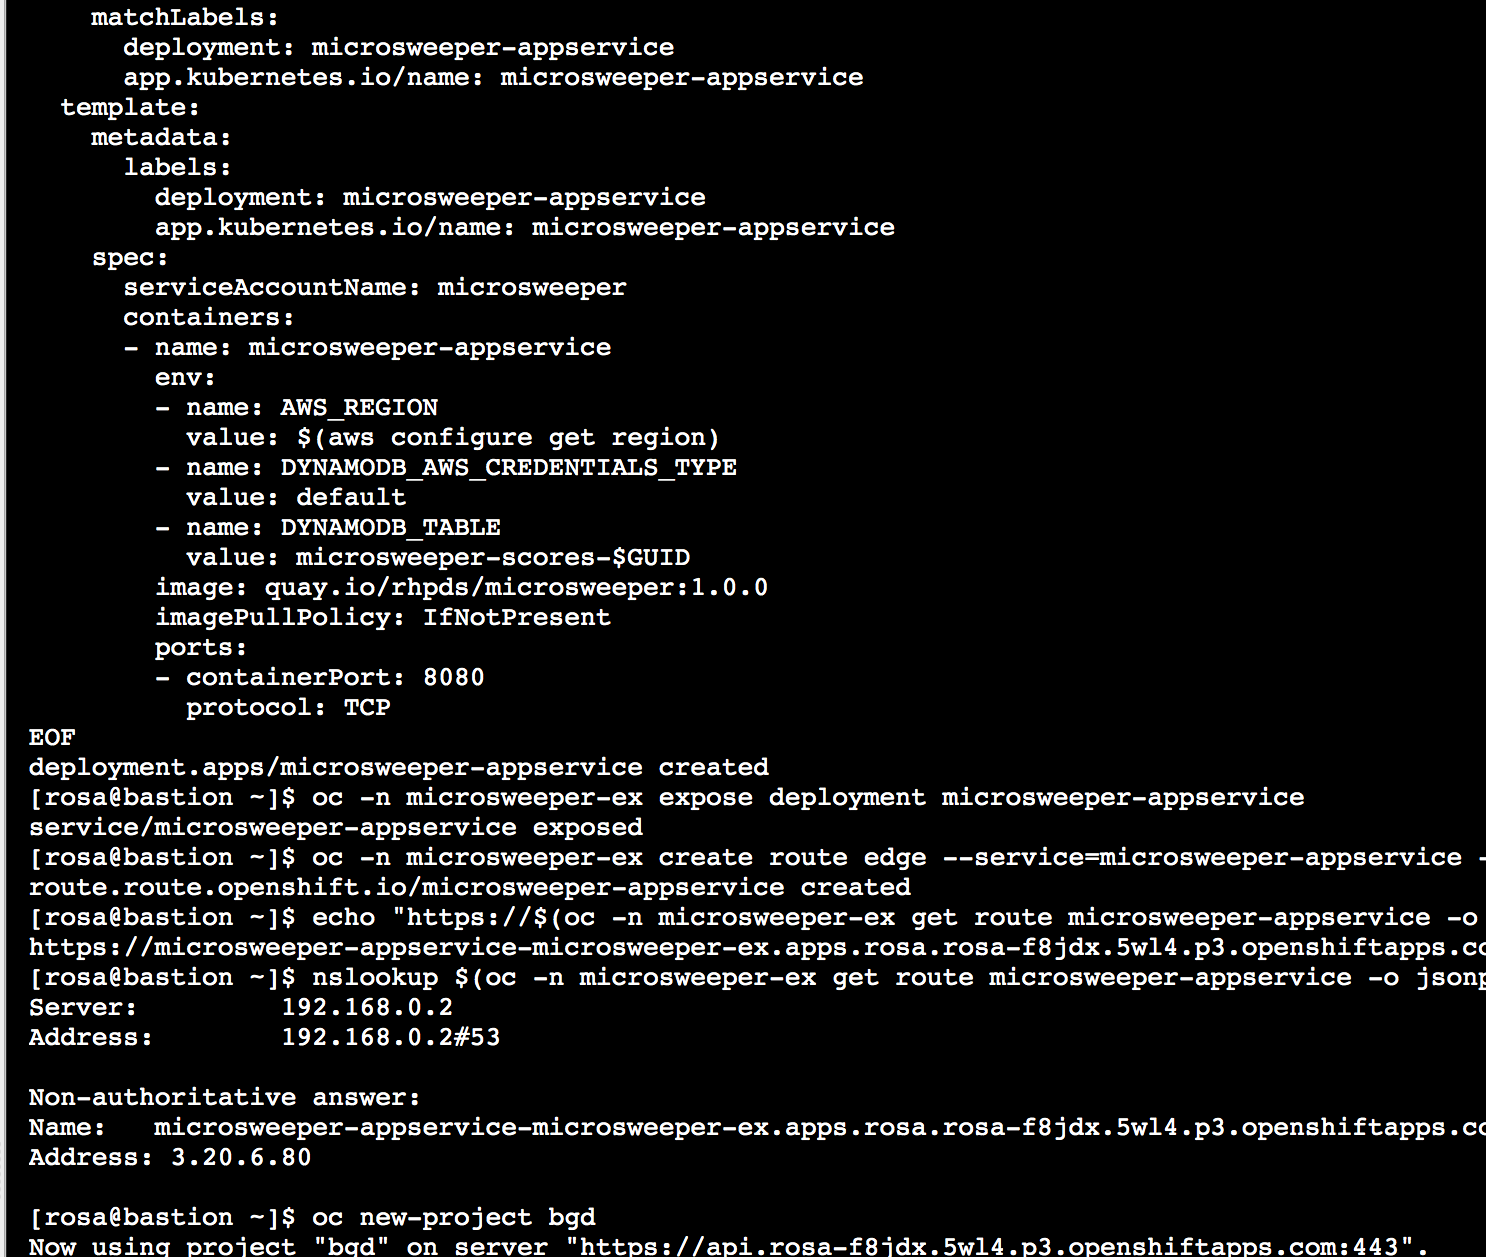
3.2.Now that your application is running we need to make the application accessible outside of your OpenShift clusterso that you can test it..
Create the Service for the application:
rosa@bastion ~]$ oc -n microsweeper-ex expose deployment microsweeper-appservice
service/microsweeper-appservice exposed
[rosa@bastion ~]$
3.3. And finally create a Route that publishes this application. This particular route will have TLS encryption (edge) and redirect http requests to https (Redirect).
###
3.3.1. Test the application
3.3.1.1. Get the the URL for your application route:
3.3.1.1.1. Use the returned URL to open the Microsweeper application in a web browser of your choice.
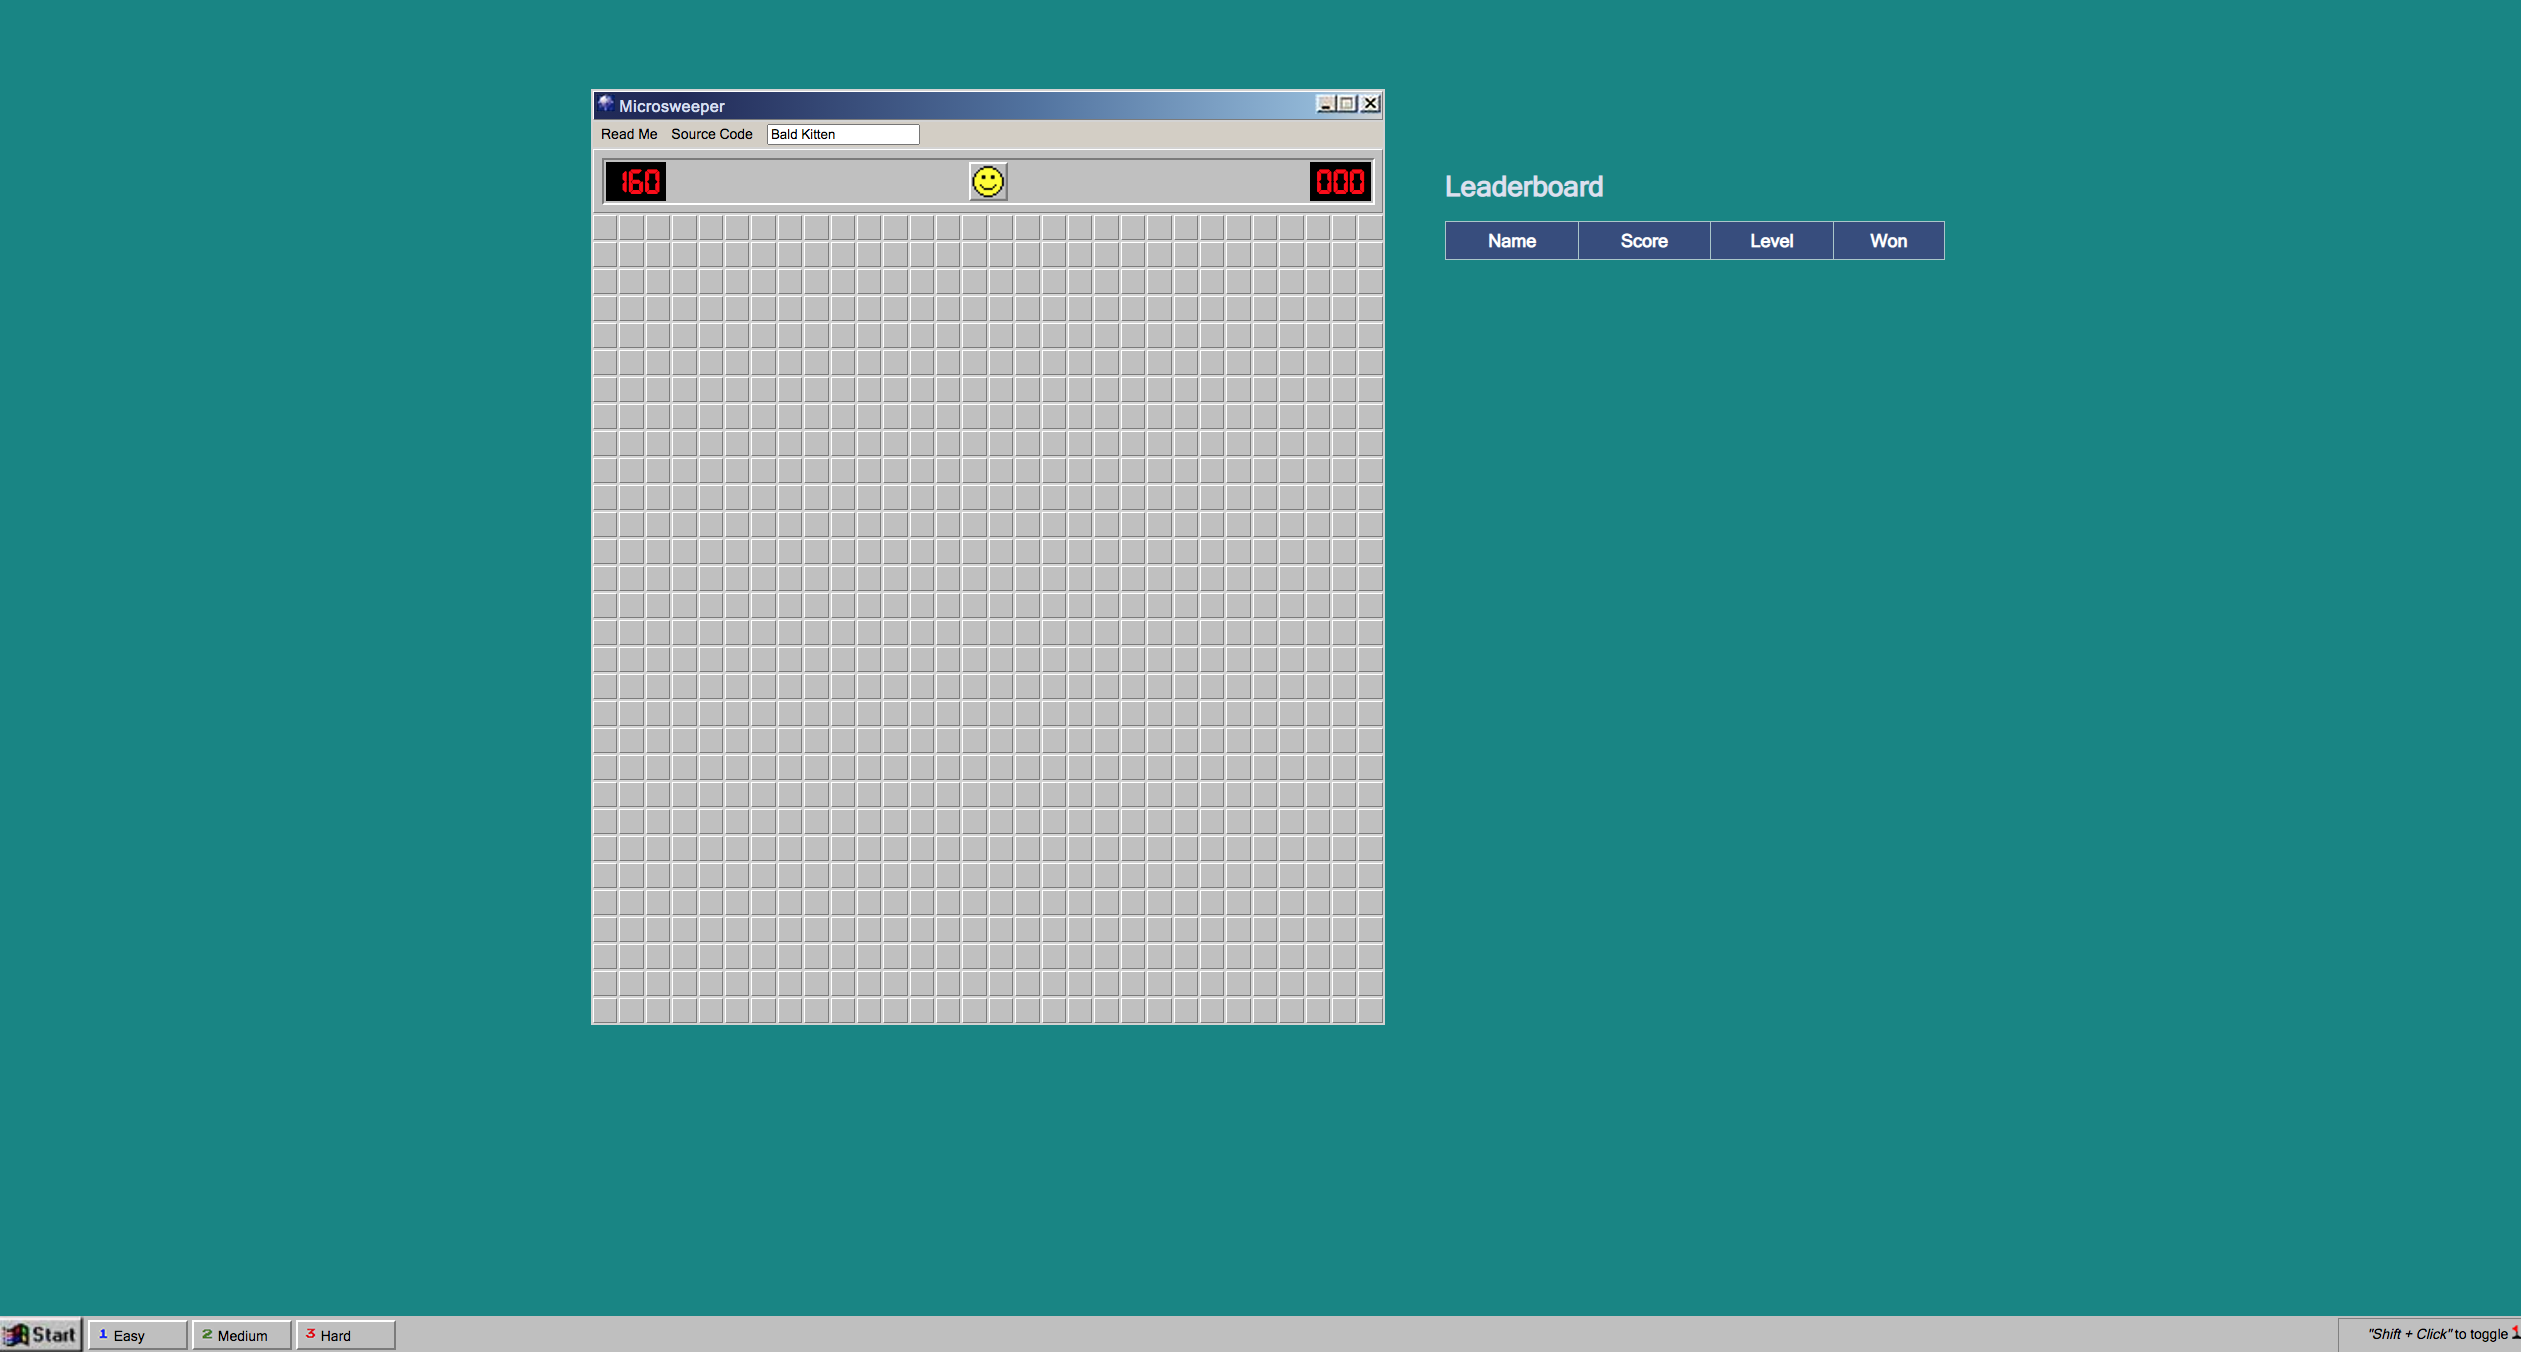
You should be able to play a few games and have the score persist in the database.
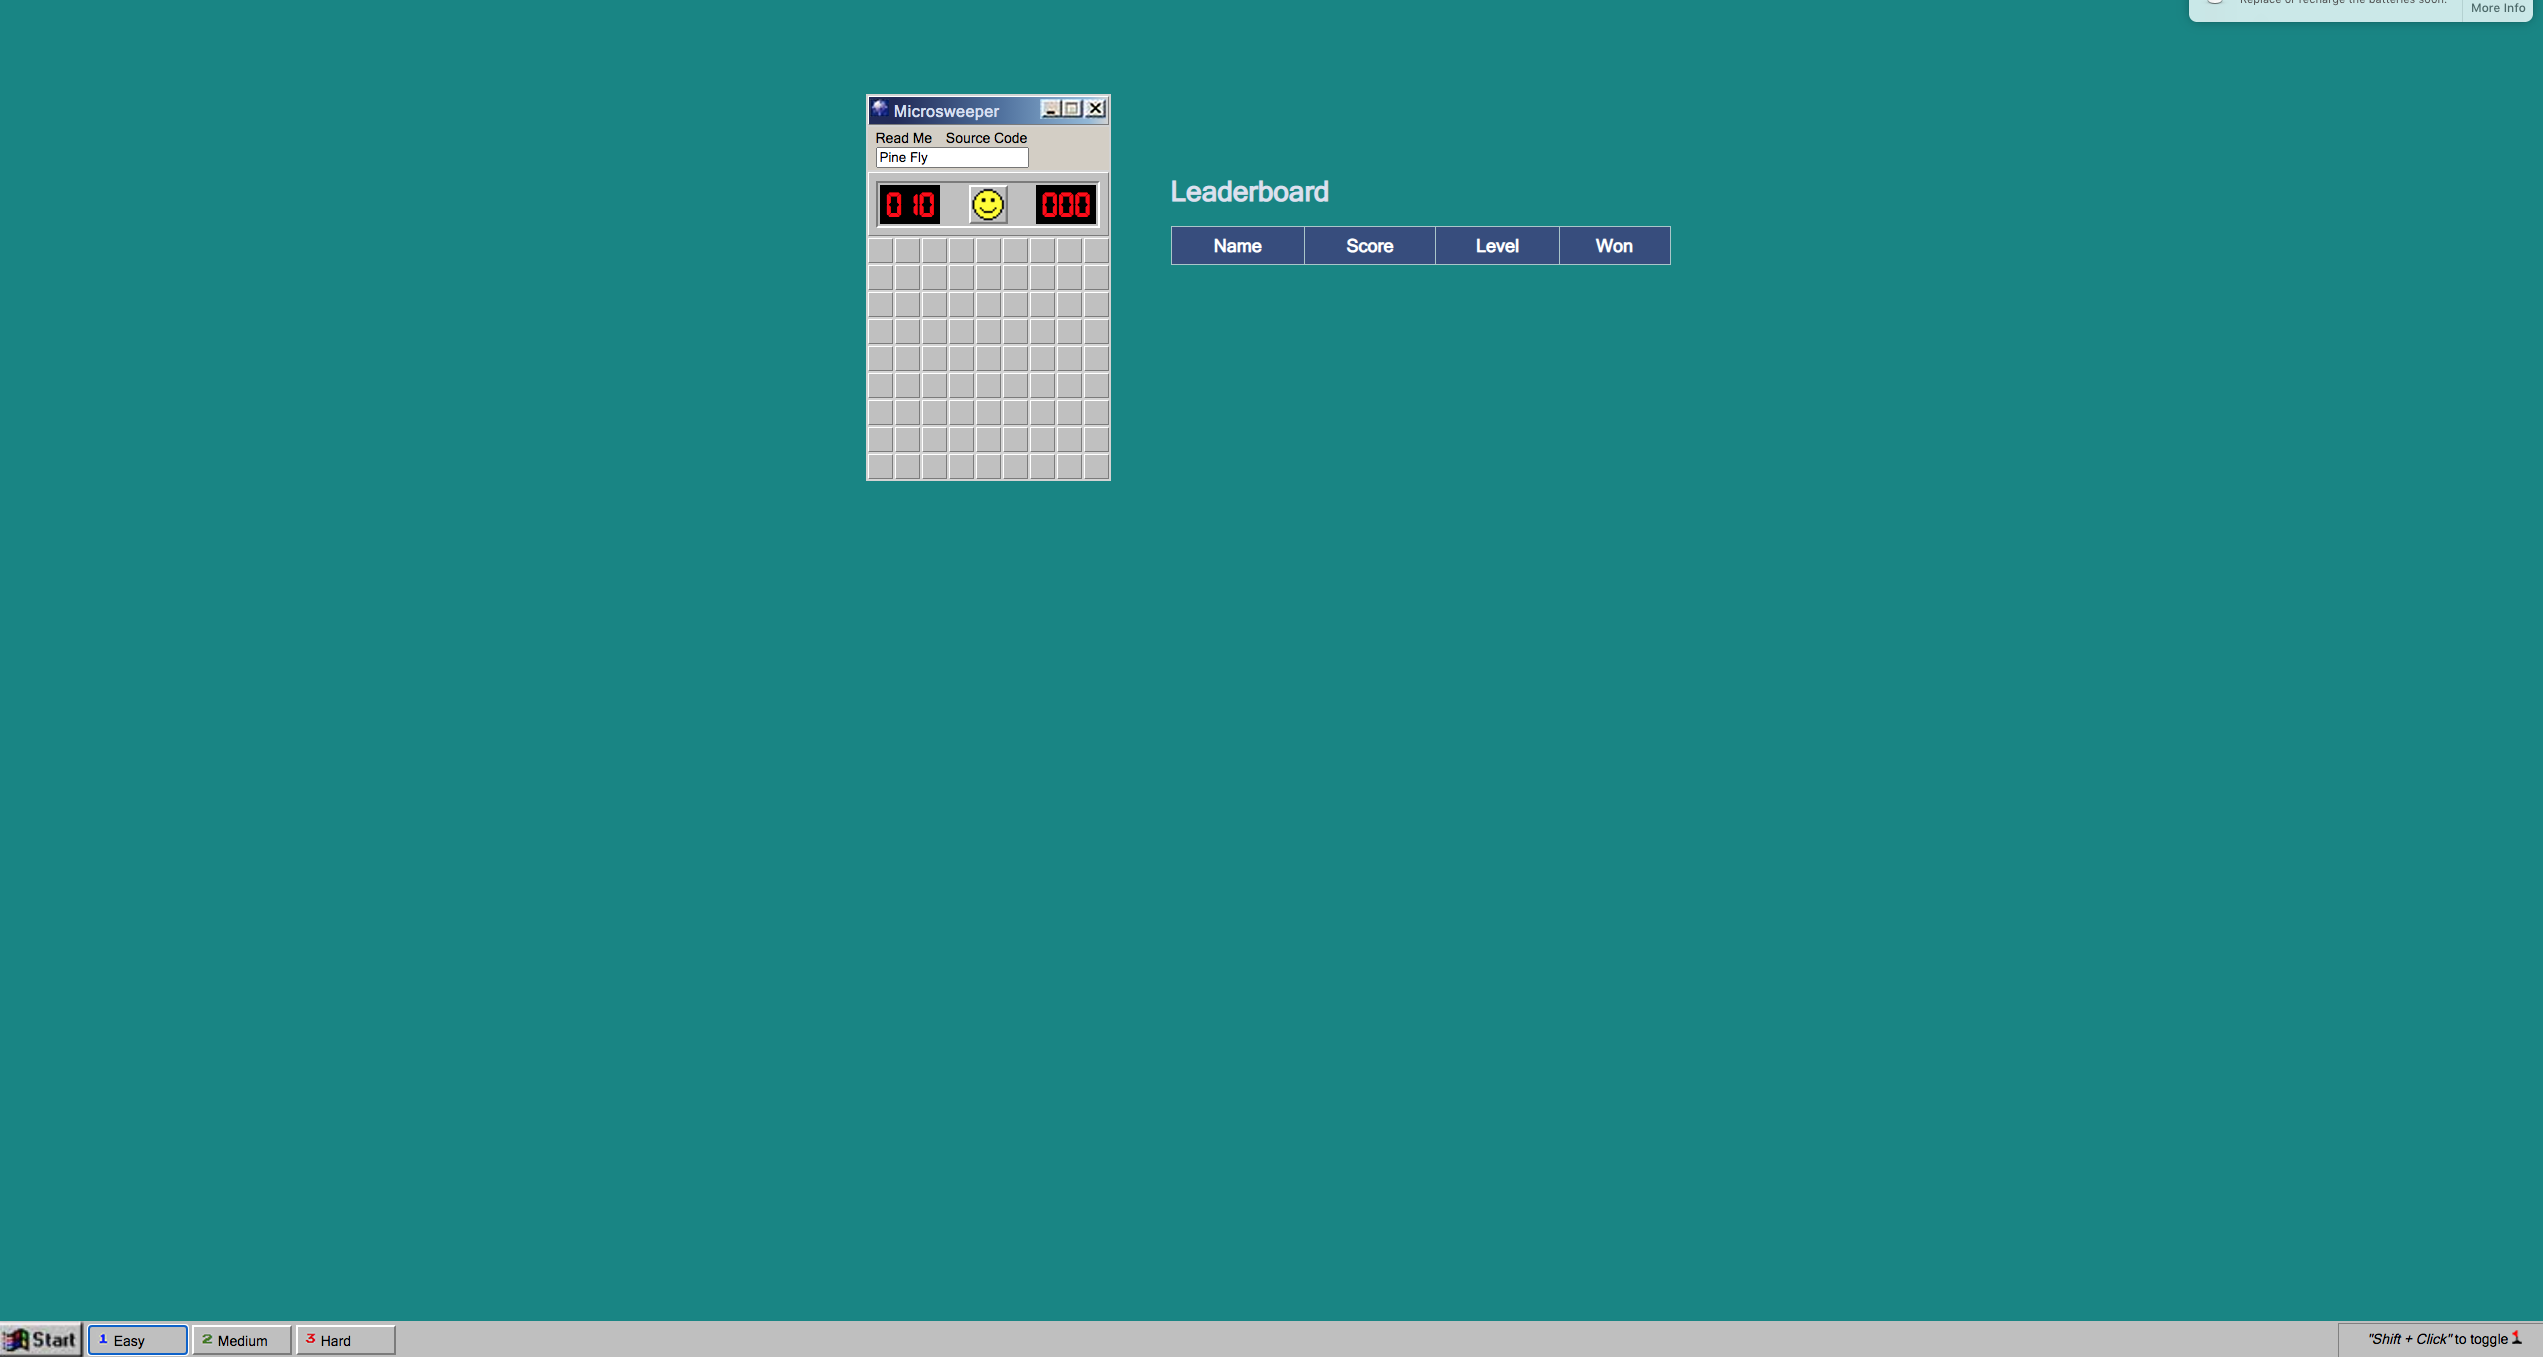
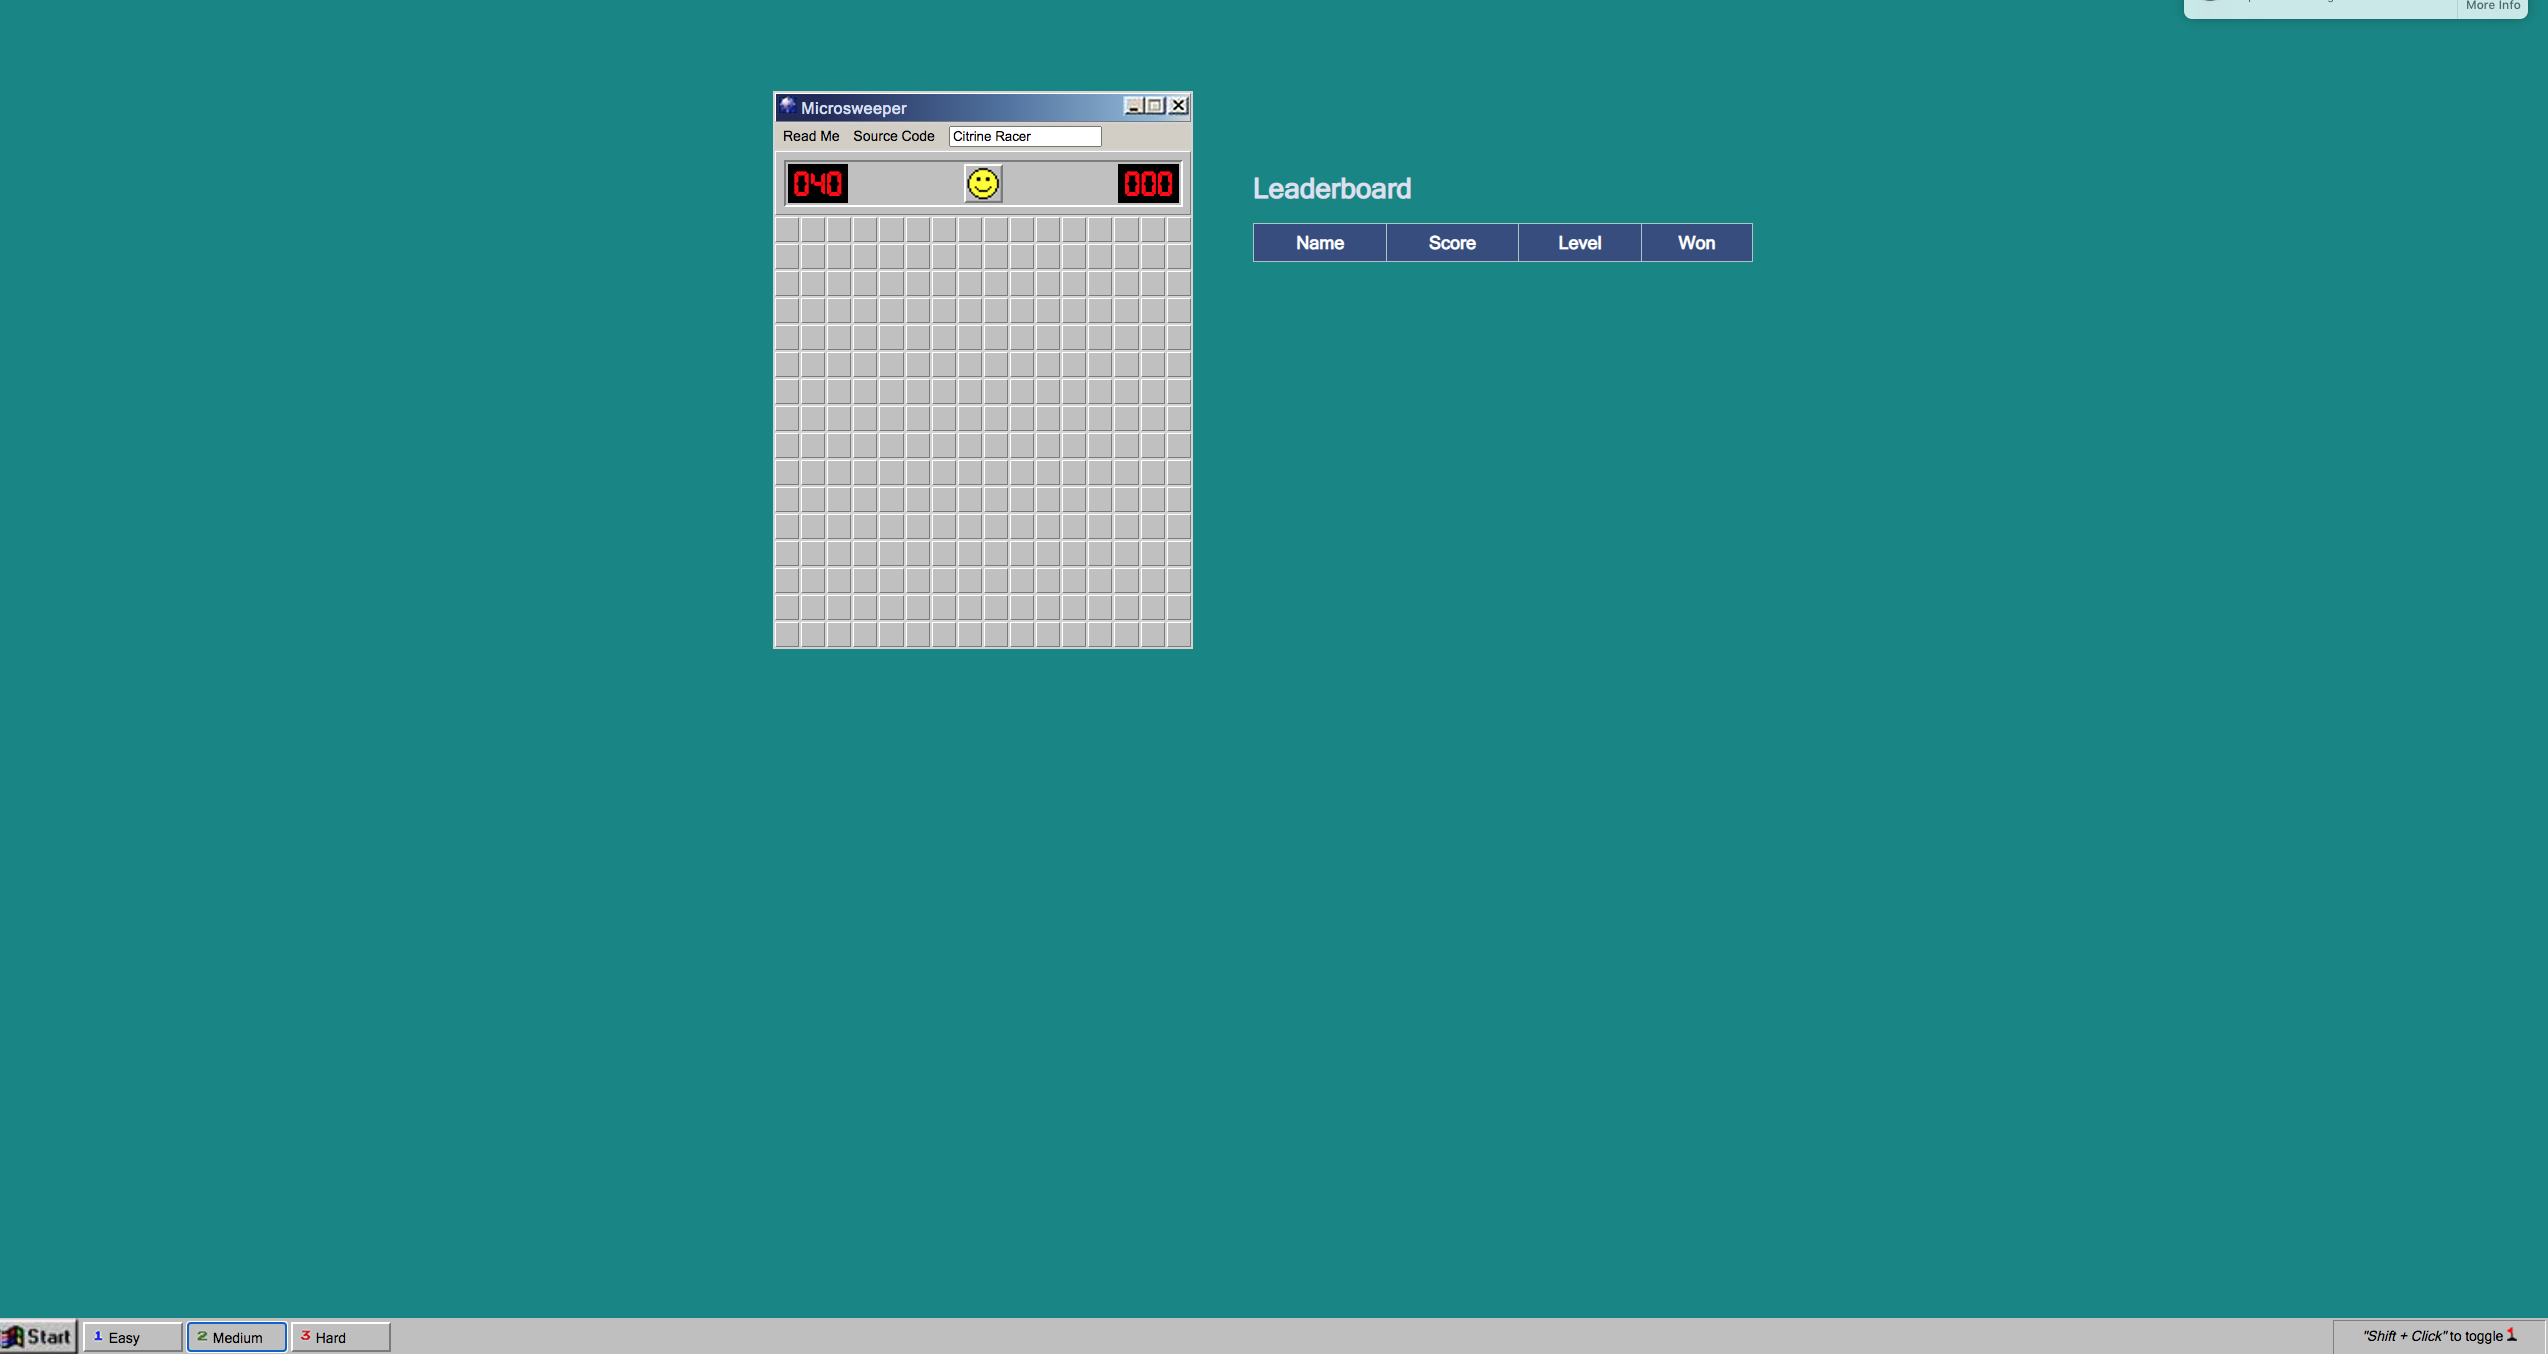
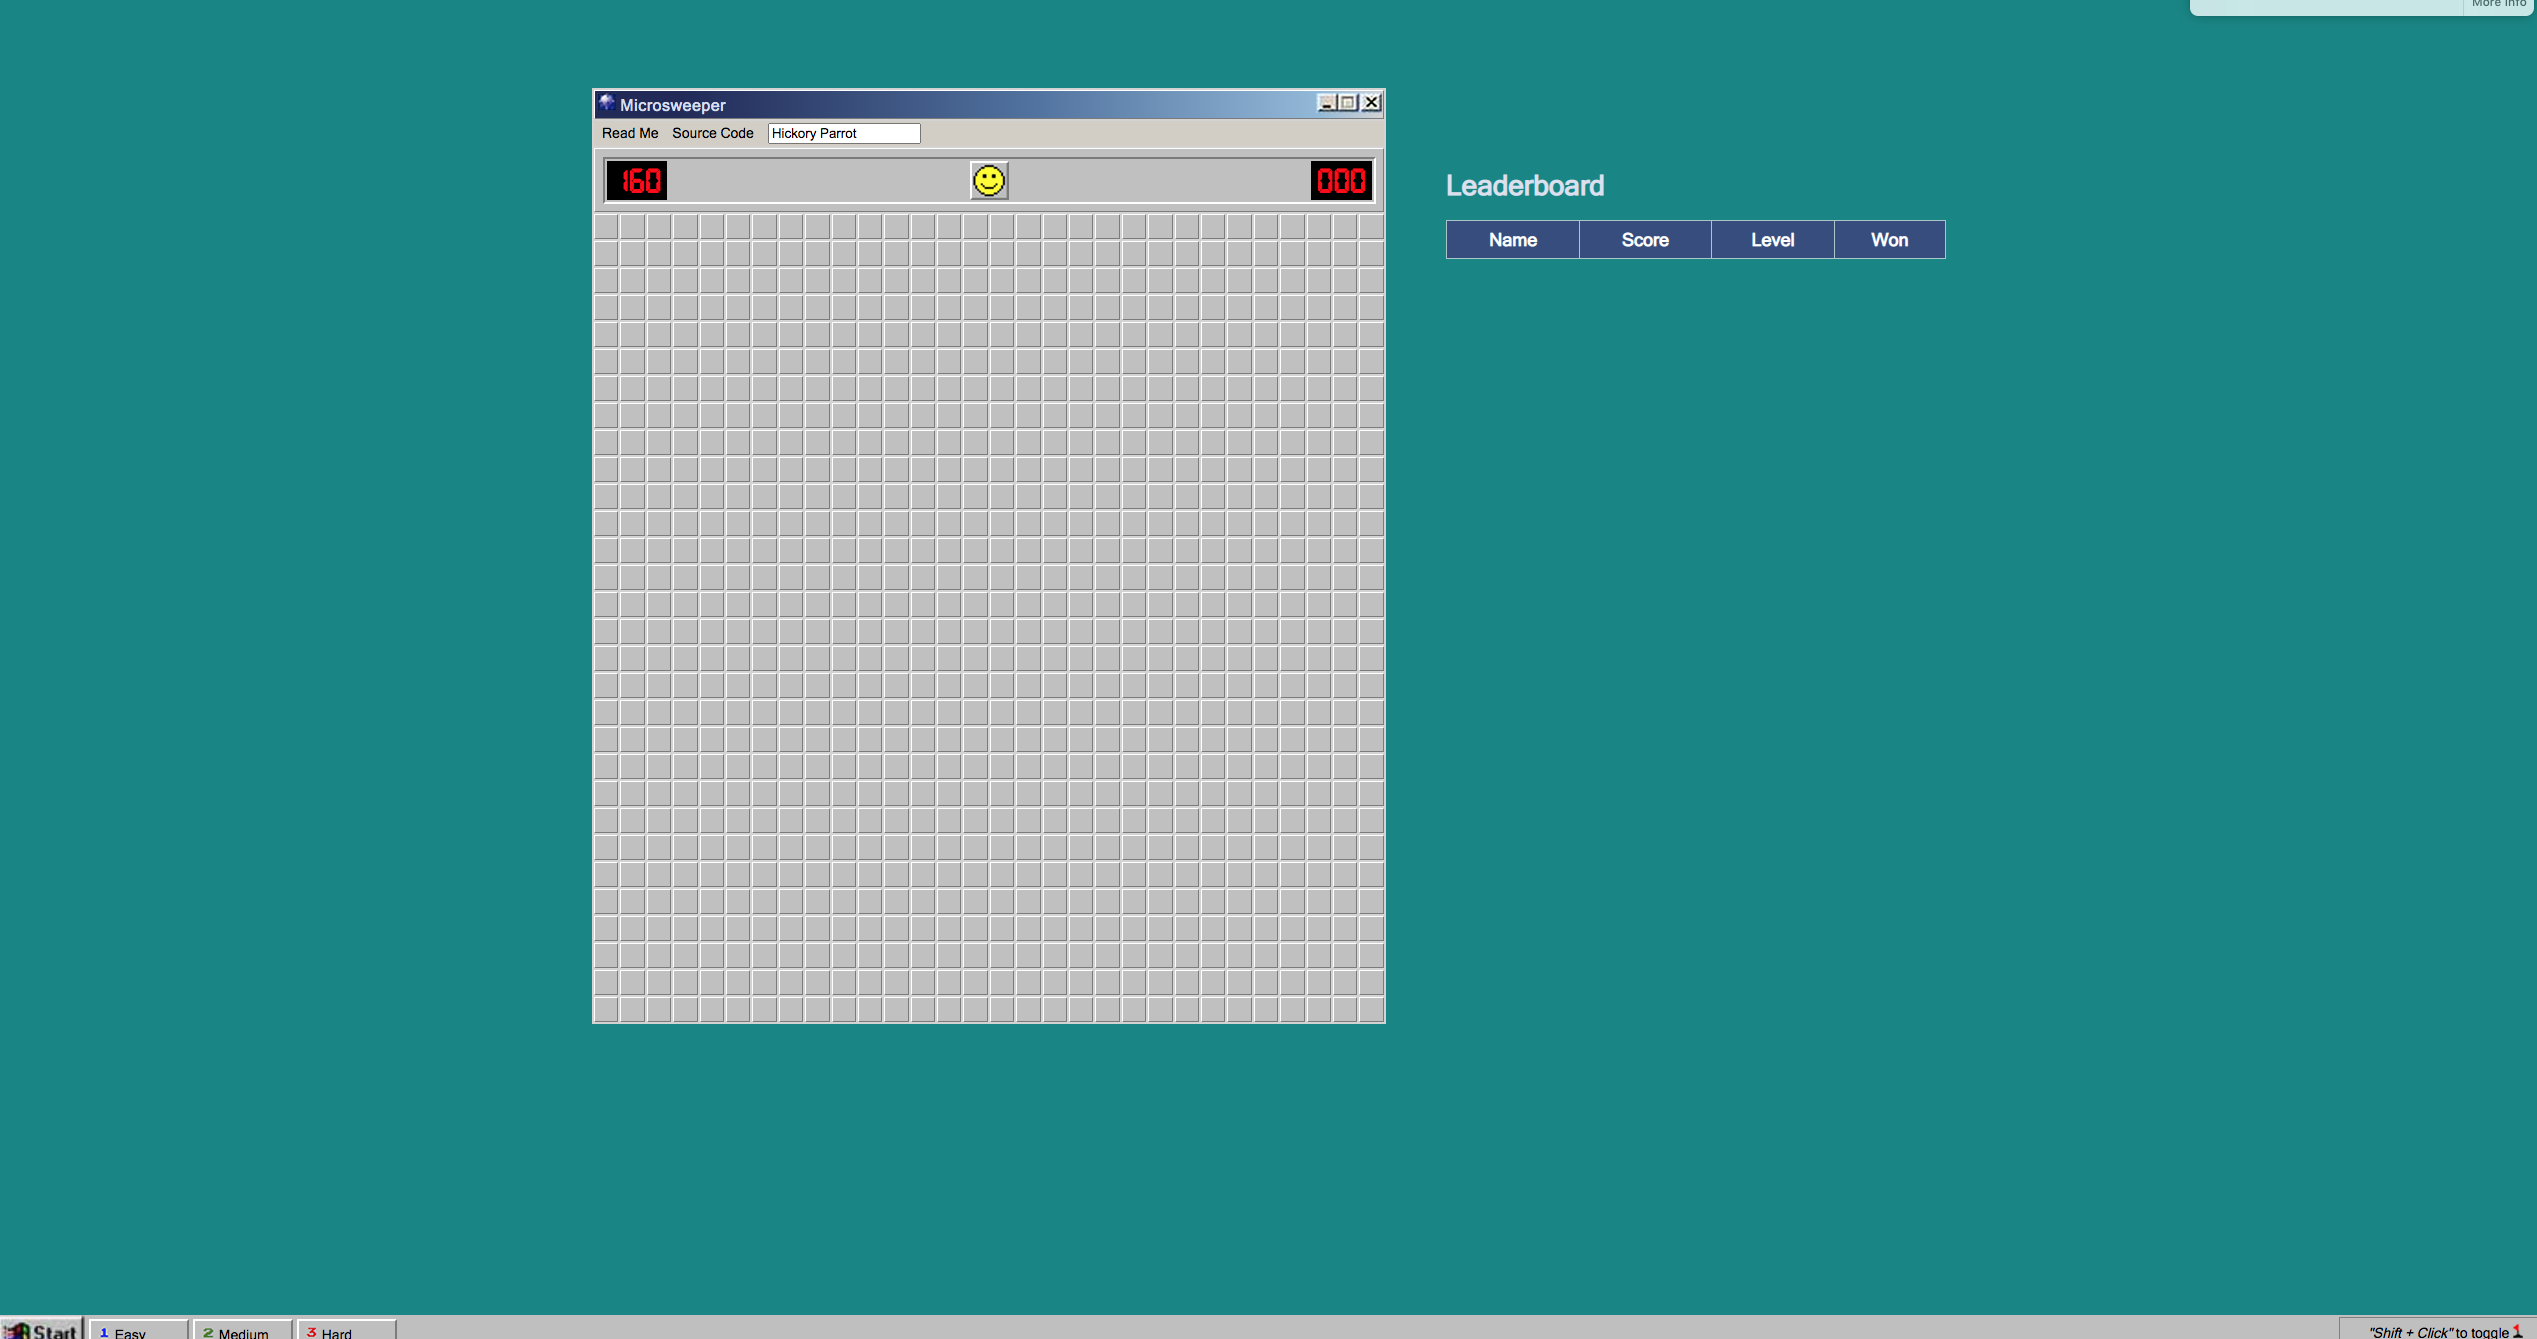
See the screenshot(unforntunately my game failed due to computer)
3.3.2. Application IP
Let’s take a quick look at what IP the application resolves to.
Back in your terminal, run the following command:
osa@bastion ~]$ nslookup $(oc -n microsweeper-ex get route microsweeper-appservice -o jsonpath=’{.spec.host}’)
Server: 192.168.0.2
Address: 192.168.0.2#53
Non-authoritative answer:
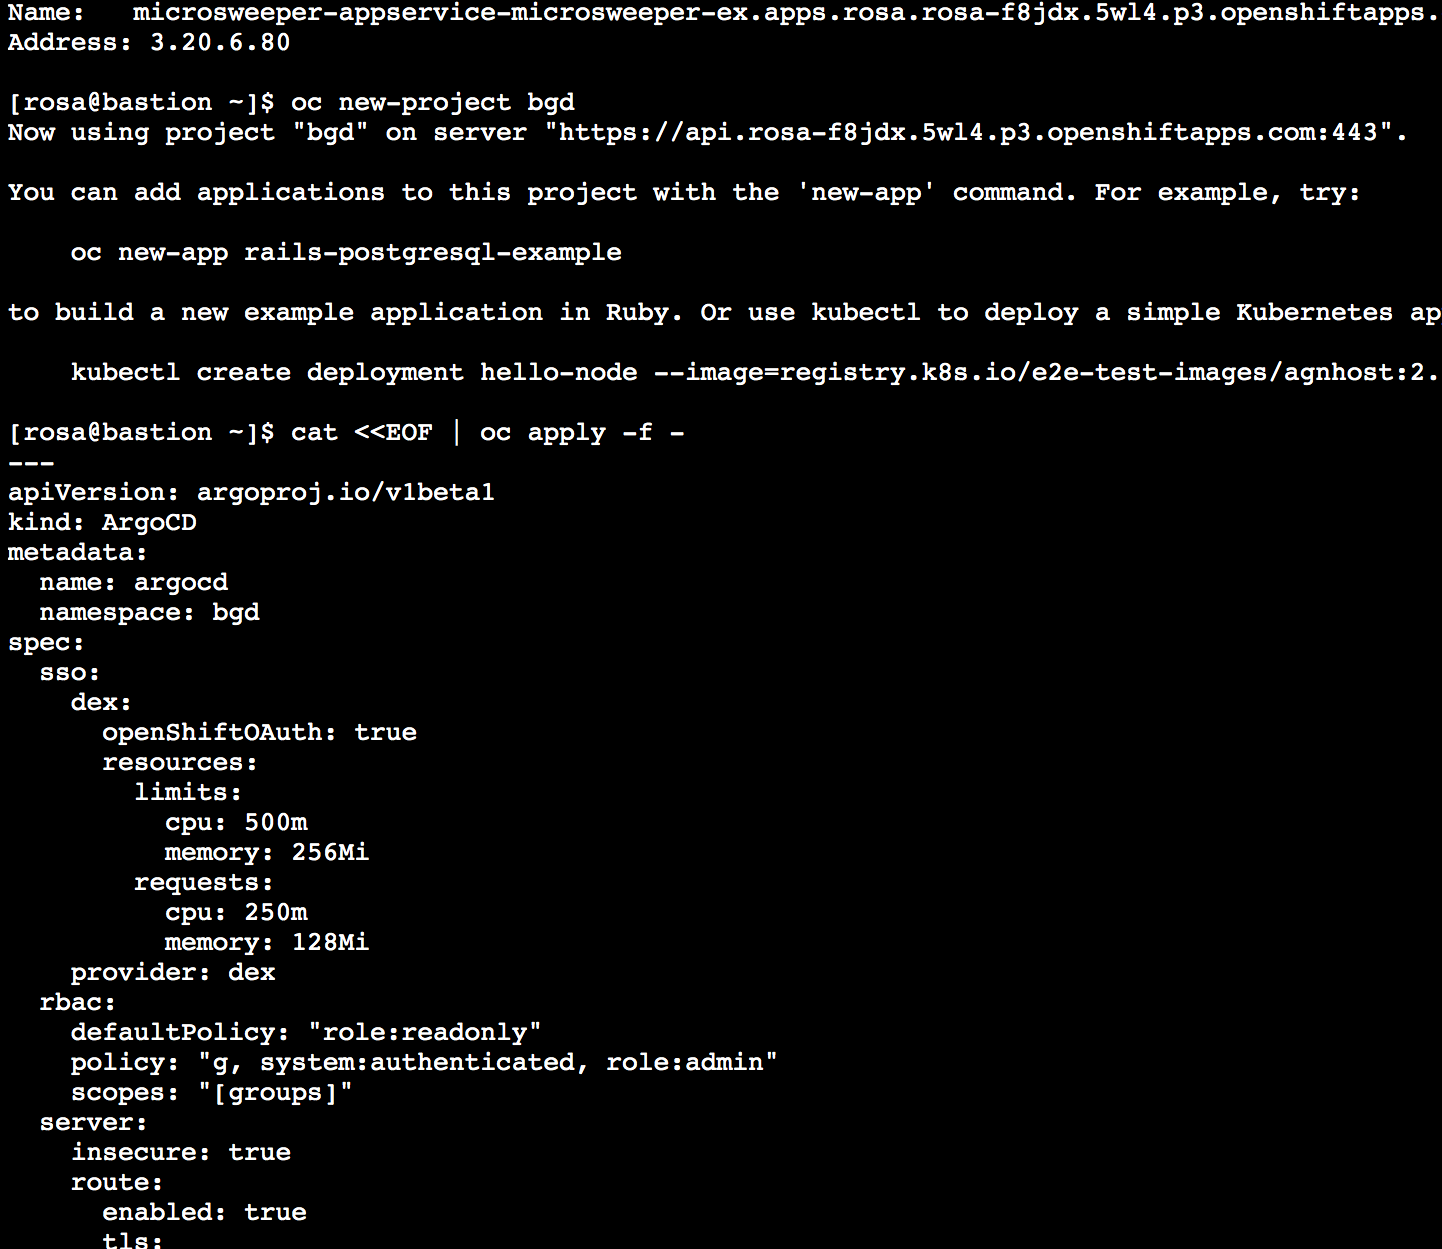
Name: microsweeper-appservice-microsweeper-ex.apps.rosa.rosa-88qgb.zpku.p3.openshiftapps.com
Address: 3.128.126.201
[rosa@bastion ~]$
Notice the IP address; can you guess where it comes from?
It comes from the ROSA Load Balancer. In this workshop, we are using a public cluster which means the load balancer is exposed to the Internet. If this was a private cluster, you would have to have connectivity to the VPC ROSA is running on. This could be via a VPN connection, AWS DirectConnect, or something else.
Deploy an Application with Red Hat OpenShift GitOps
Red Hat® OpenShift® GitOps is an operator that provides tools to enable continuous deployment (CD). Making GitOps workflows available to your platform and development teams, OpenShift GitOps helps you to realize faster, more secure, and more scalable software development, without compromising on quality.
OpenShift GitOps enables customers to build and integrate declarative, git-driven CD workflows directly into their development lifecycle.
There’s no single tool that converts a development pipeline to “DevOps”, but implementing a GitOps framework starts you on the path. Updates and changes are made declaratively in code, bringing automation and a single source of truth to your infrastructure, configuration, and application deployments.
OpenShift GitOps is built on Argo CD, integrating it into Red Hat OpenShift to deliver a consistent, fully supported, declarative, cloud native platform for deployment using GitOps principles.
OpenShift with OpenShift GitOps enables you to:
- Apply consistency across cluster and deployment lifecycles
- Consolidate administration and management of applications across on-premises and cloud environments
- Monitor the state deployed applications across your clusters
- Roll back code changes across clusters
- Roll out new changes submitted via Git
- Have confidence in the state of your resources
1. Deploying your Application with OpenShift GitOps
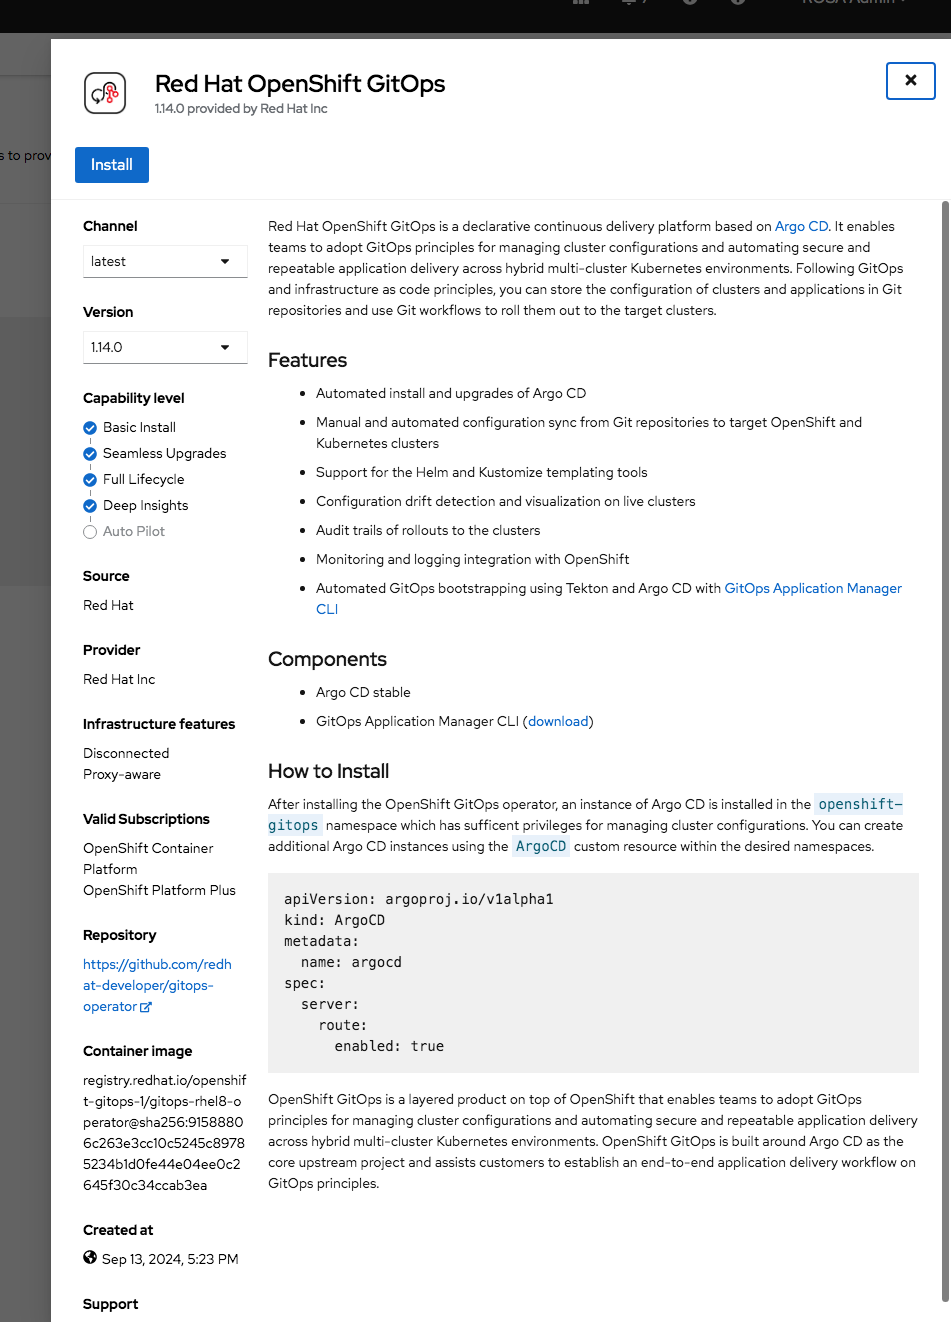
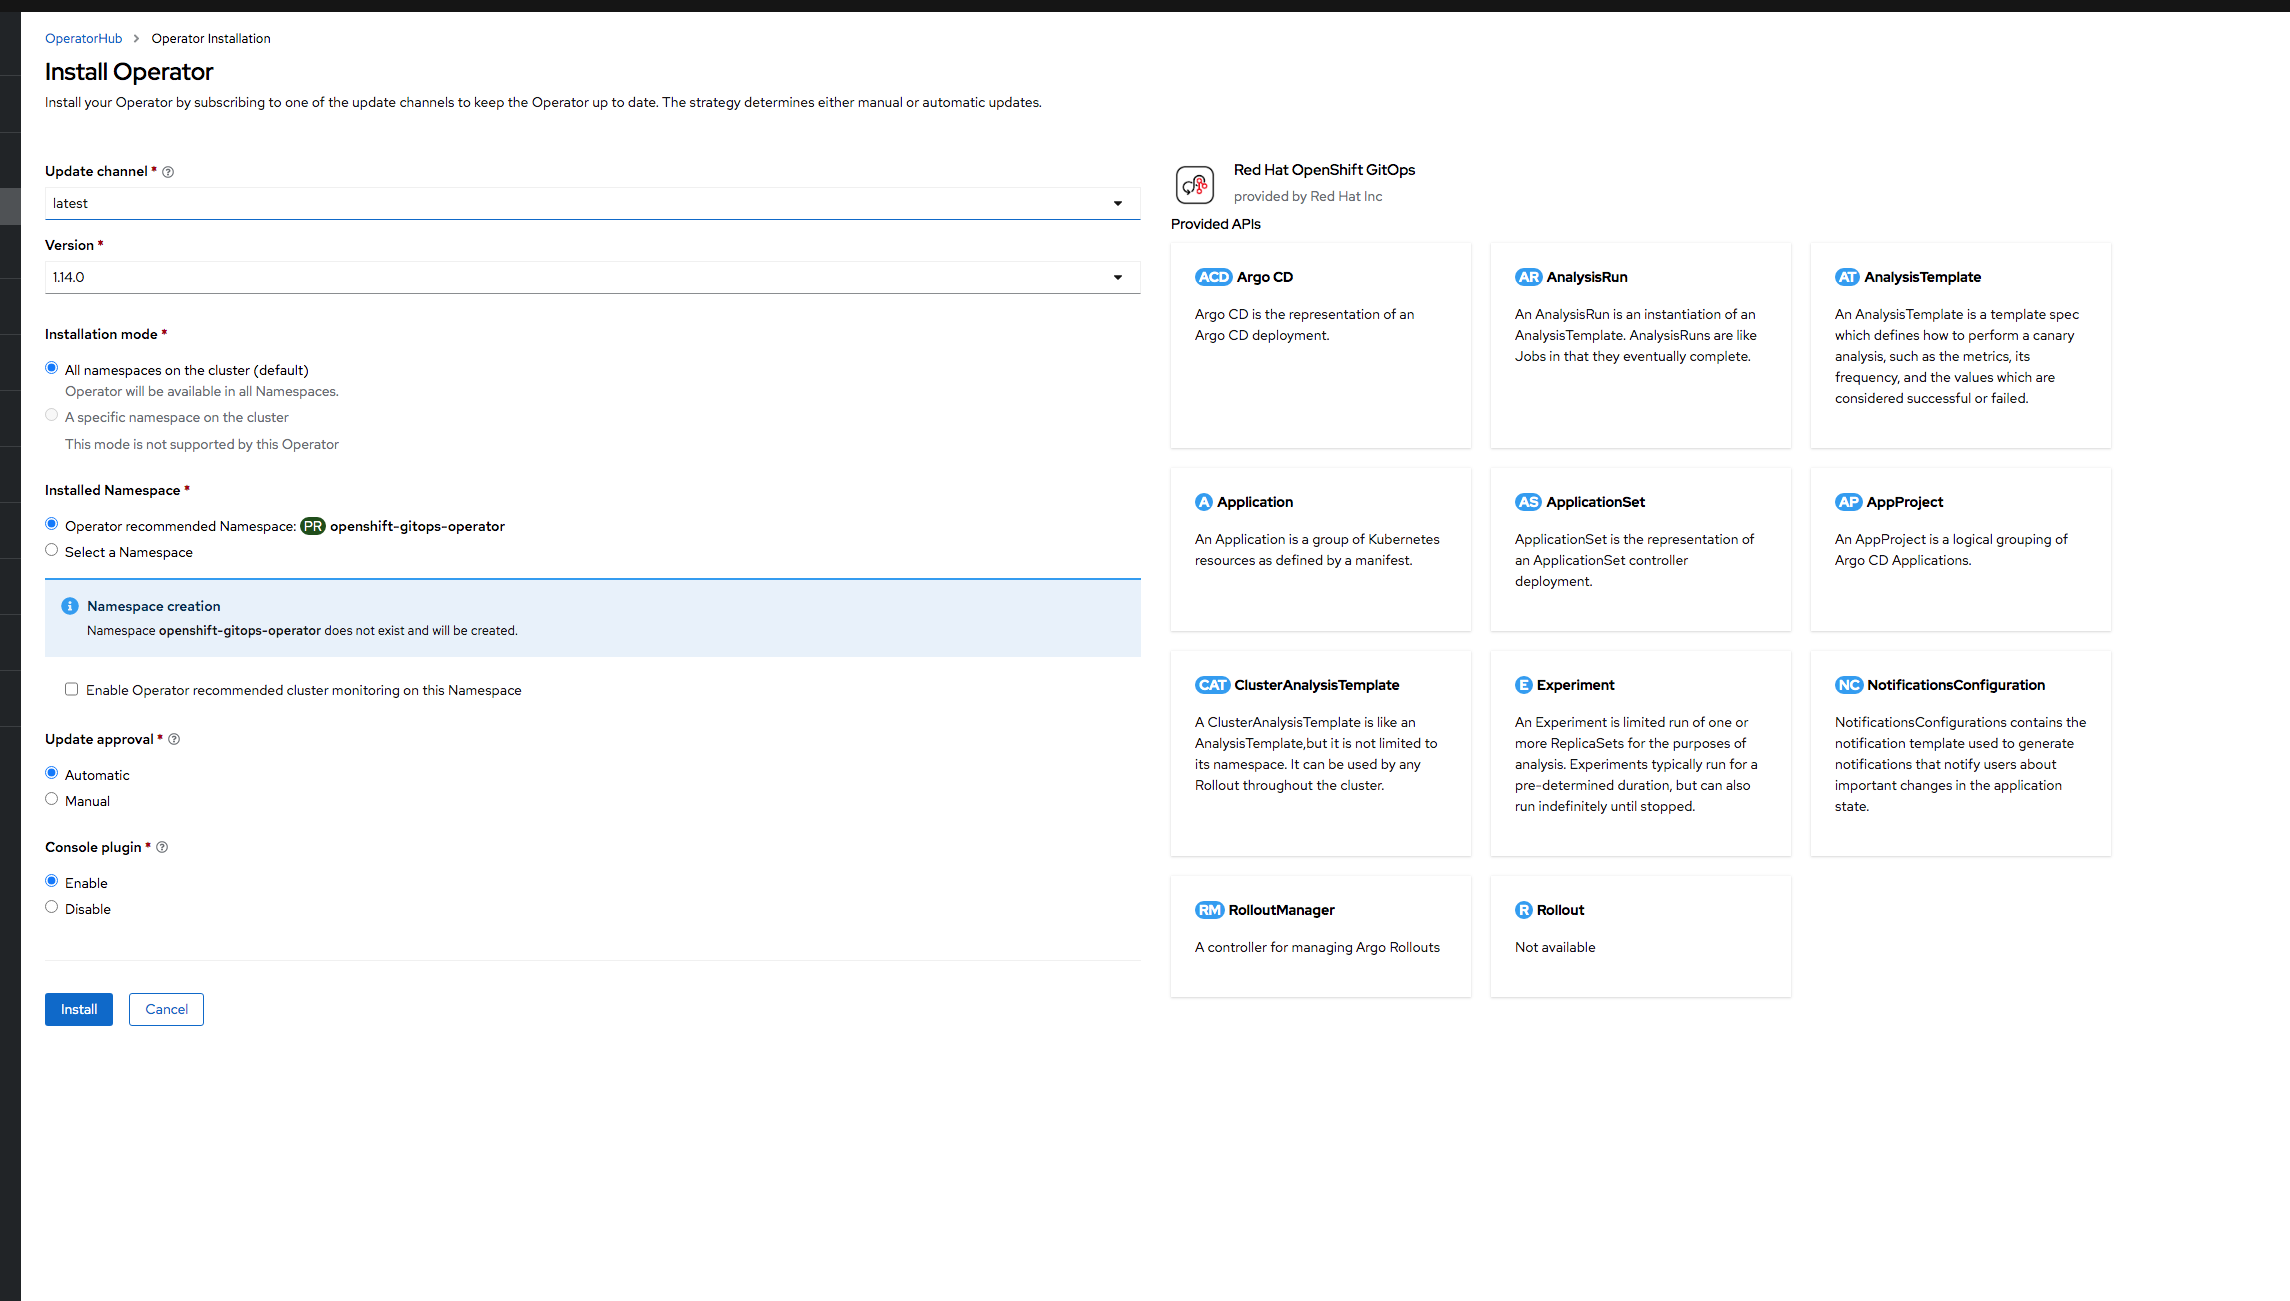
1.1.From the OpenShift Console Administrator view click through HOME -> Operators -> Operator Hub, search for “openshift gitops” and click Install.
See screen shot
For the update channel select gitops-1.10. Leave all other defaults and click Install.
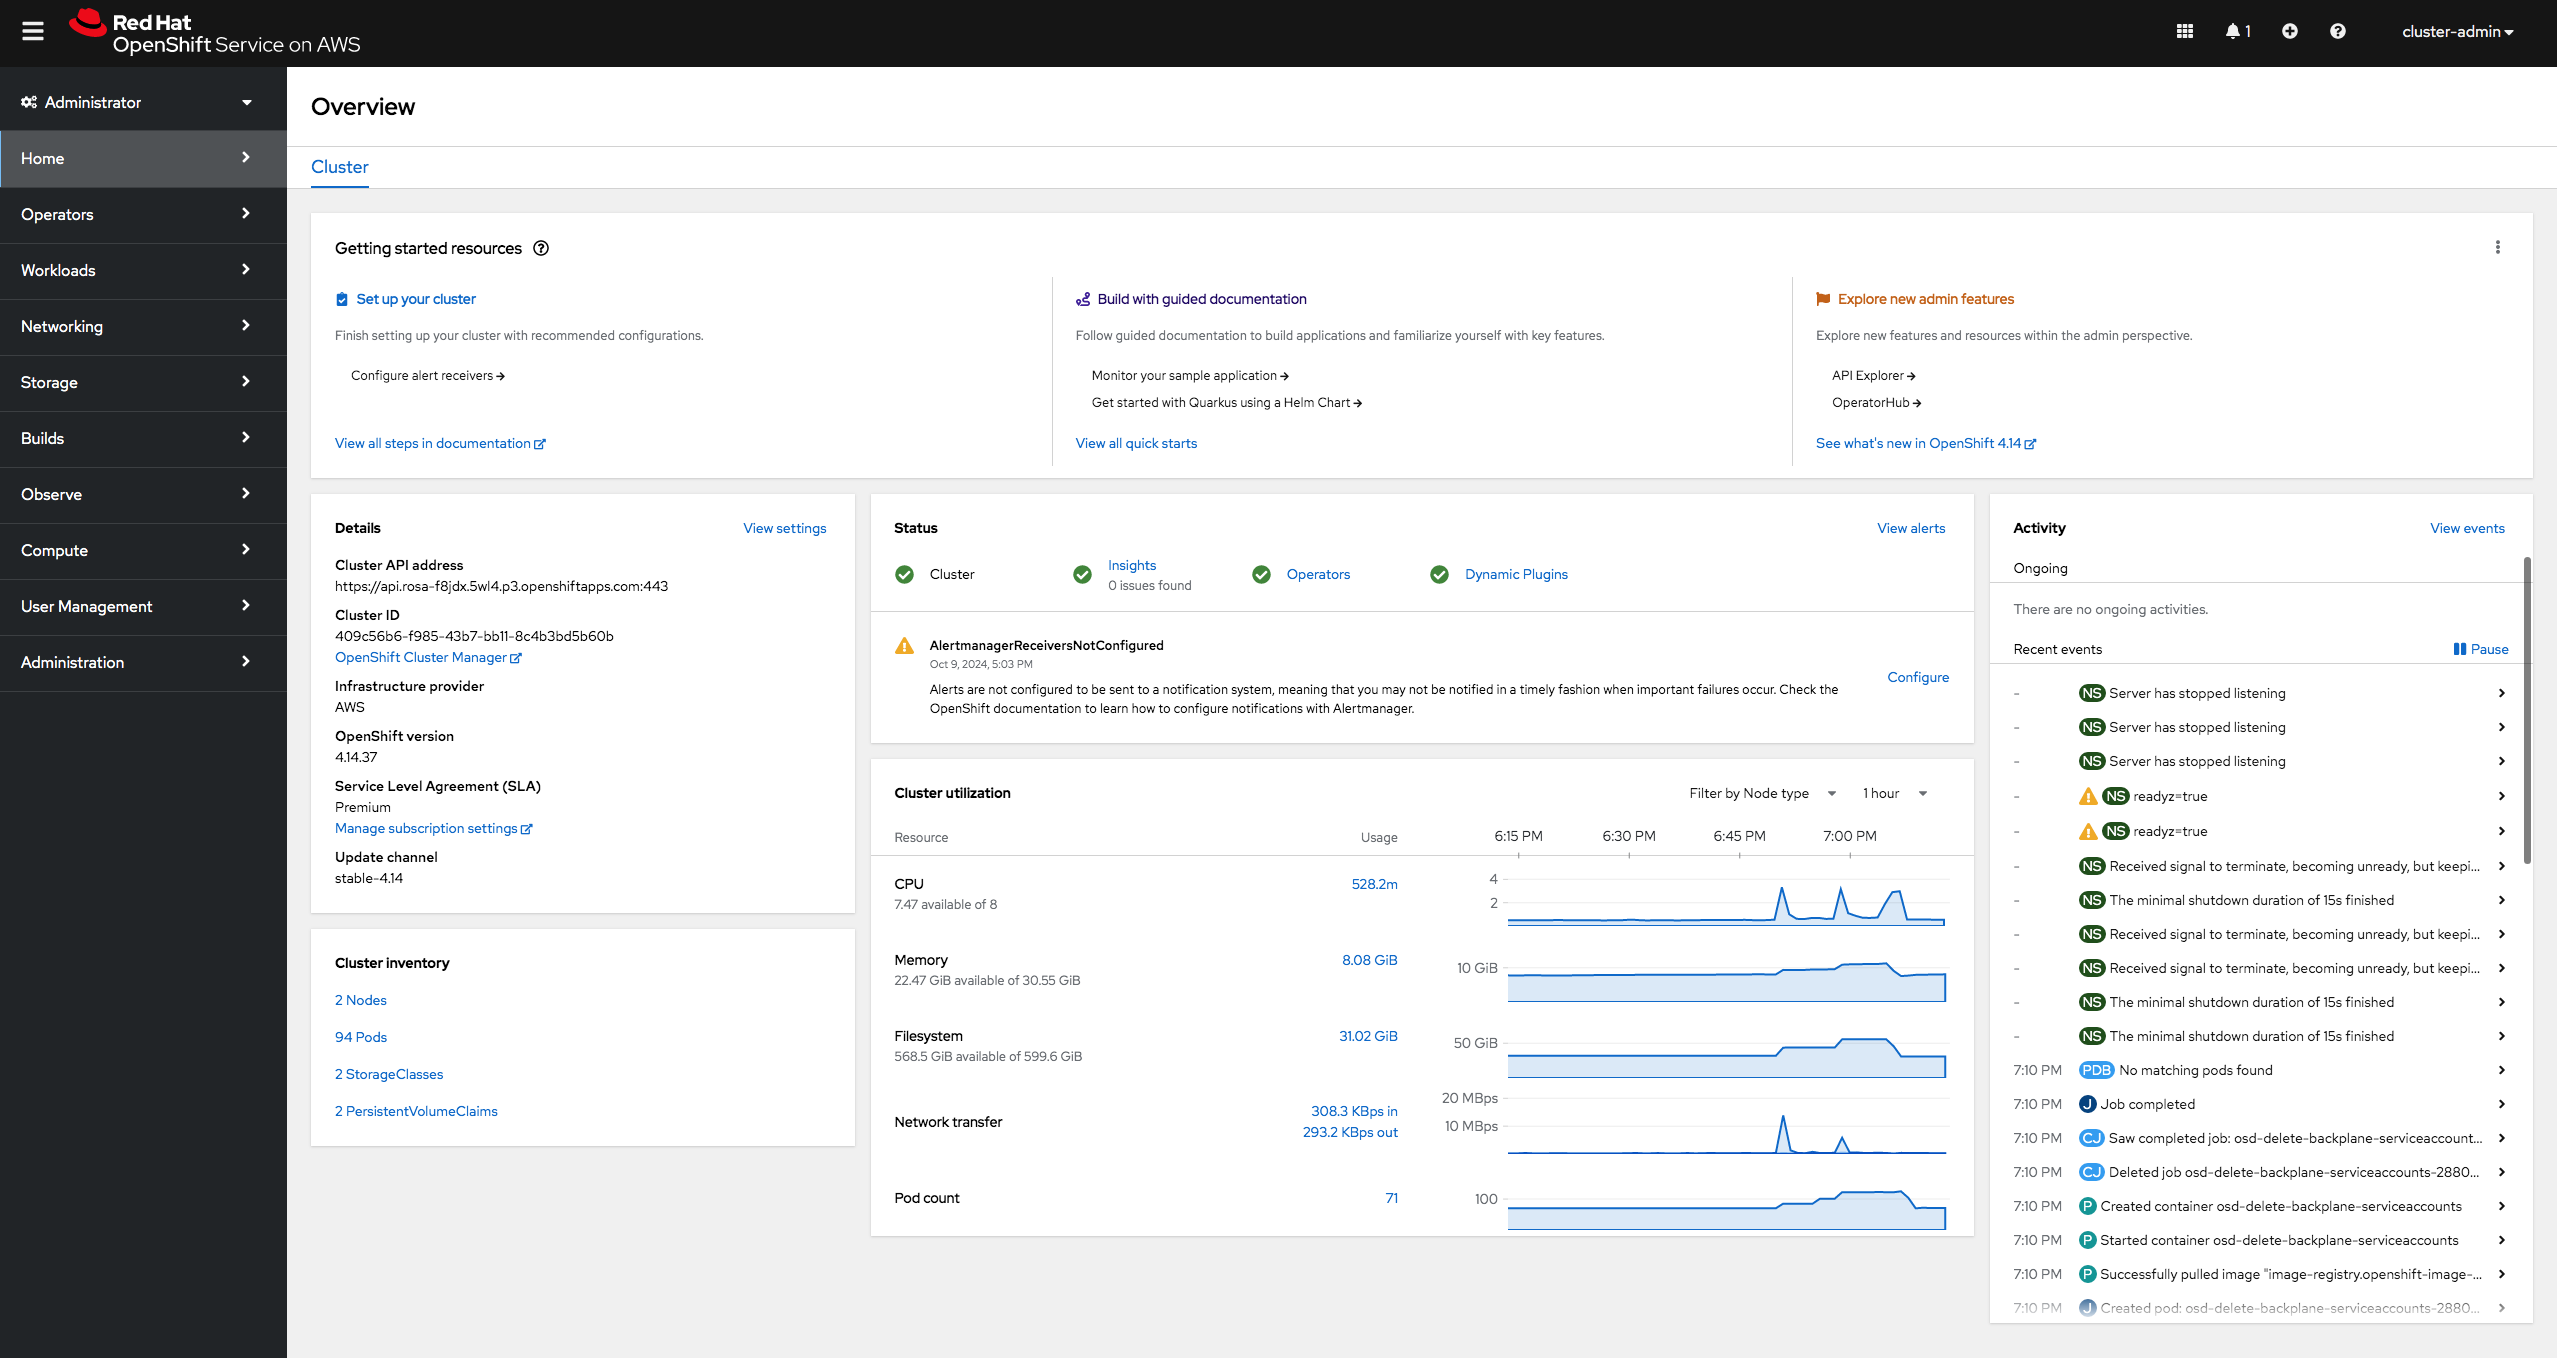
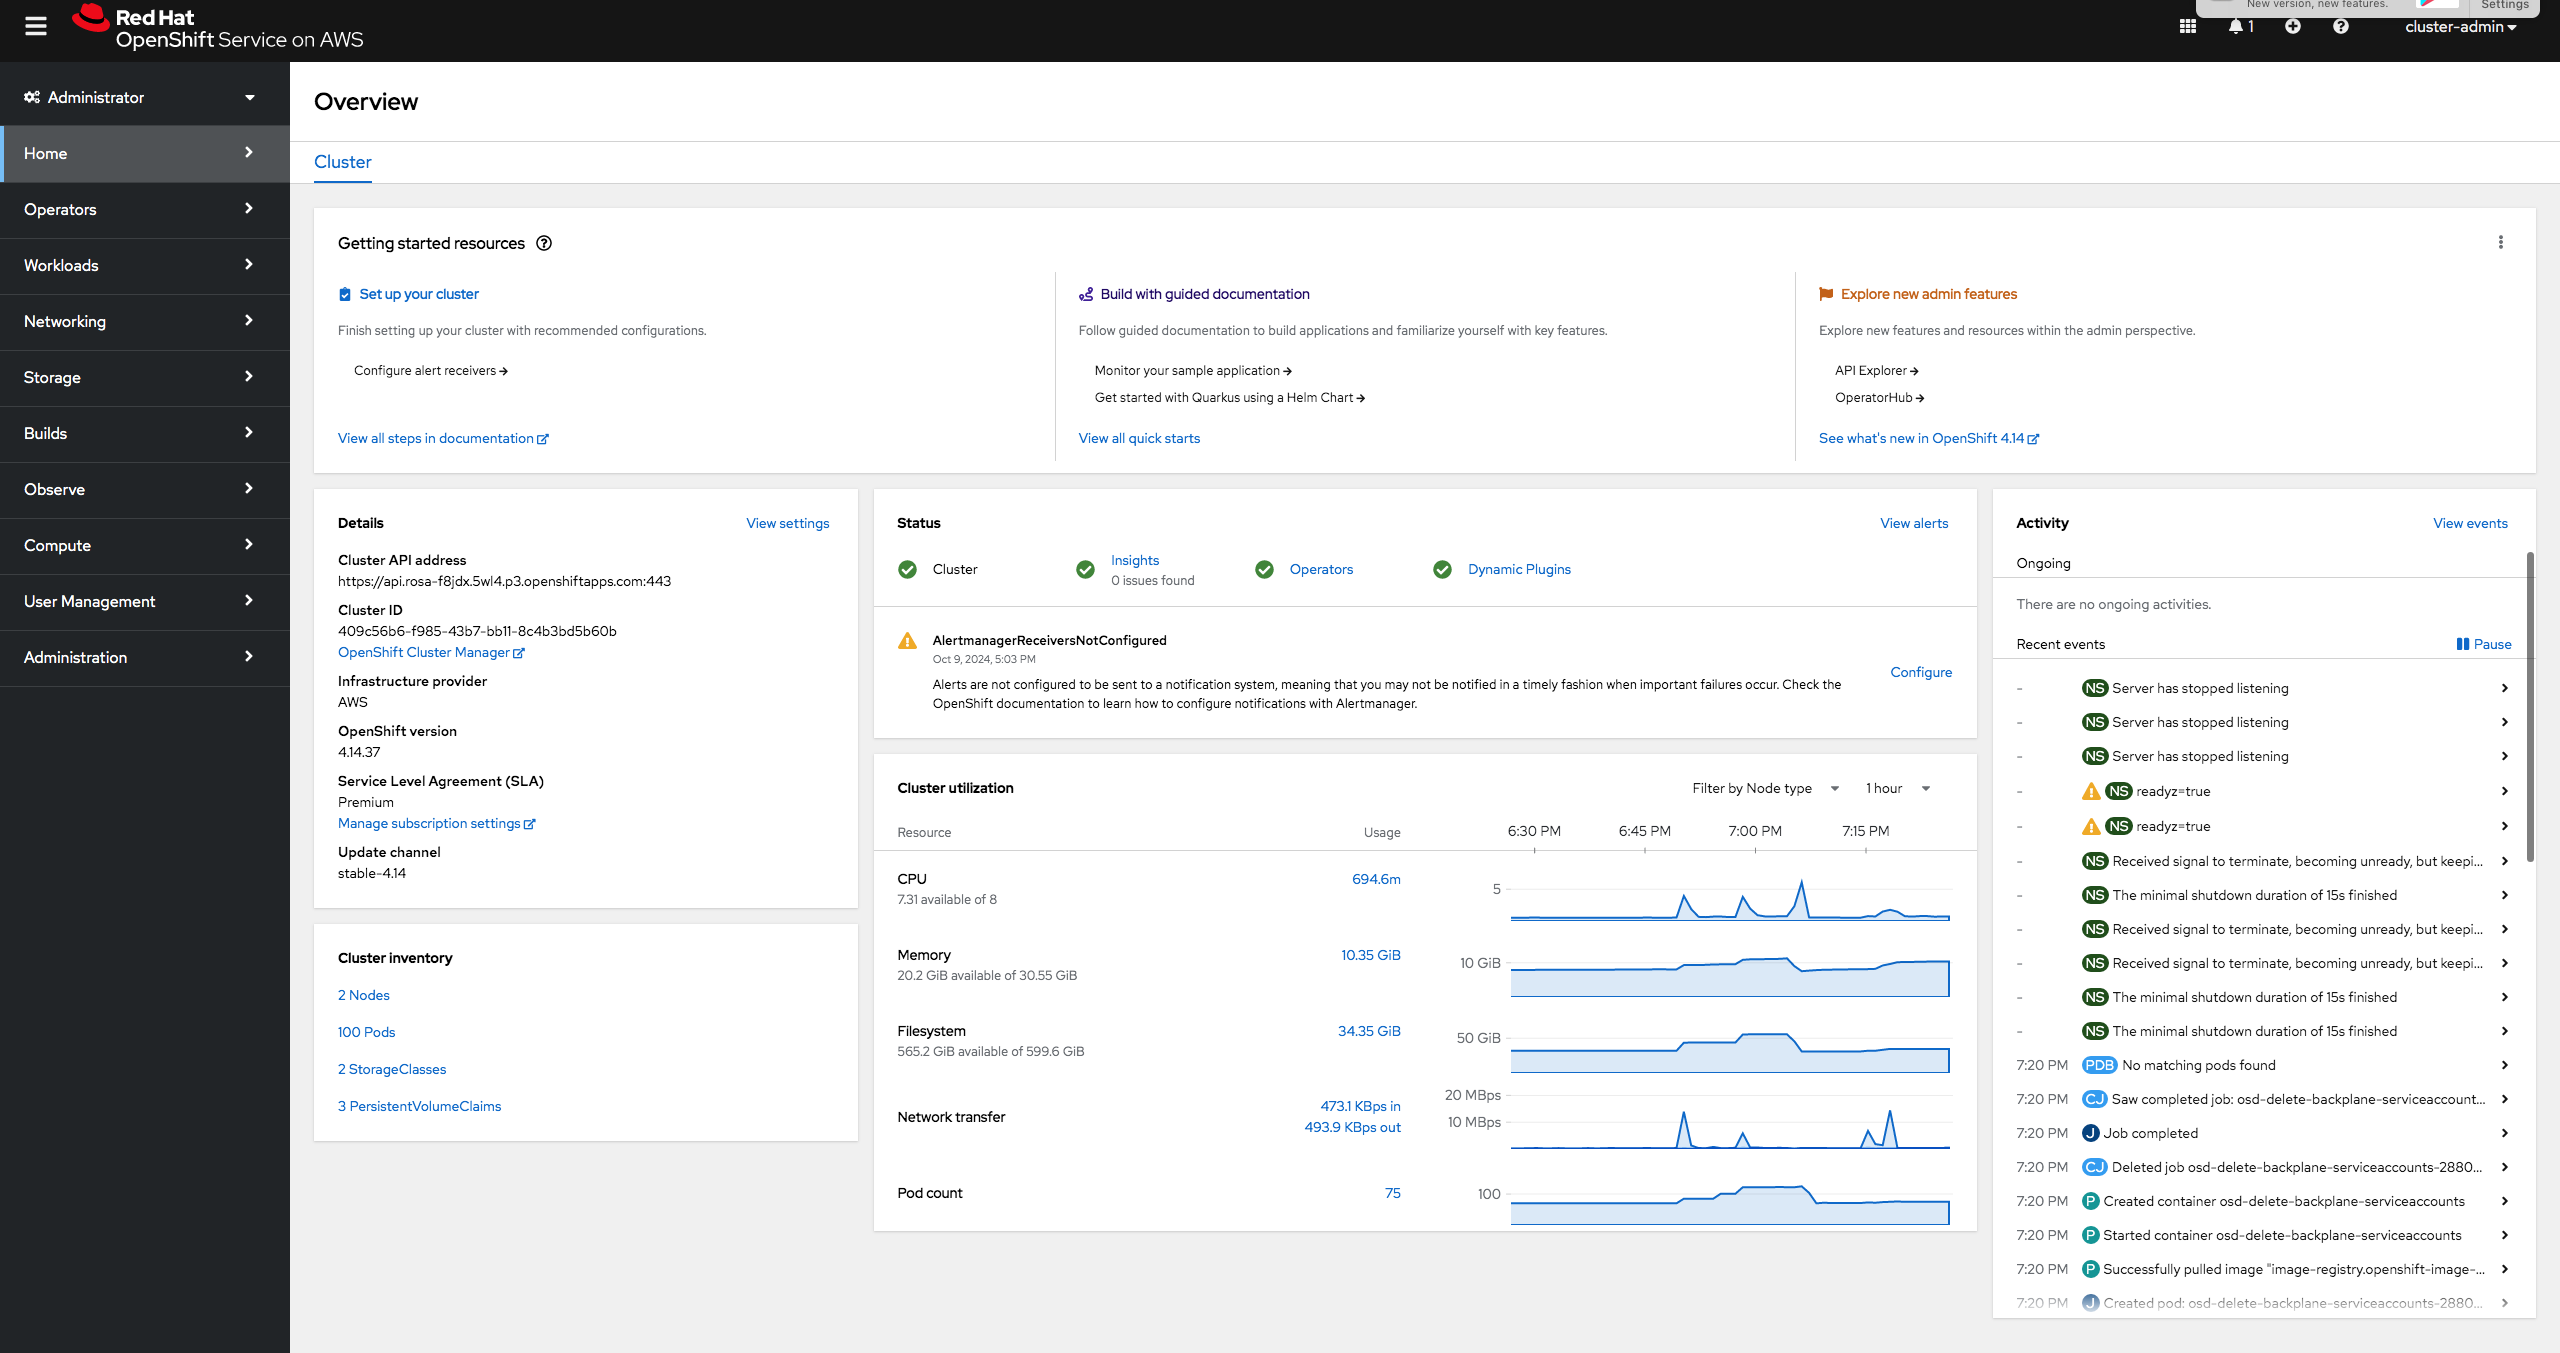
See screen shot
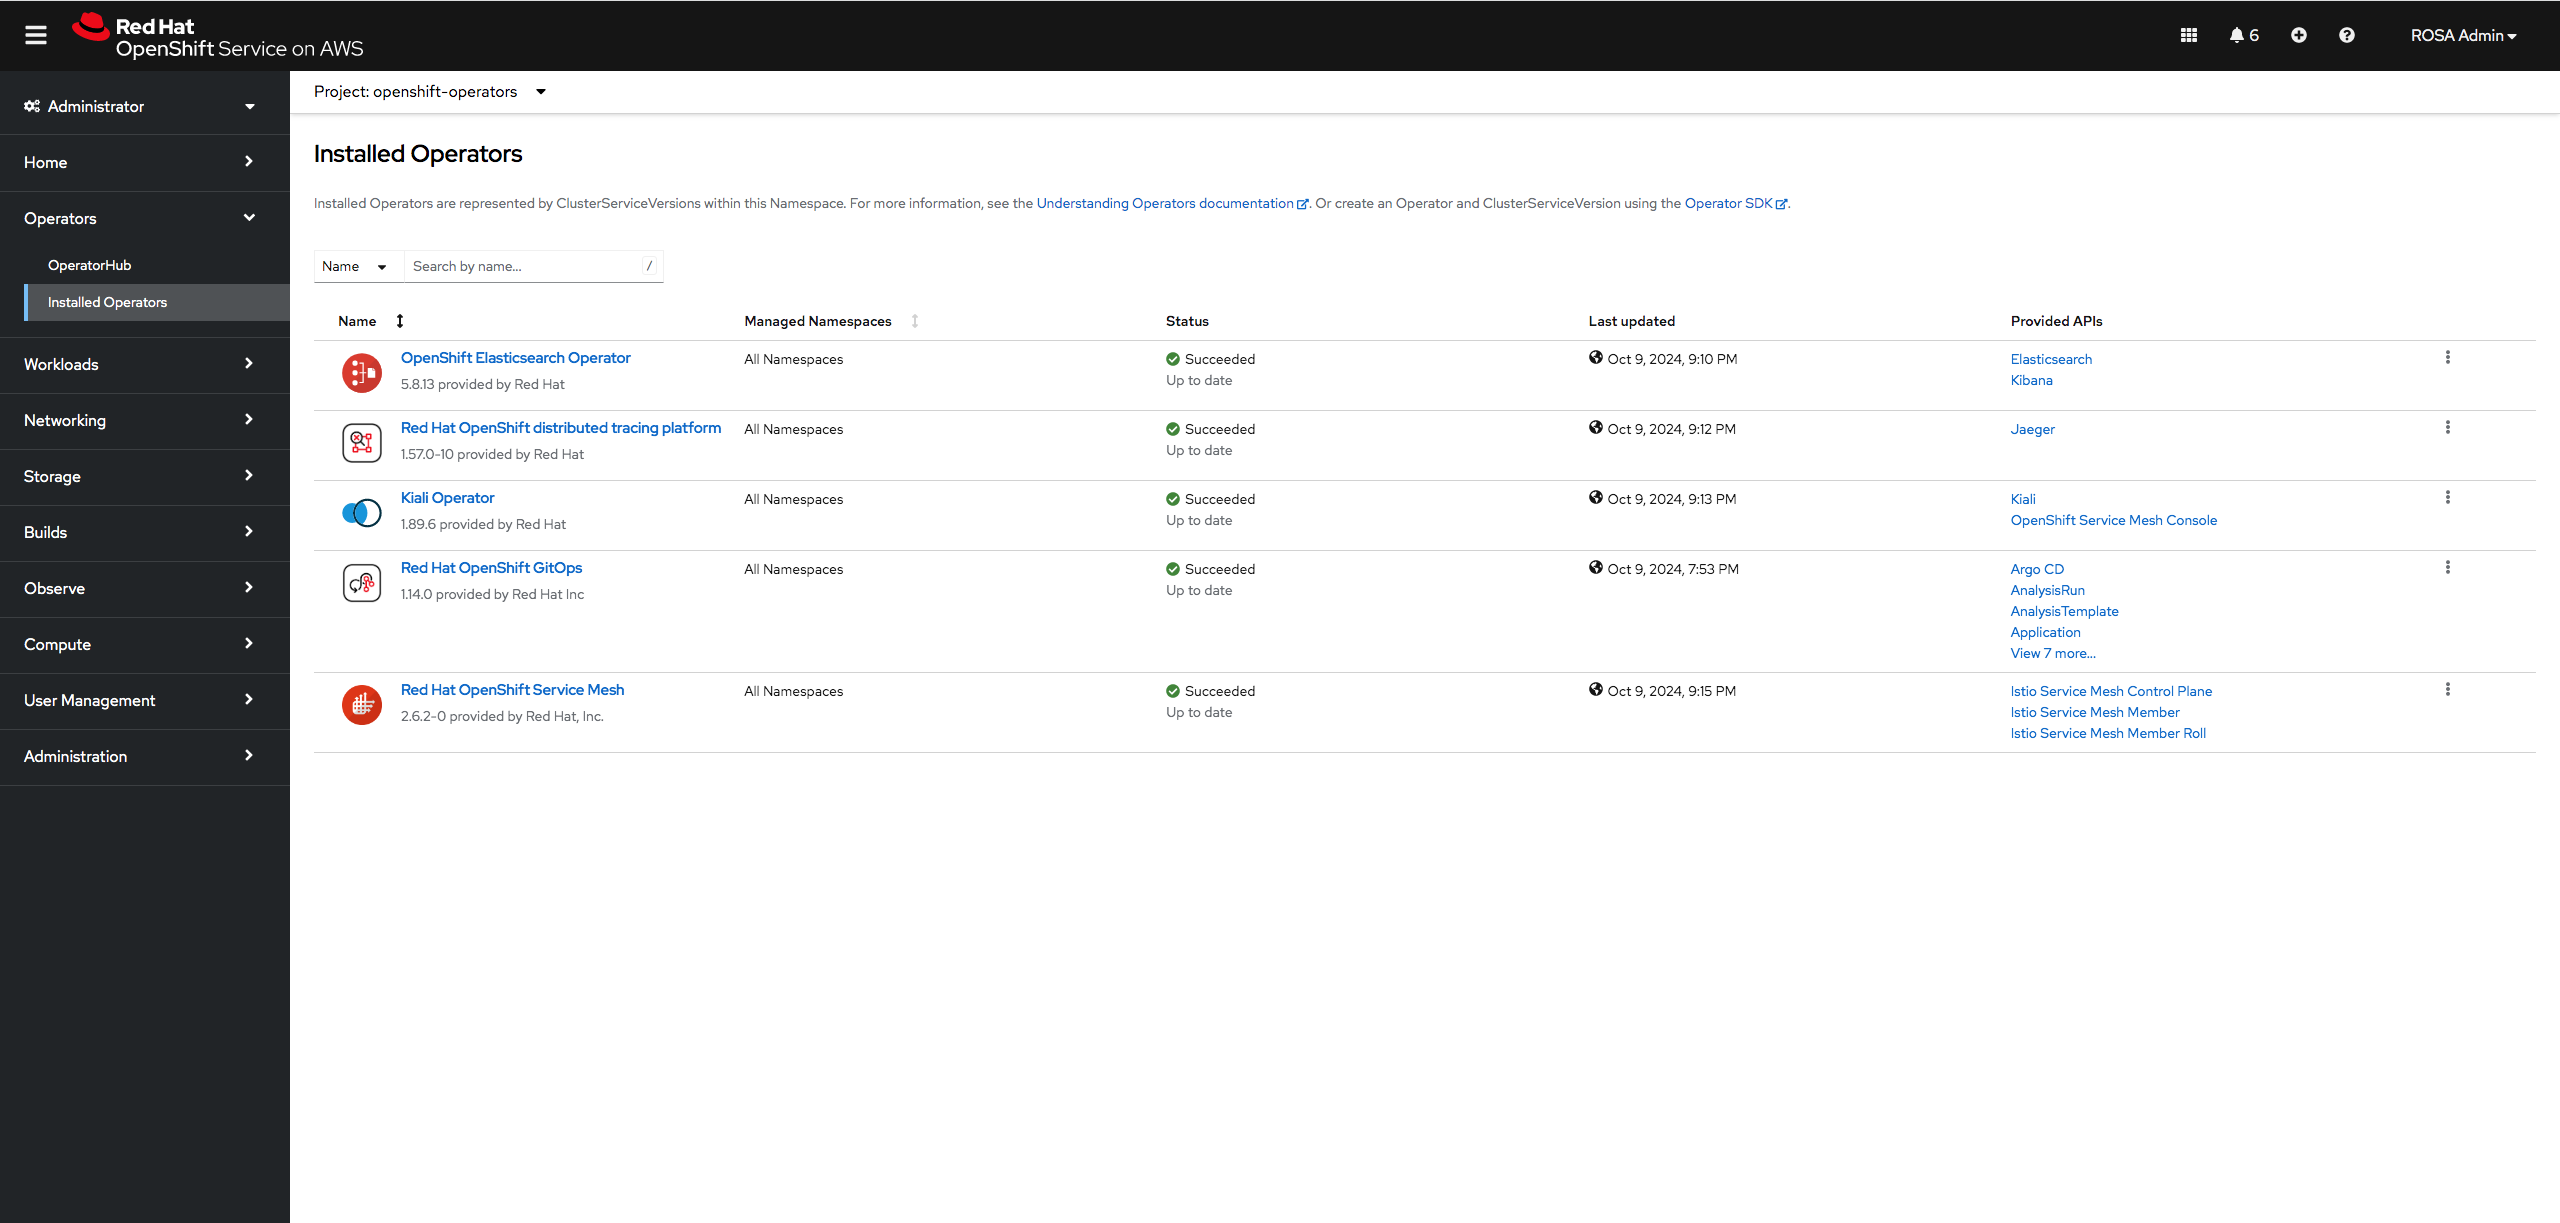
1.2.Wait until the operator shows as successfully installed (Installed operator - ready for use).
See the screenshot
1.3. In your terminal create a new project:
[rosa@bastion ~]$ oc new-project bgd
Now using project “bgd” on server “https://api.rosa-88qgb.zpku.p3.openshiftapps.com:443”.
You can add applications to this project with the ‘new-app’ command. For example, try:
oc new-app rails-postgresql-example
to build a new example application in Ruby. Or use kubectl to deploy a simple Kubernetes application:
kubectl create deployment hello-node \--image=registry.k8s.io/e2e-test-images/agnhost:2.43 \-- /agnhost serve-hostname
[rosa@bastion ~]$
1.4. The OpenShift GitOps operator includes the capability to deploy individual instances of Argo CD for developers.
Deploy your personal Argo CD into your development project:
osa@bastion ~]$ cat <<EOF | oc apply -f -
-–
apiVersion: argoproj.io/v1beta1
kind: ArgoCD
metadata:
name: argocd
namespace: bgd
spec:
sso:
dex:
openShiftOAuth: true
resources:
limits:
cpu: 500m
memory: 256Mi
requests:
cpu: 250m
memory: 128Mi
provider: dex
rbac:
defaultPolicy: “role:readonly”
policy: “g, system:authenticated, role:admin”
scopes: “[groups]”
server:
insecure: true
route:
enabled: true
tls:
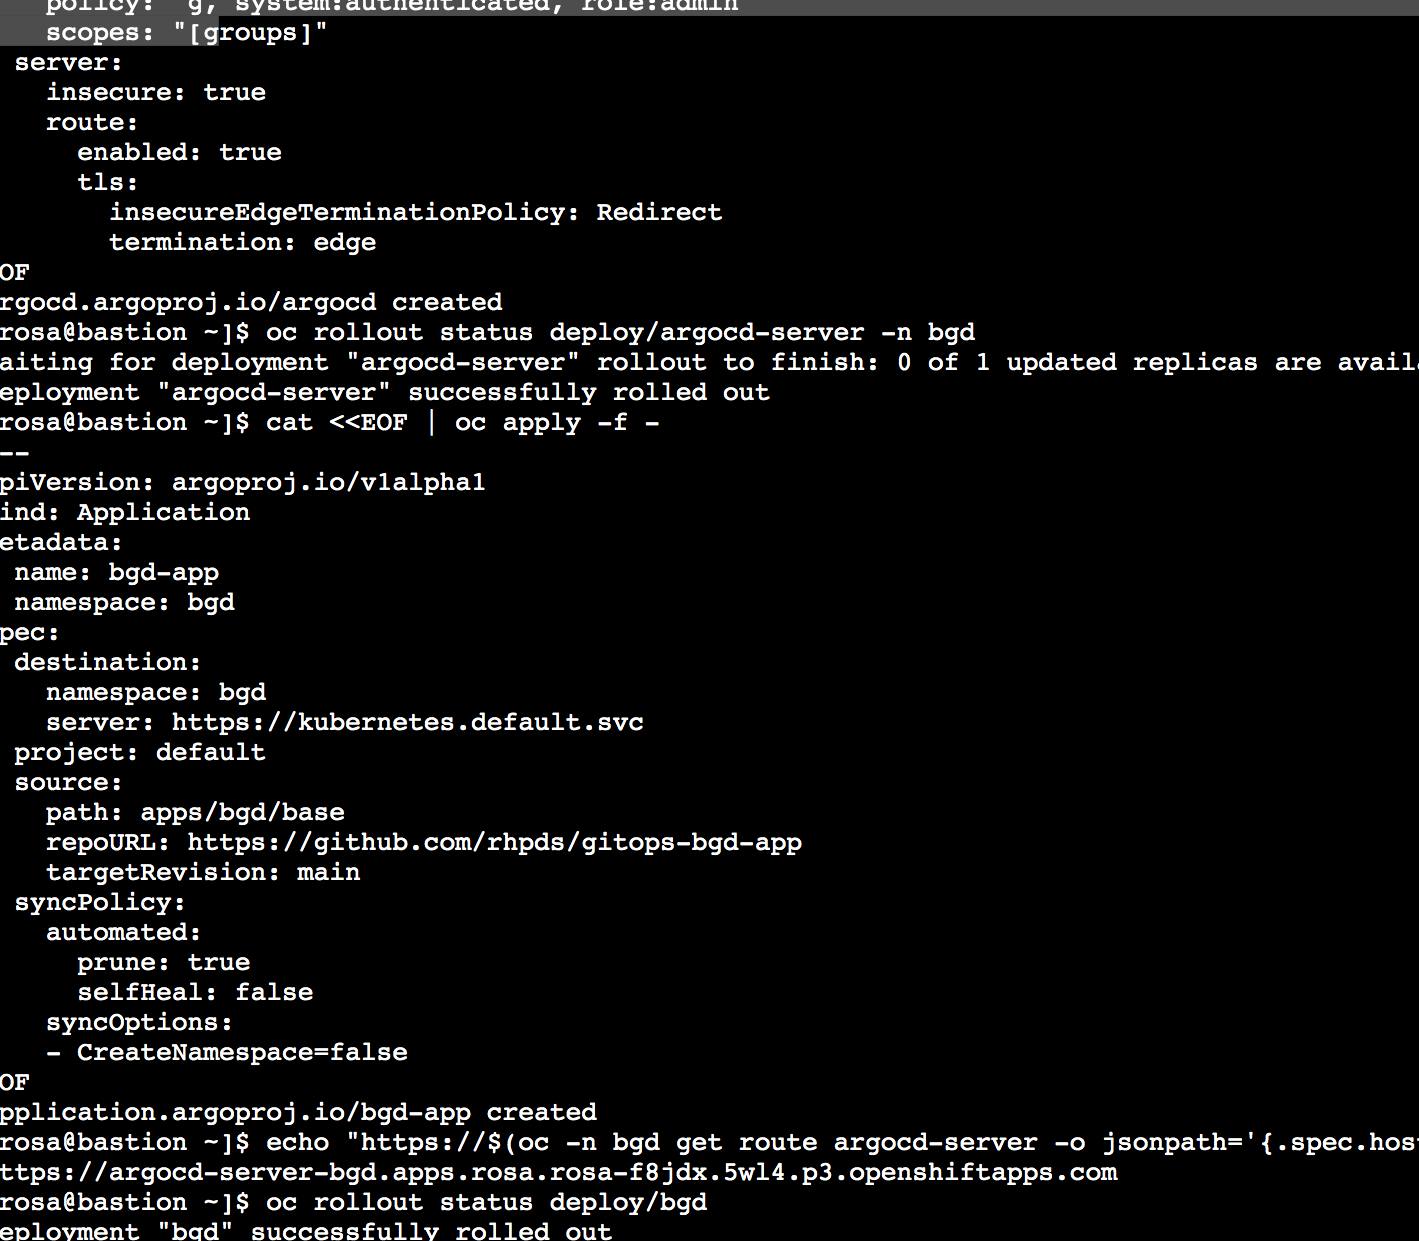
insecureEdgeTerminationPolicy: Redirect
termination: edge
EOF
argocd.argoproj.io/argocd created
[rosa@bastion ~]$
1.5. Wait for your Argo CD server to be ready:
[rosa@bastion ~]$ oc rollout status deploy/argocd-server -n bgd
deployment “argocd-server” successfully rolled out
1.6.Now that your Argo CD server is ready you can use it to deploy an application from a git repository. In this case the Kubernetes / OpenShift definition of the application is in the git repository https://github.com/rhpds/gitops-bgd-app. We won’t have time to go into all the options, but creating the Application tells Argo CD to deploy the application from the git repository into the namespace bgd.
Create the Application:
[rosa@bastion ~]$ cat <<EOF | oc apply -f -
-–
apiVersion: argoproj.io/v1alpha1
kind: Application
metadata:
name: bgd-app
namespace: bgd
spec:
destination:
namespace: bgd
server: https://kubernetes.default.svc
project: default
source:
path: apps/bgd/base
repoURL: https://github.com/rhpds/gitops-bgd-app
targetRevision: main
syncPolicy:
automated:
prune: true
selfHeal: false
syncOptions:
- CreateNamespace=false
EOF
application.argoproj.io/bgd-app created
[rosa@bastion ~]$
1.7. Retrieve the URL for your Argo CD dashboard and navigate to it in your web browser:
[rosa@bastion ~]$ echo “https://$(oc -n bgd get route argocd-server -o jsonpath=’{.spec.host}’)”
https://argocd-server-bgd.apps.rosa.rosa-88qgb.zpku.p3.openshiftapps.com
[rosa@bastion ~]$
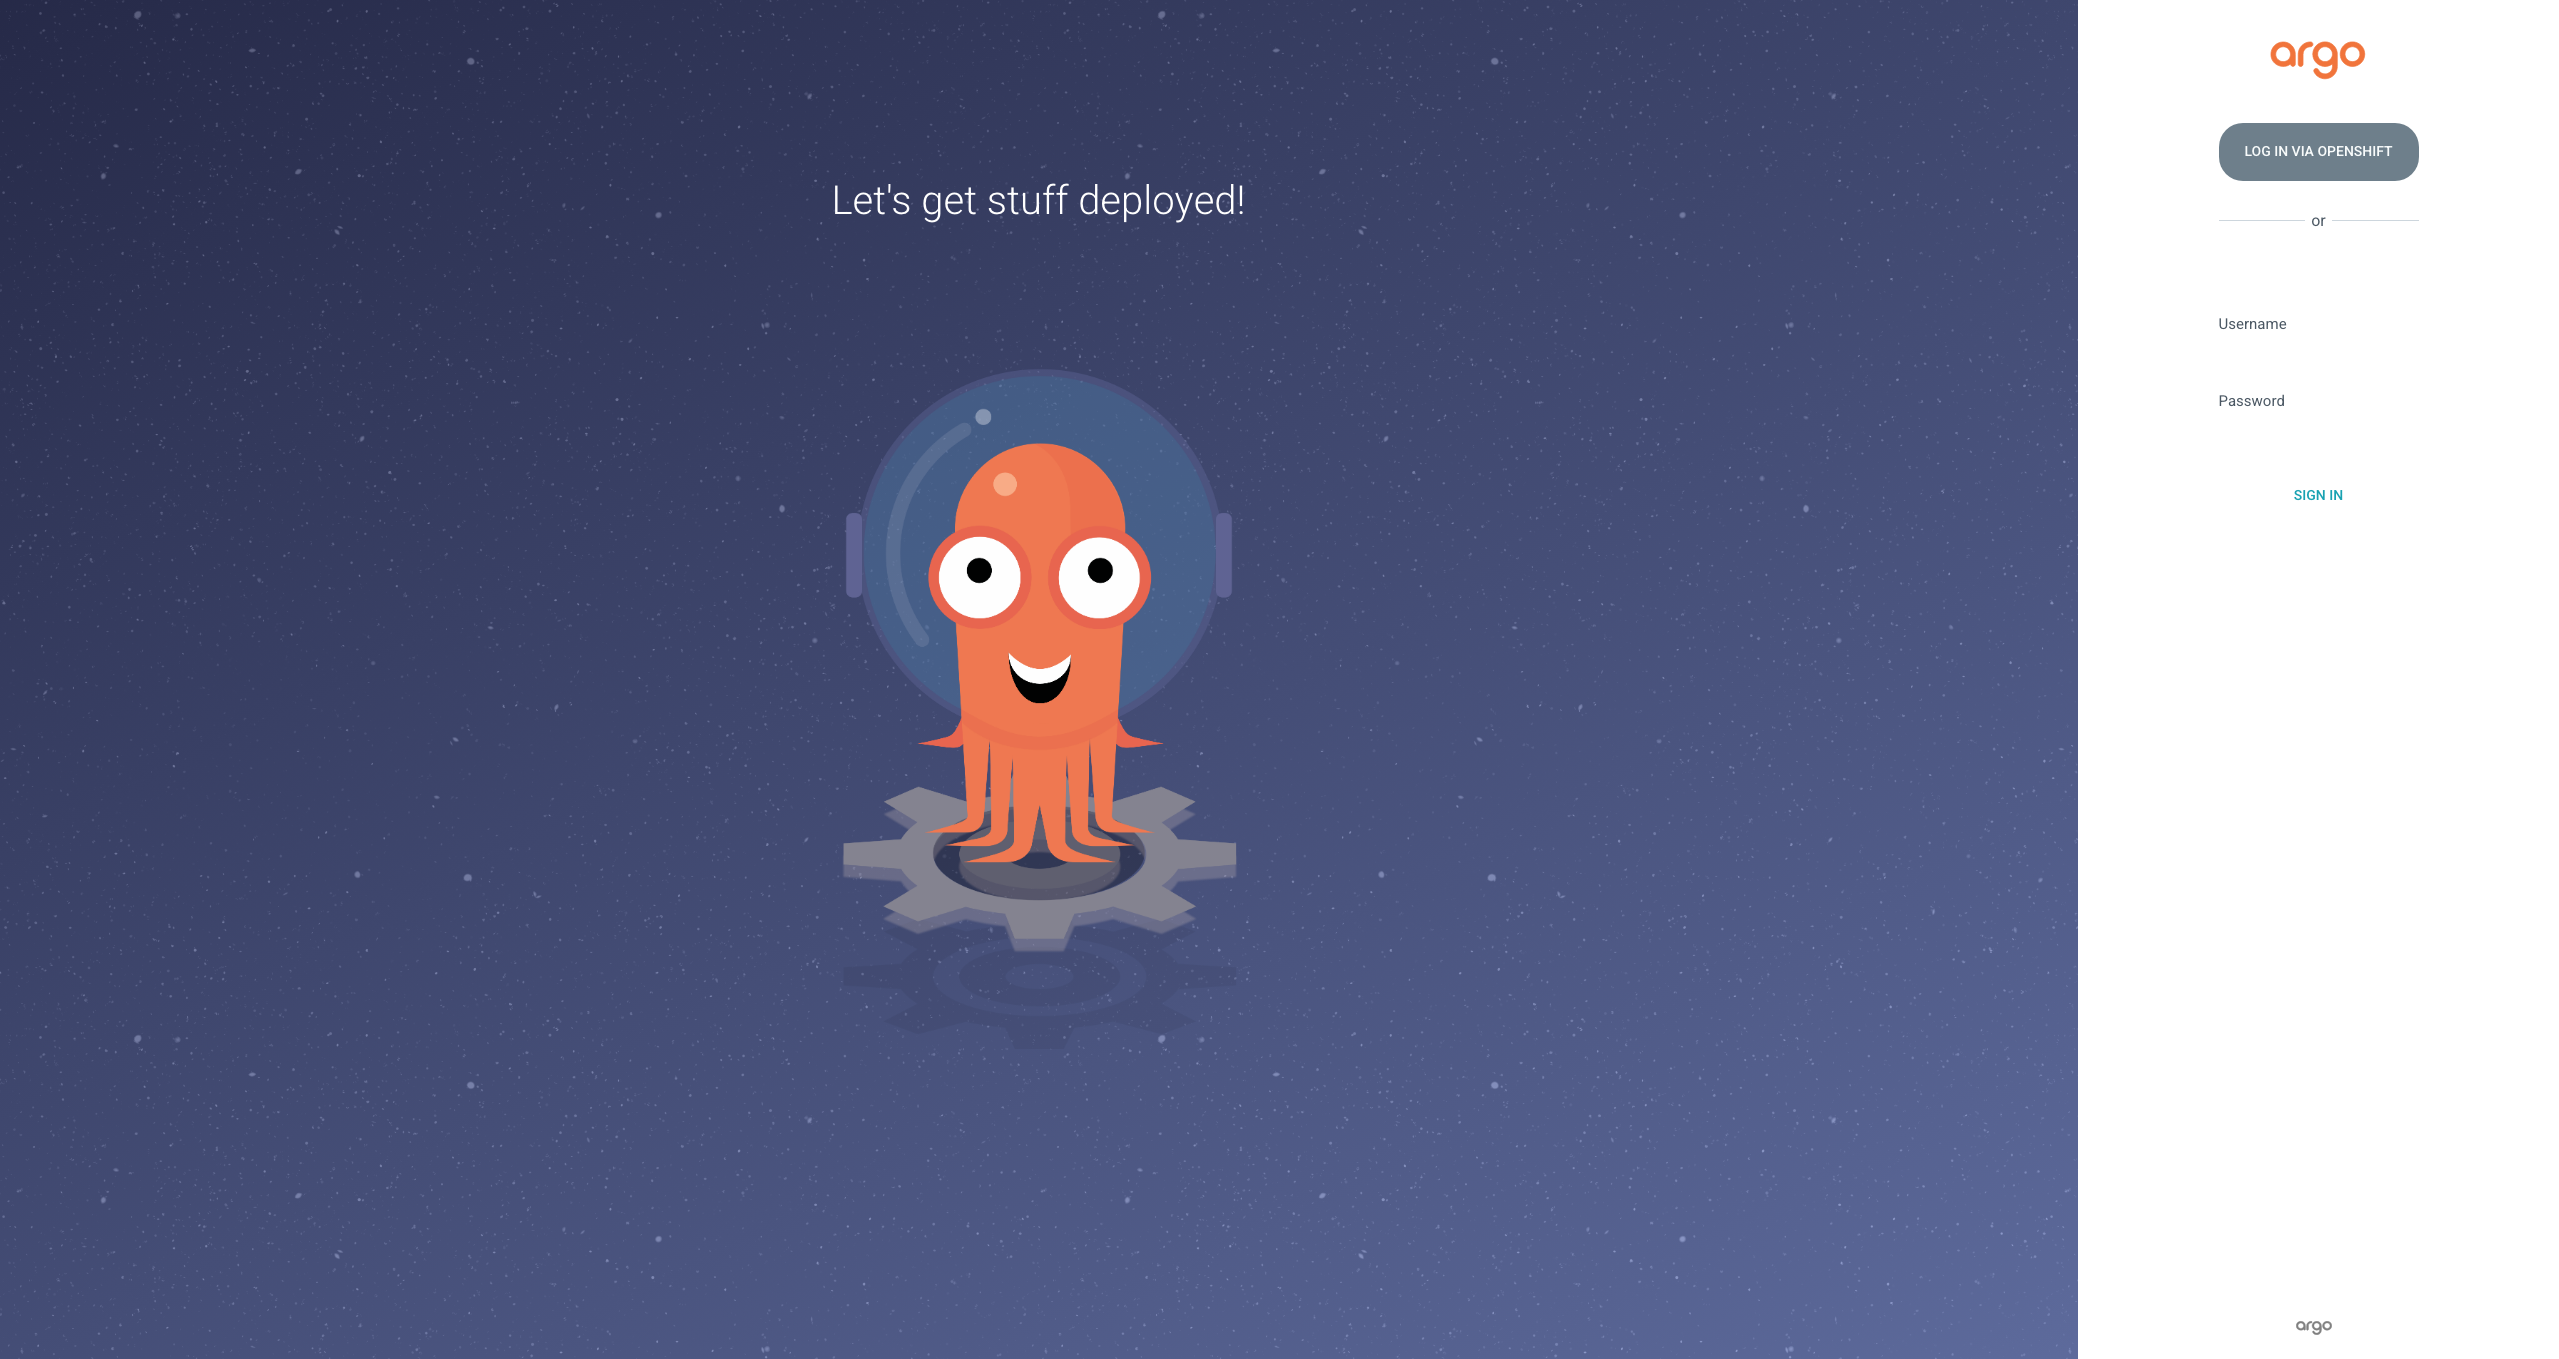
1.8. Argo CD is configured for single sign on with OpenShift. Therefore your admin credentials also work in Argo CD. Click on the Log in via OpenShift button and use the admin credentials to log in (you may need to click on Allow selected permissions after the login step):
(It fials because of unknown reasons)
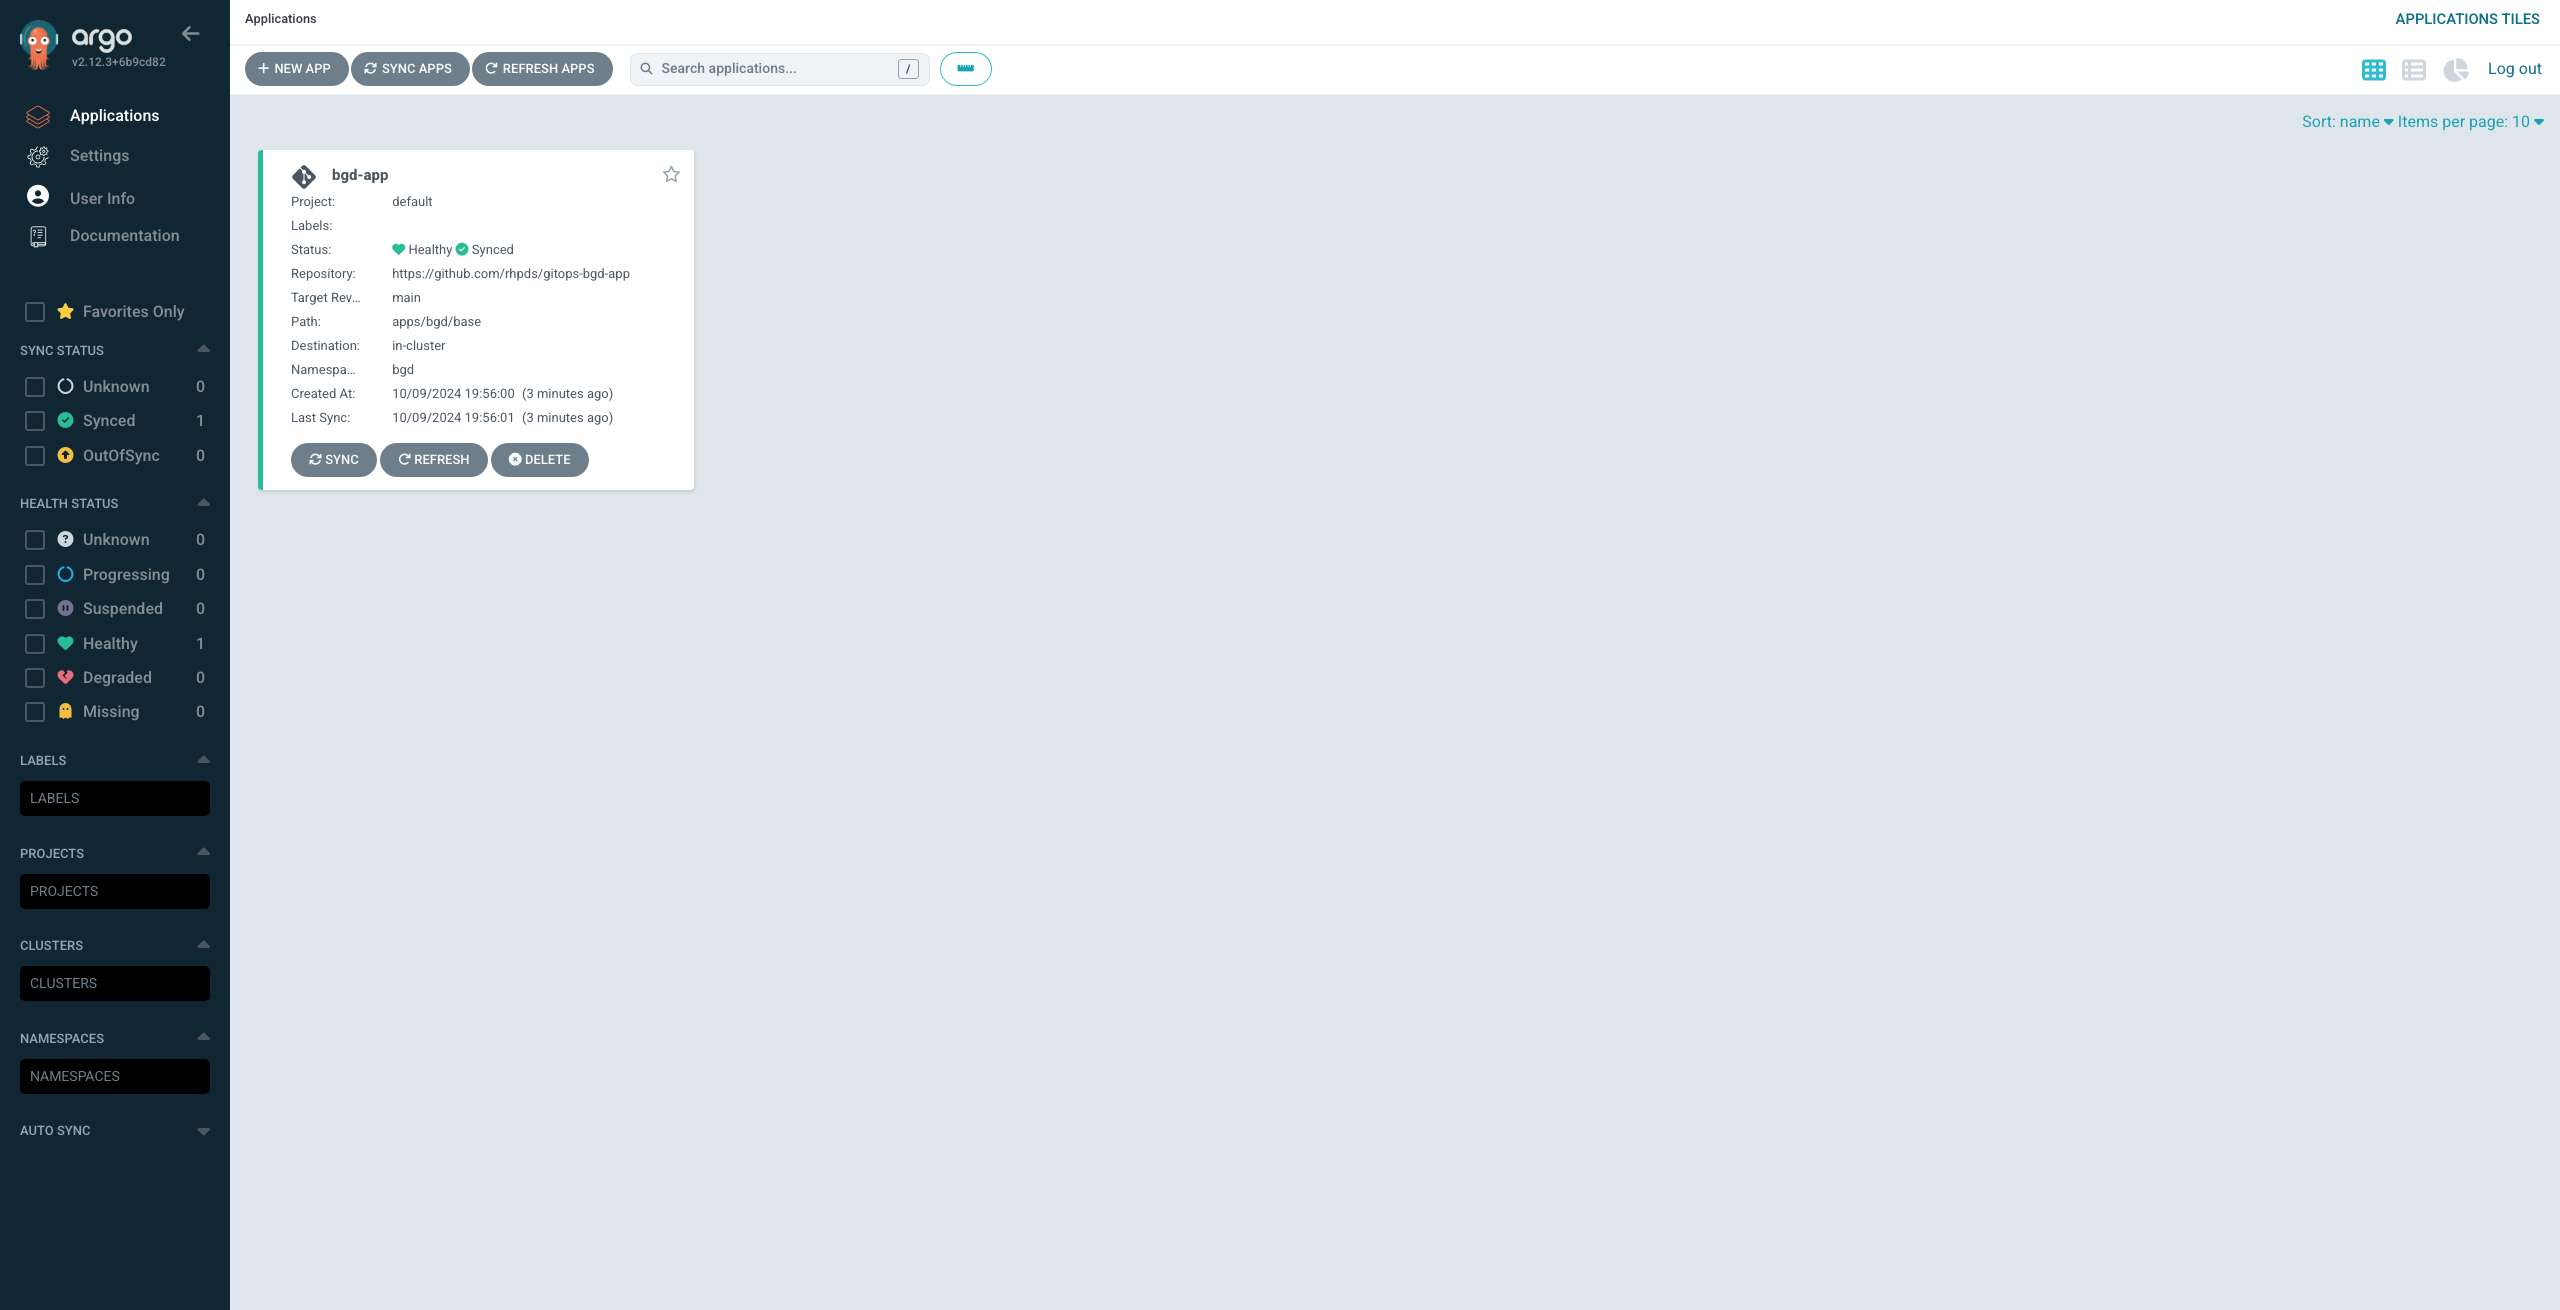
1.9. Once you have logged into Argo CD you should see the Argo CD application dashboard.
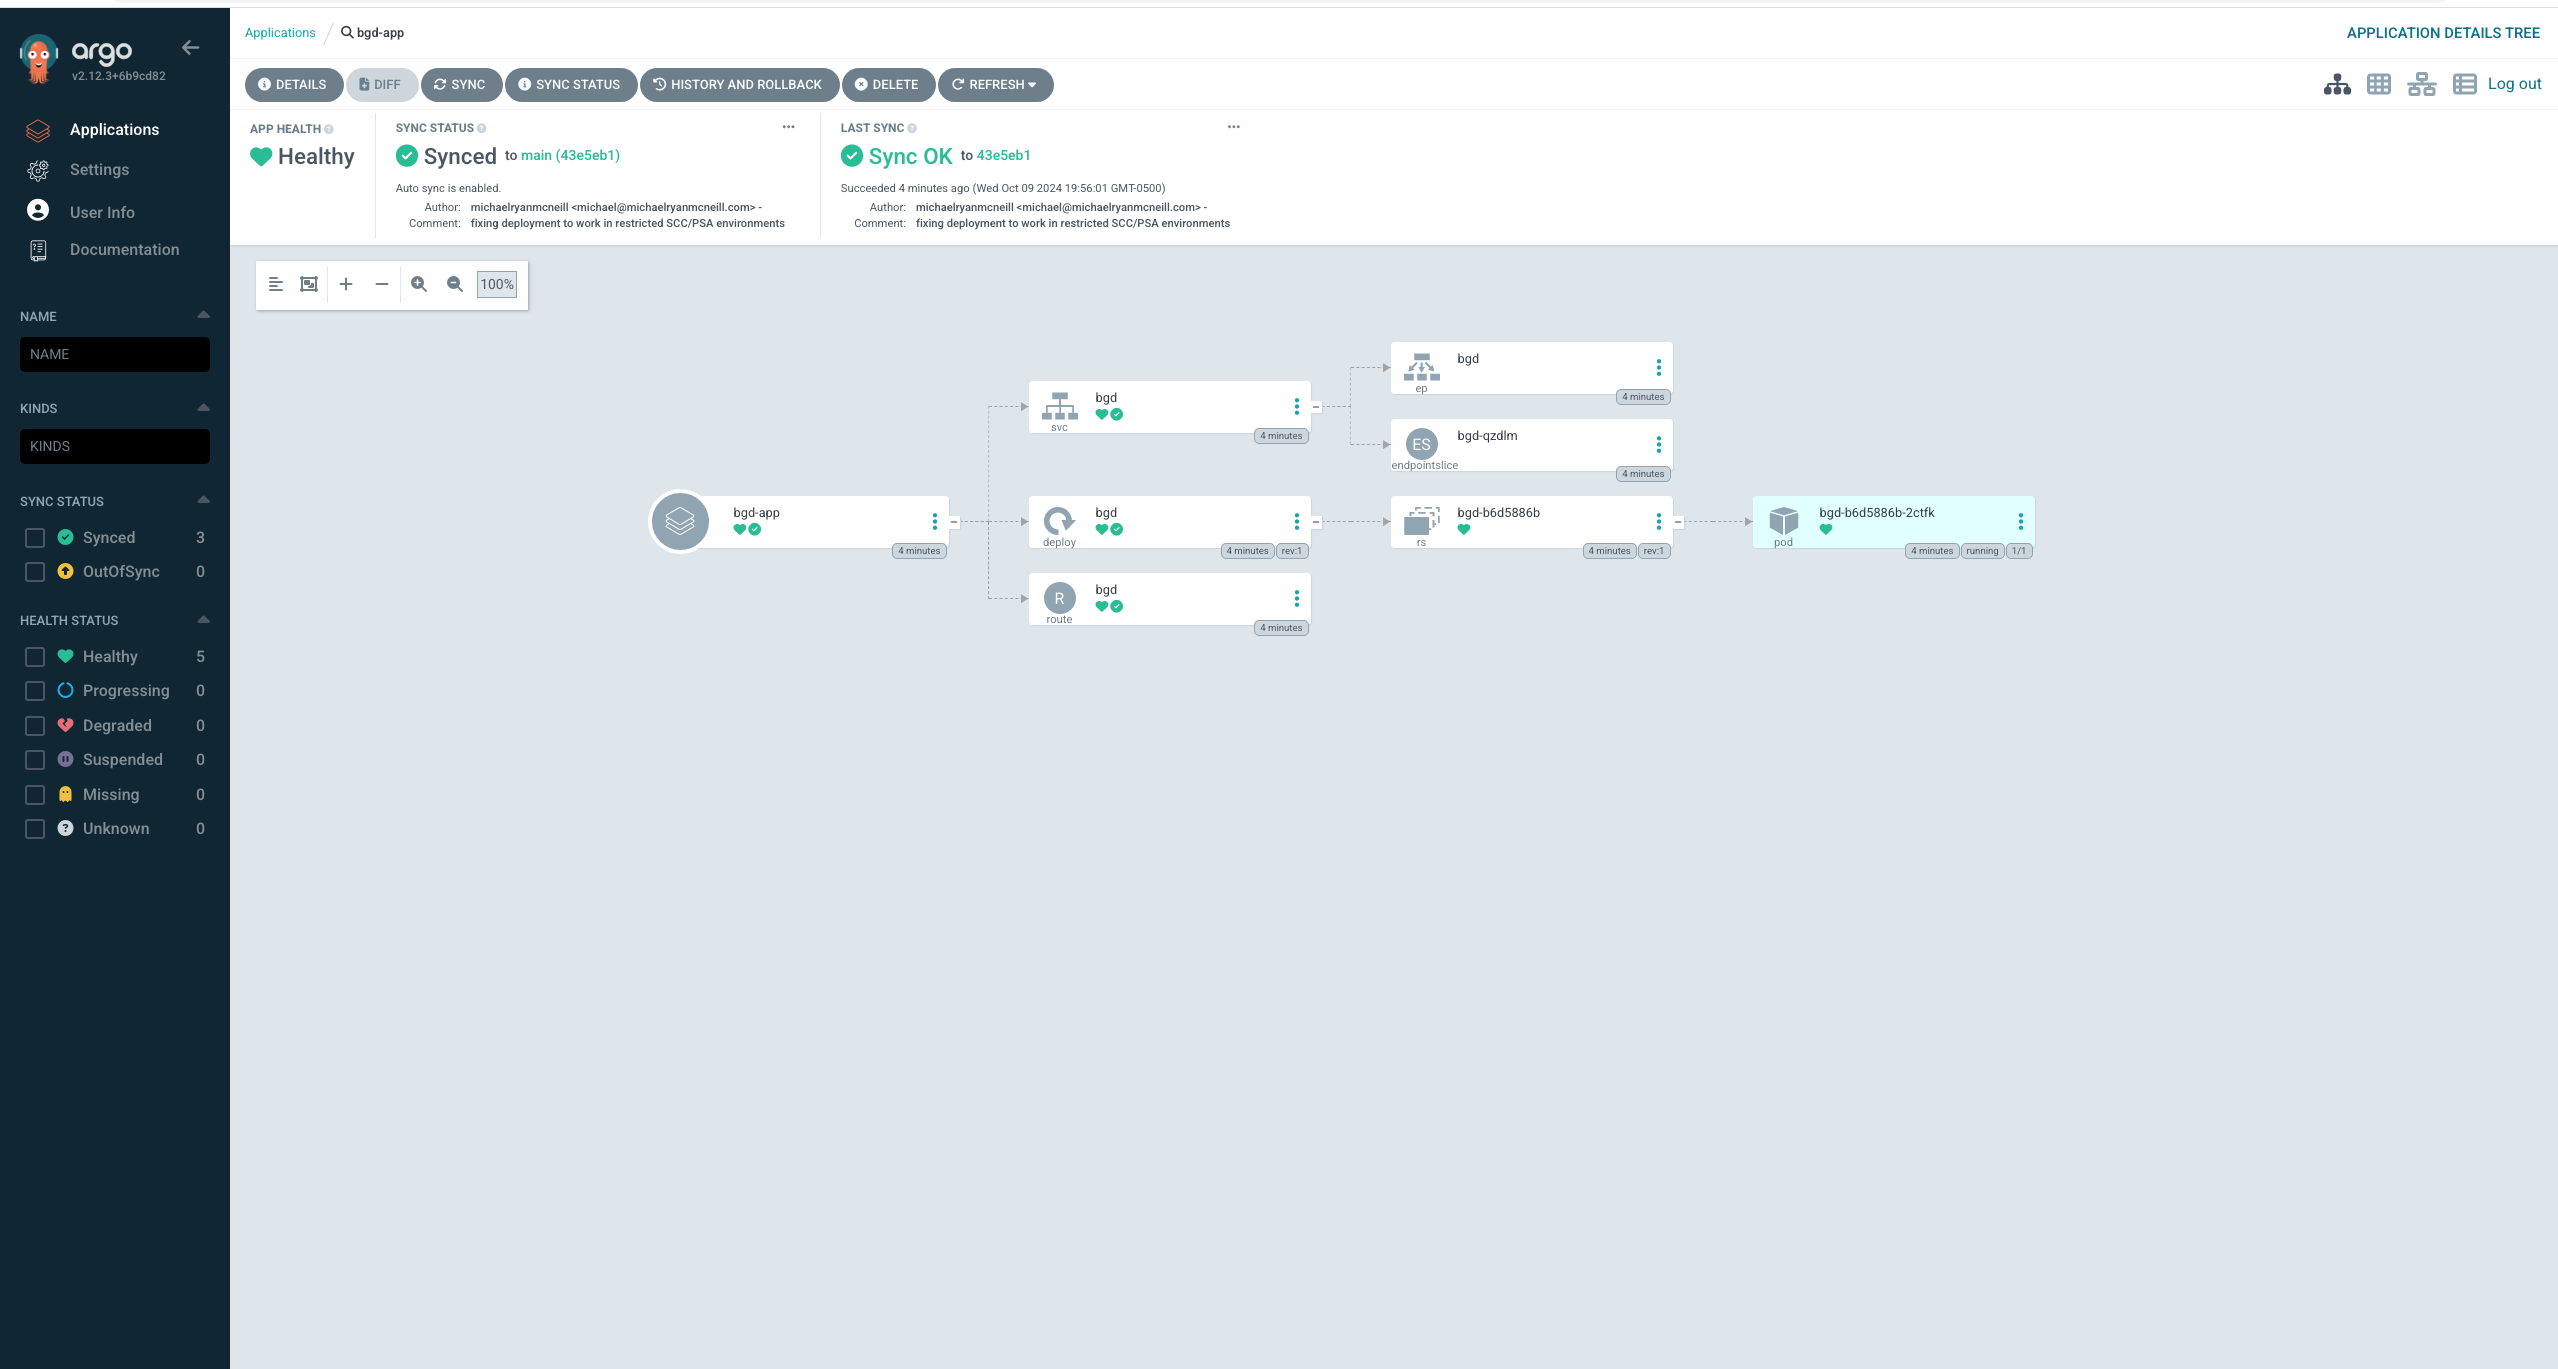
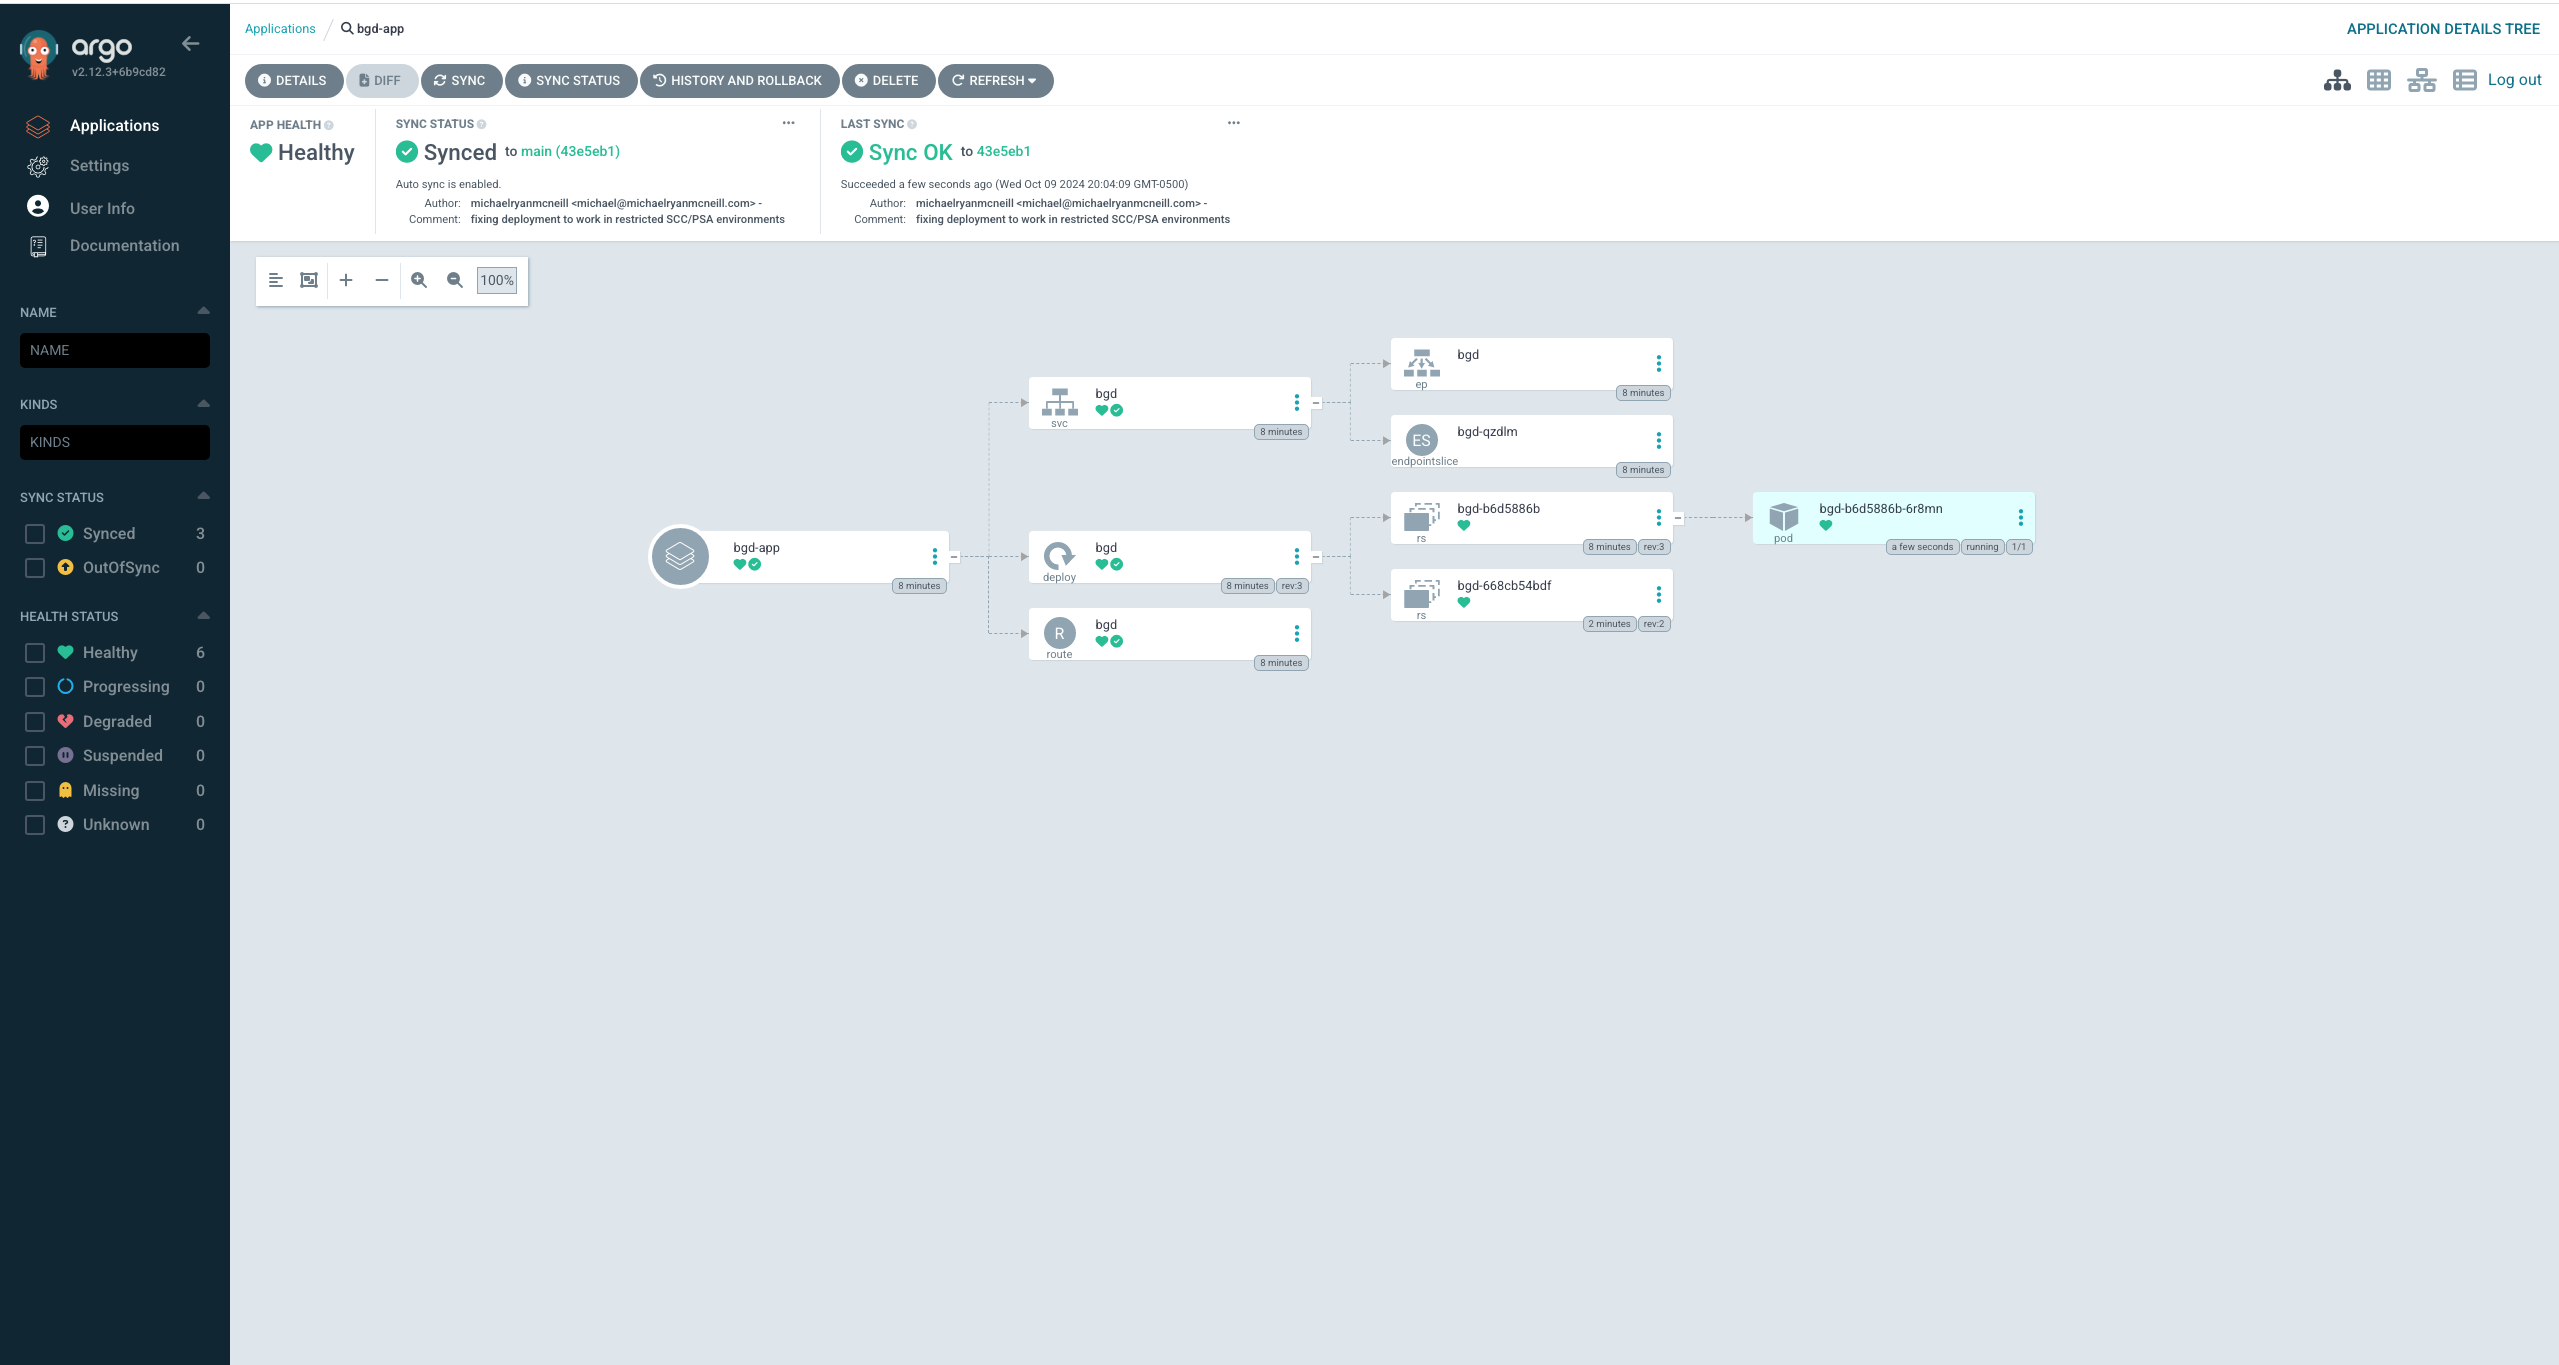
1.10. Click on the Application bgd-app to show its topology.
1.11. Verify that OpenShift sees the Deployment as rolled out:
[rosa@bastion ~]$ oc rollout status deploy/bgd
deployment “bgd” successfully rolled out
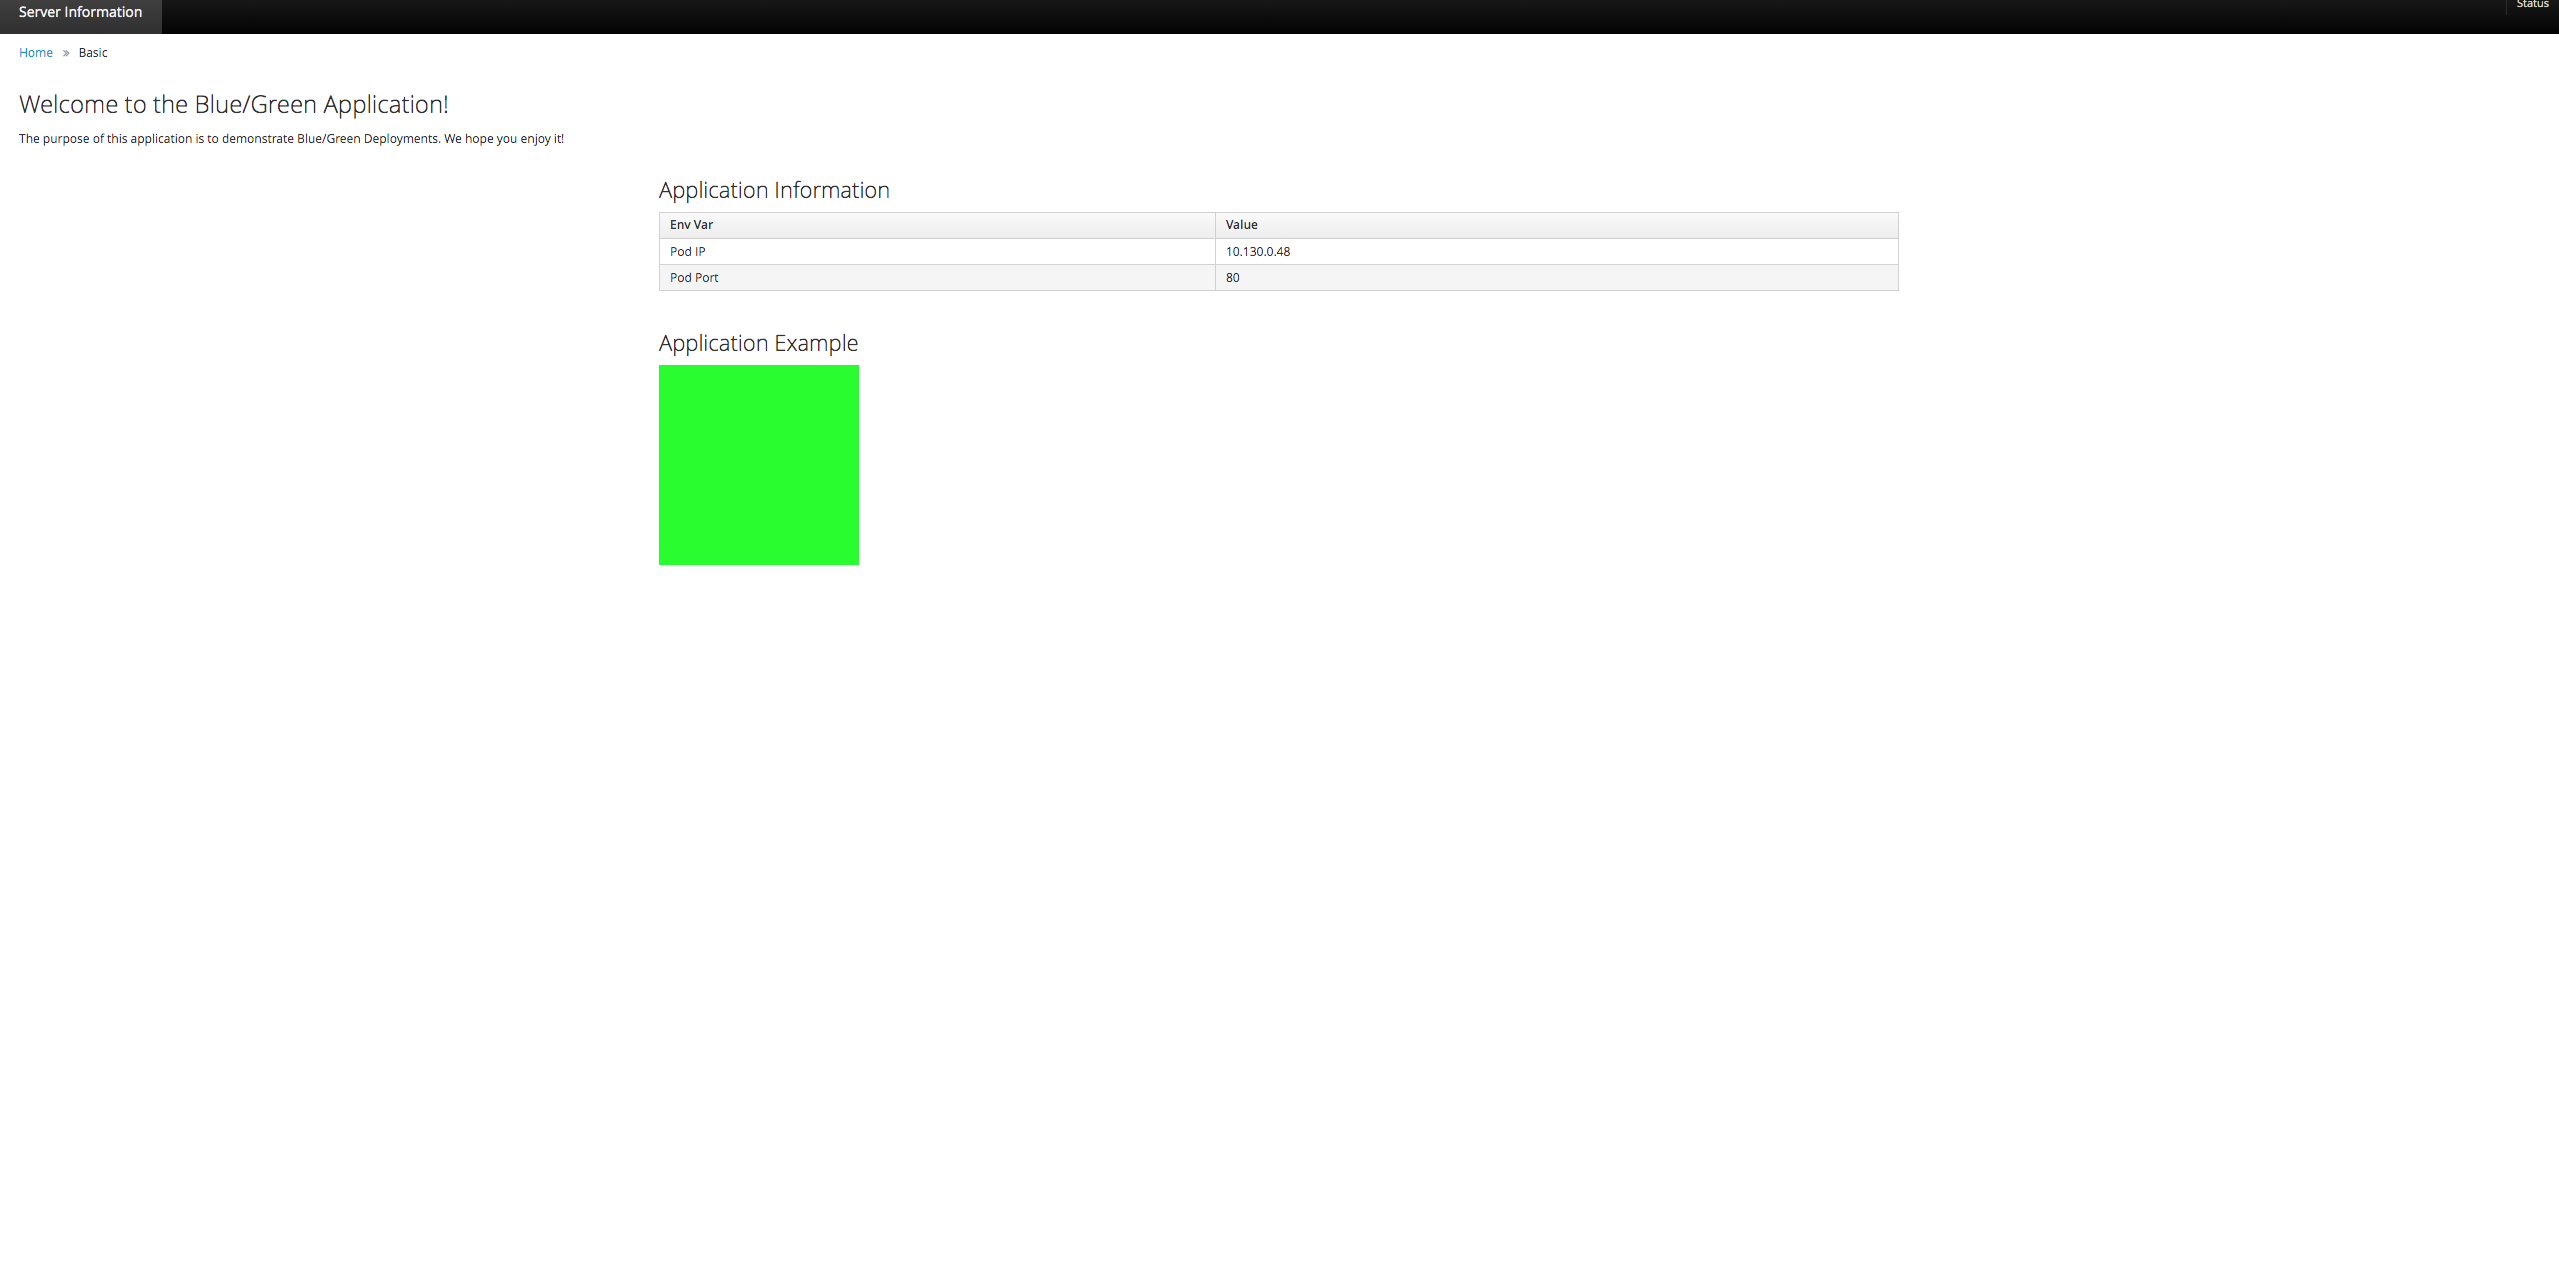
1.12. Get the route and browse to it in your browser:
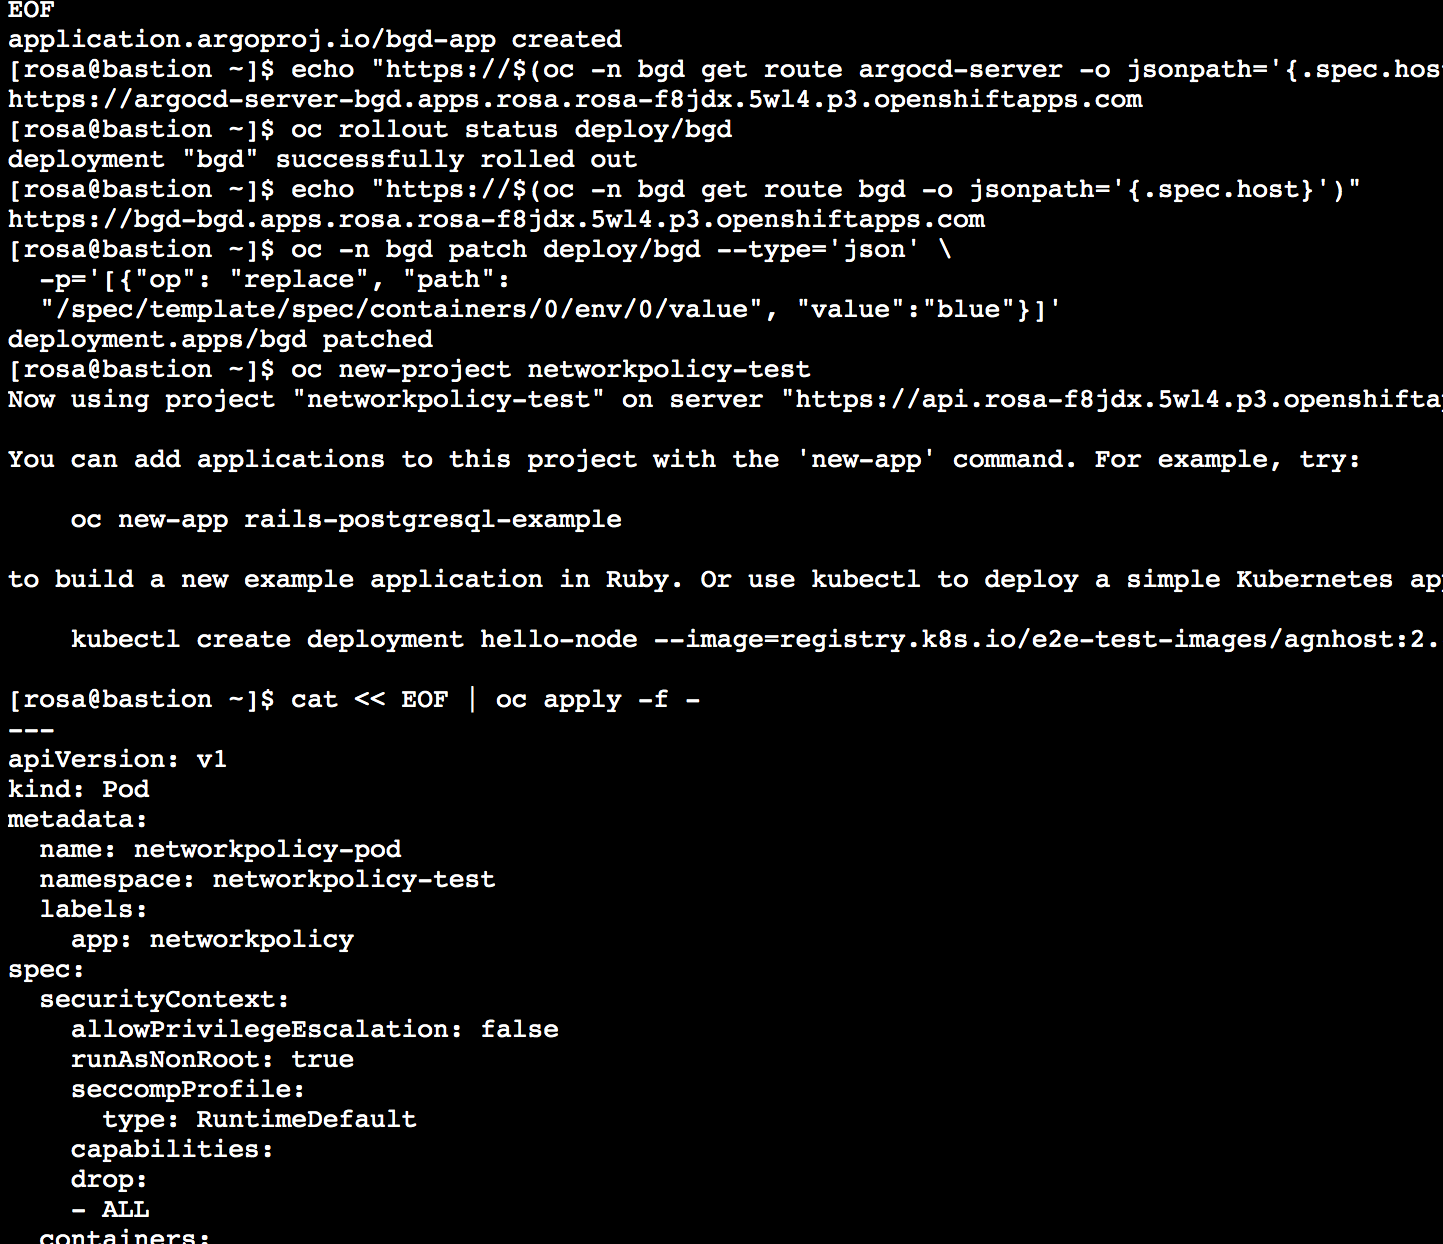
[rosa@bastion ~]$ echo “https://$(oc -n bgd get route bgd -o jsonpath=’{.spec.host}’)”
https://bgd-bgd.apps.rosa.rosa-88qgb.zpku.p3.openshiftapps.com
[rosa@bastion ~]$
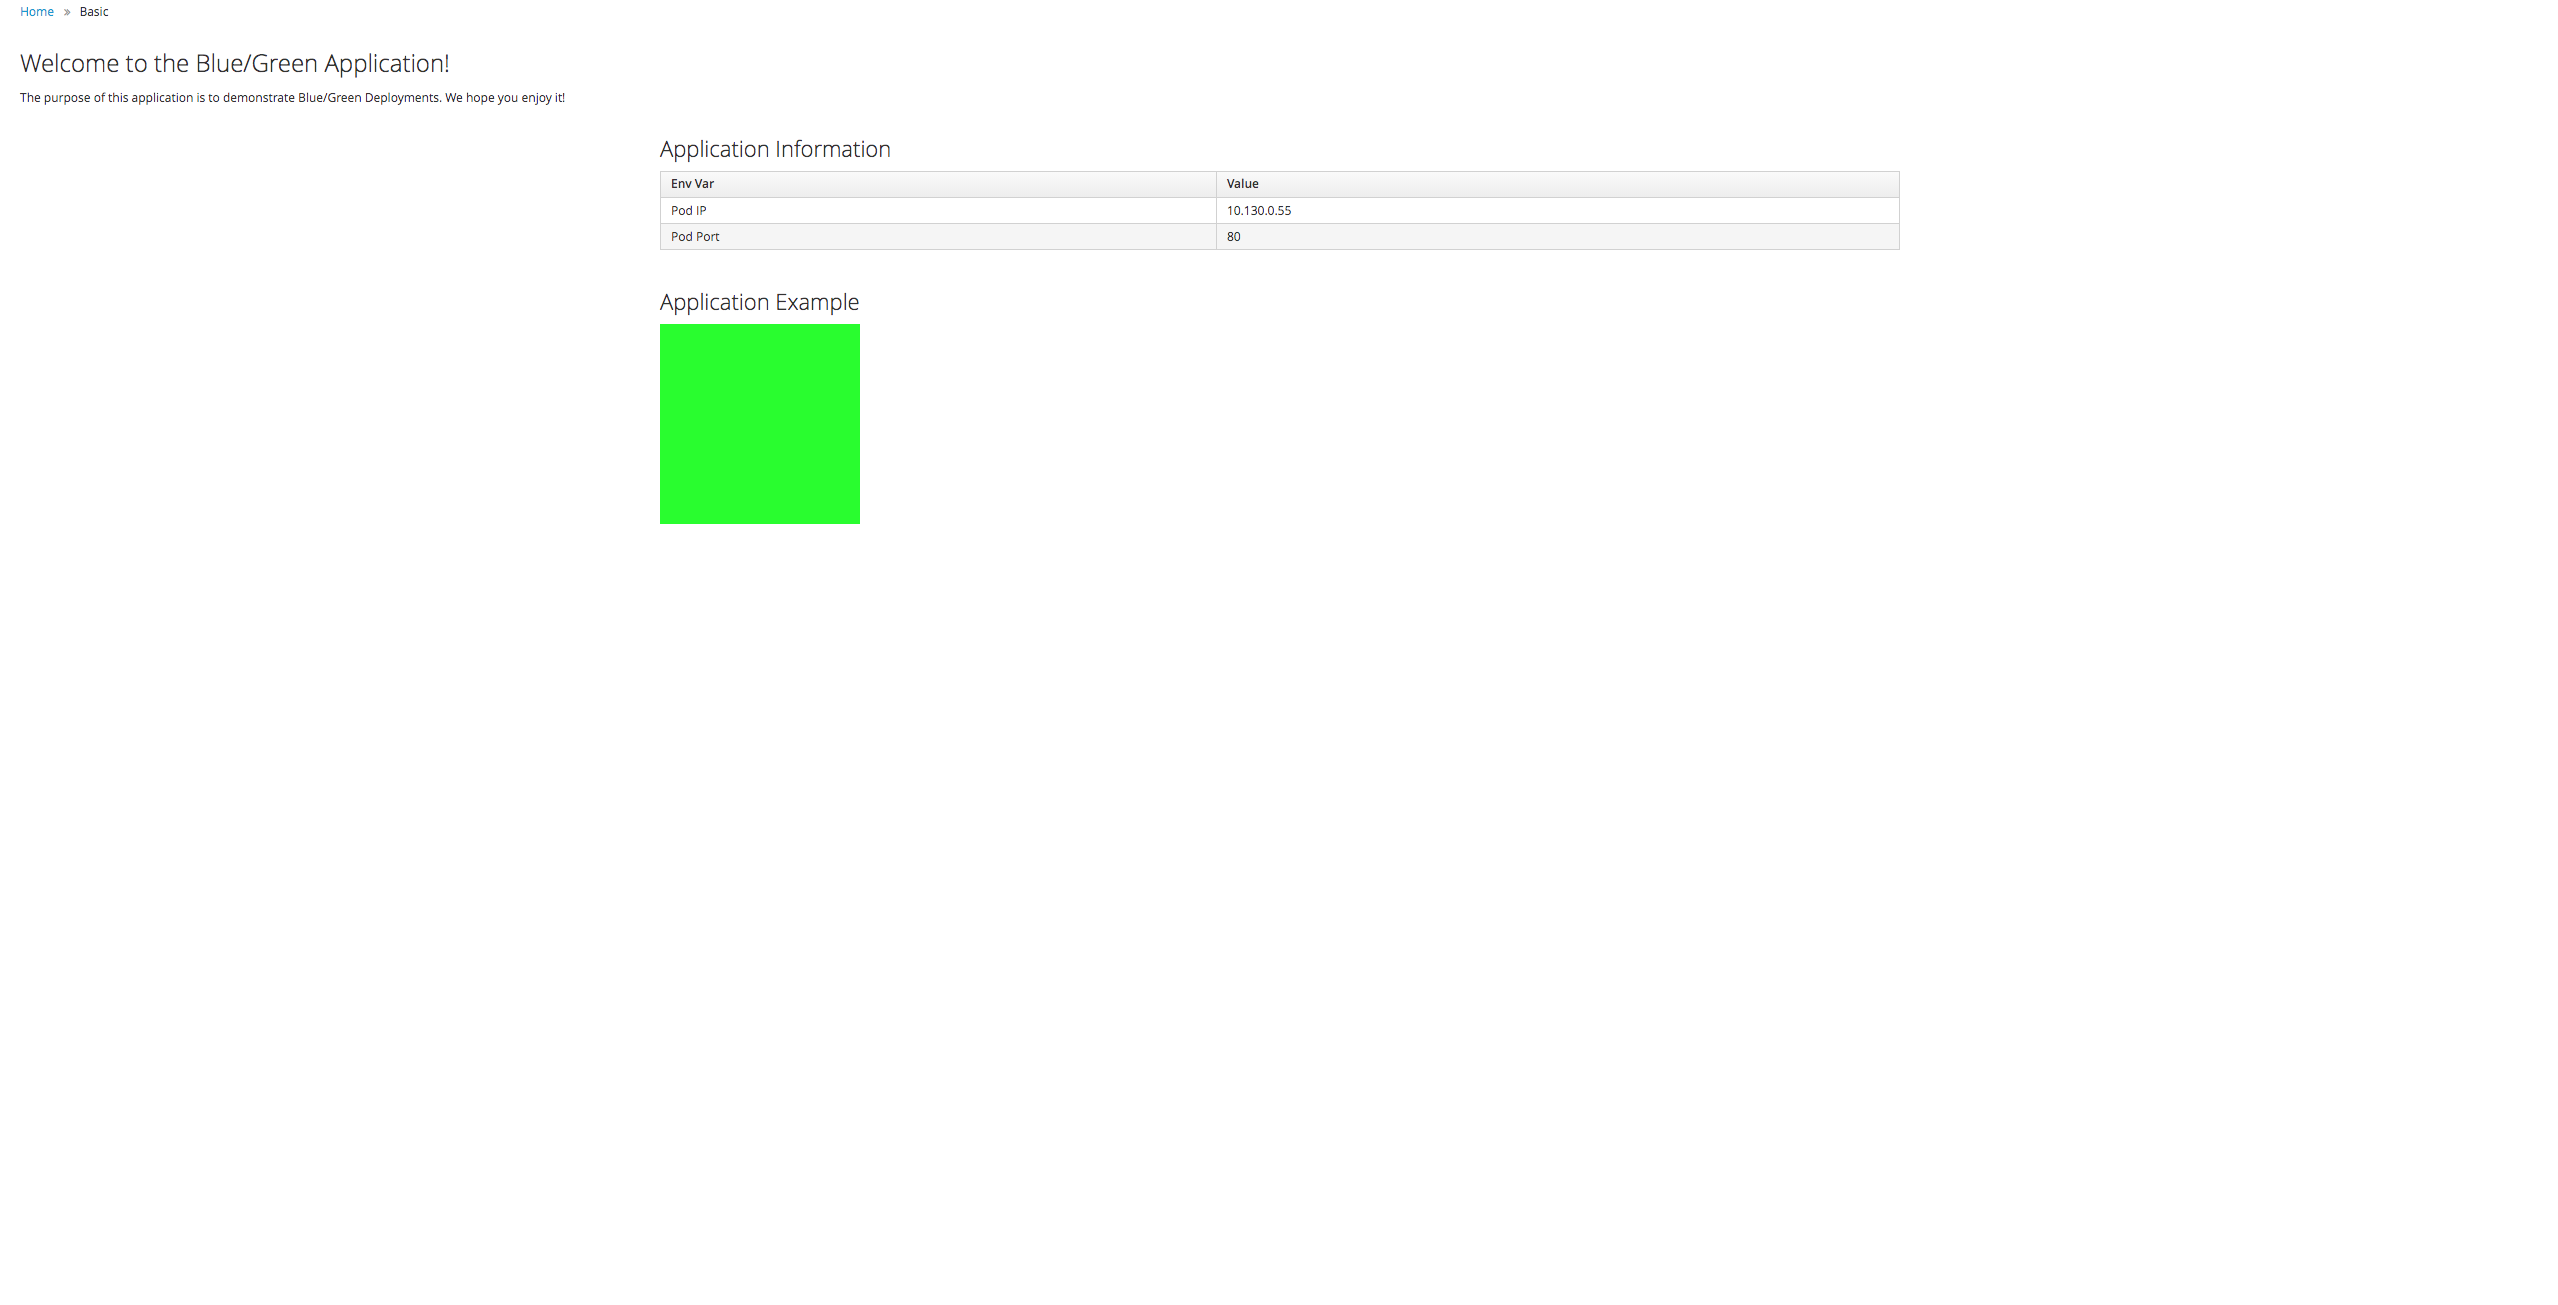
See the screenshot
1.13. Patch the OpenShift resource to force it to be out of sync with the GitHub repository:
[rosa@bastion ~]$ oc -n bgd patch deploy/bgd --type=’json’ \
-p=’[{“op”: “replace”, “path”:
“/spec/template/spec/containers/0/env/0/value”, “value”:”blue”}]’
deployment.apps/bgd patched
[rosa@bastion ~]$
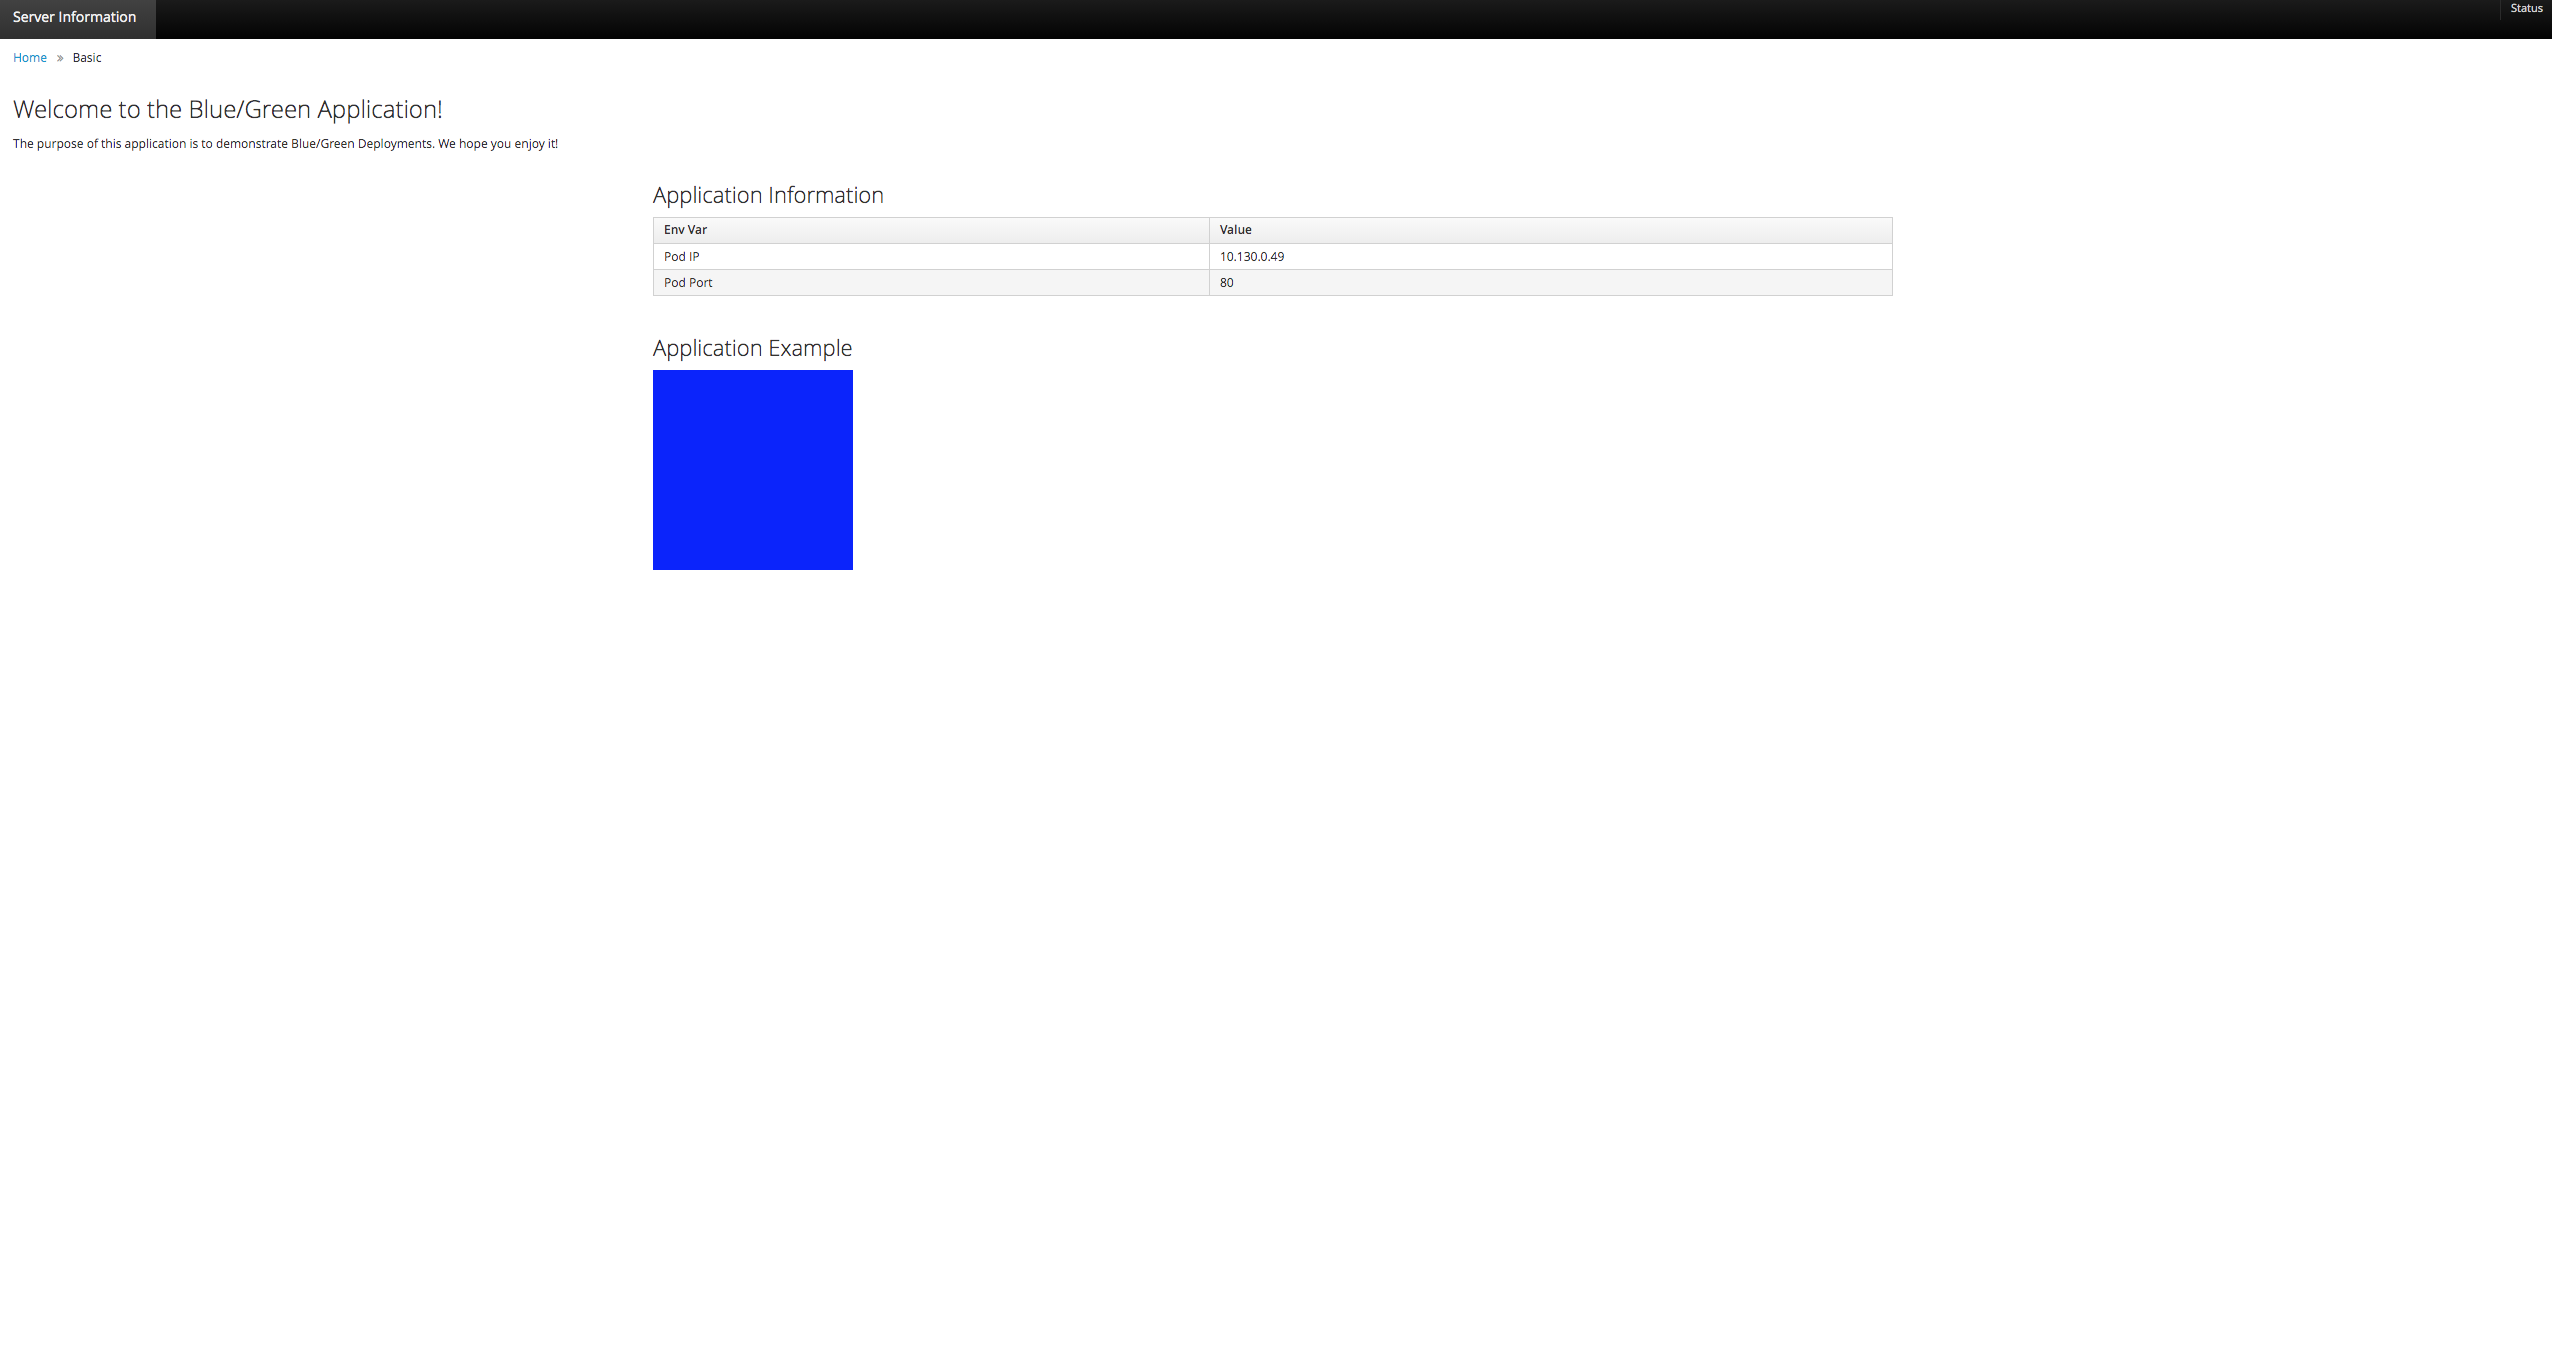
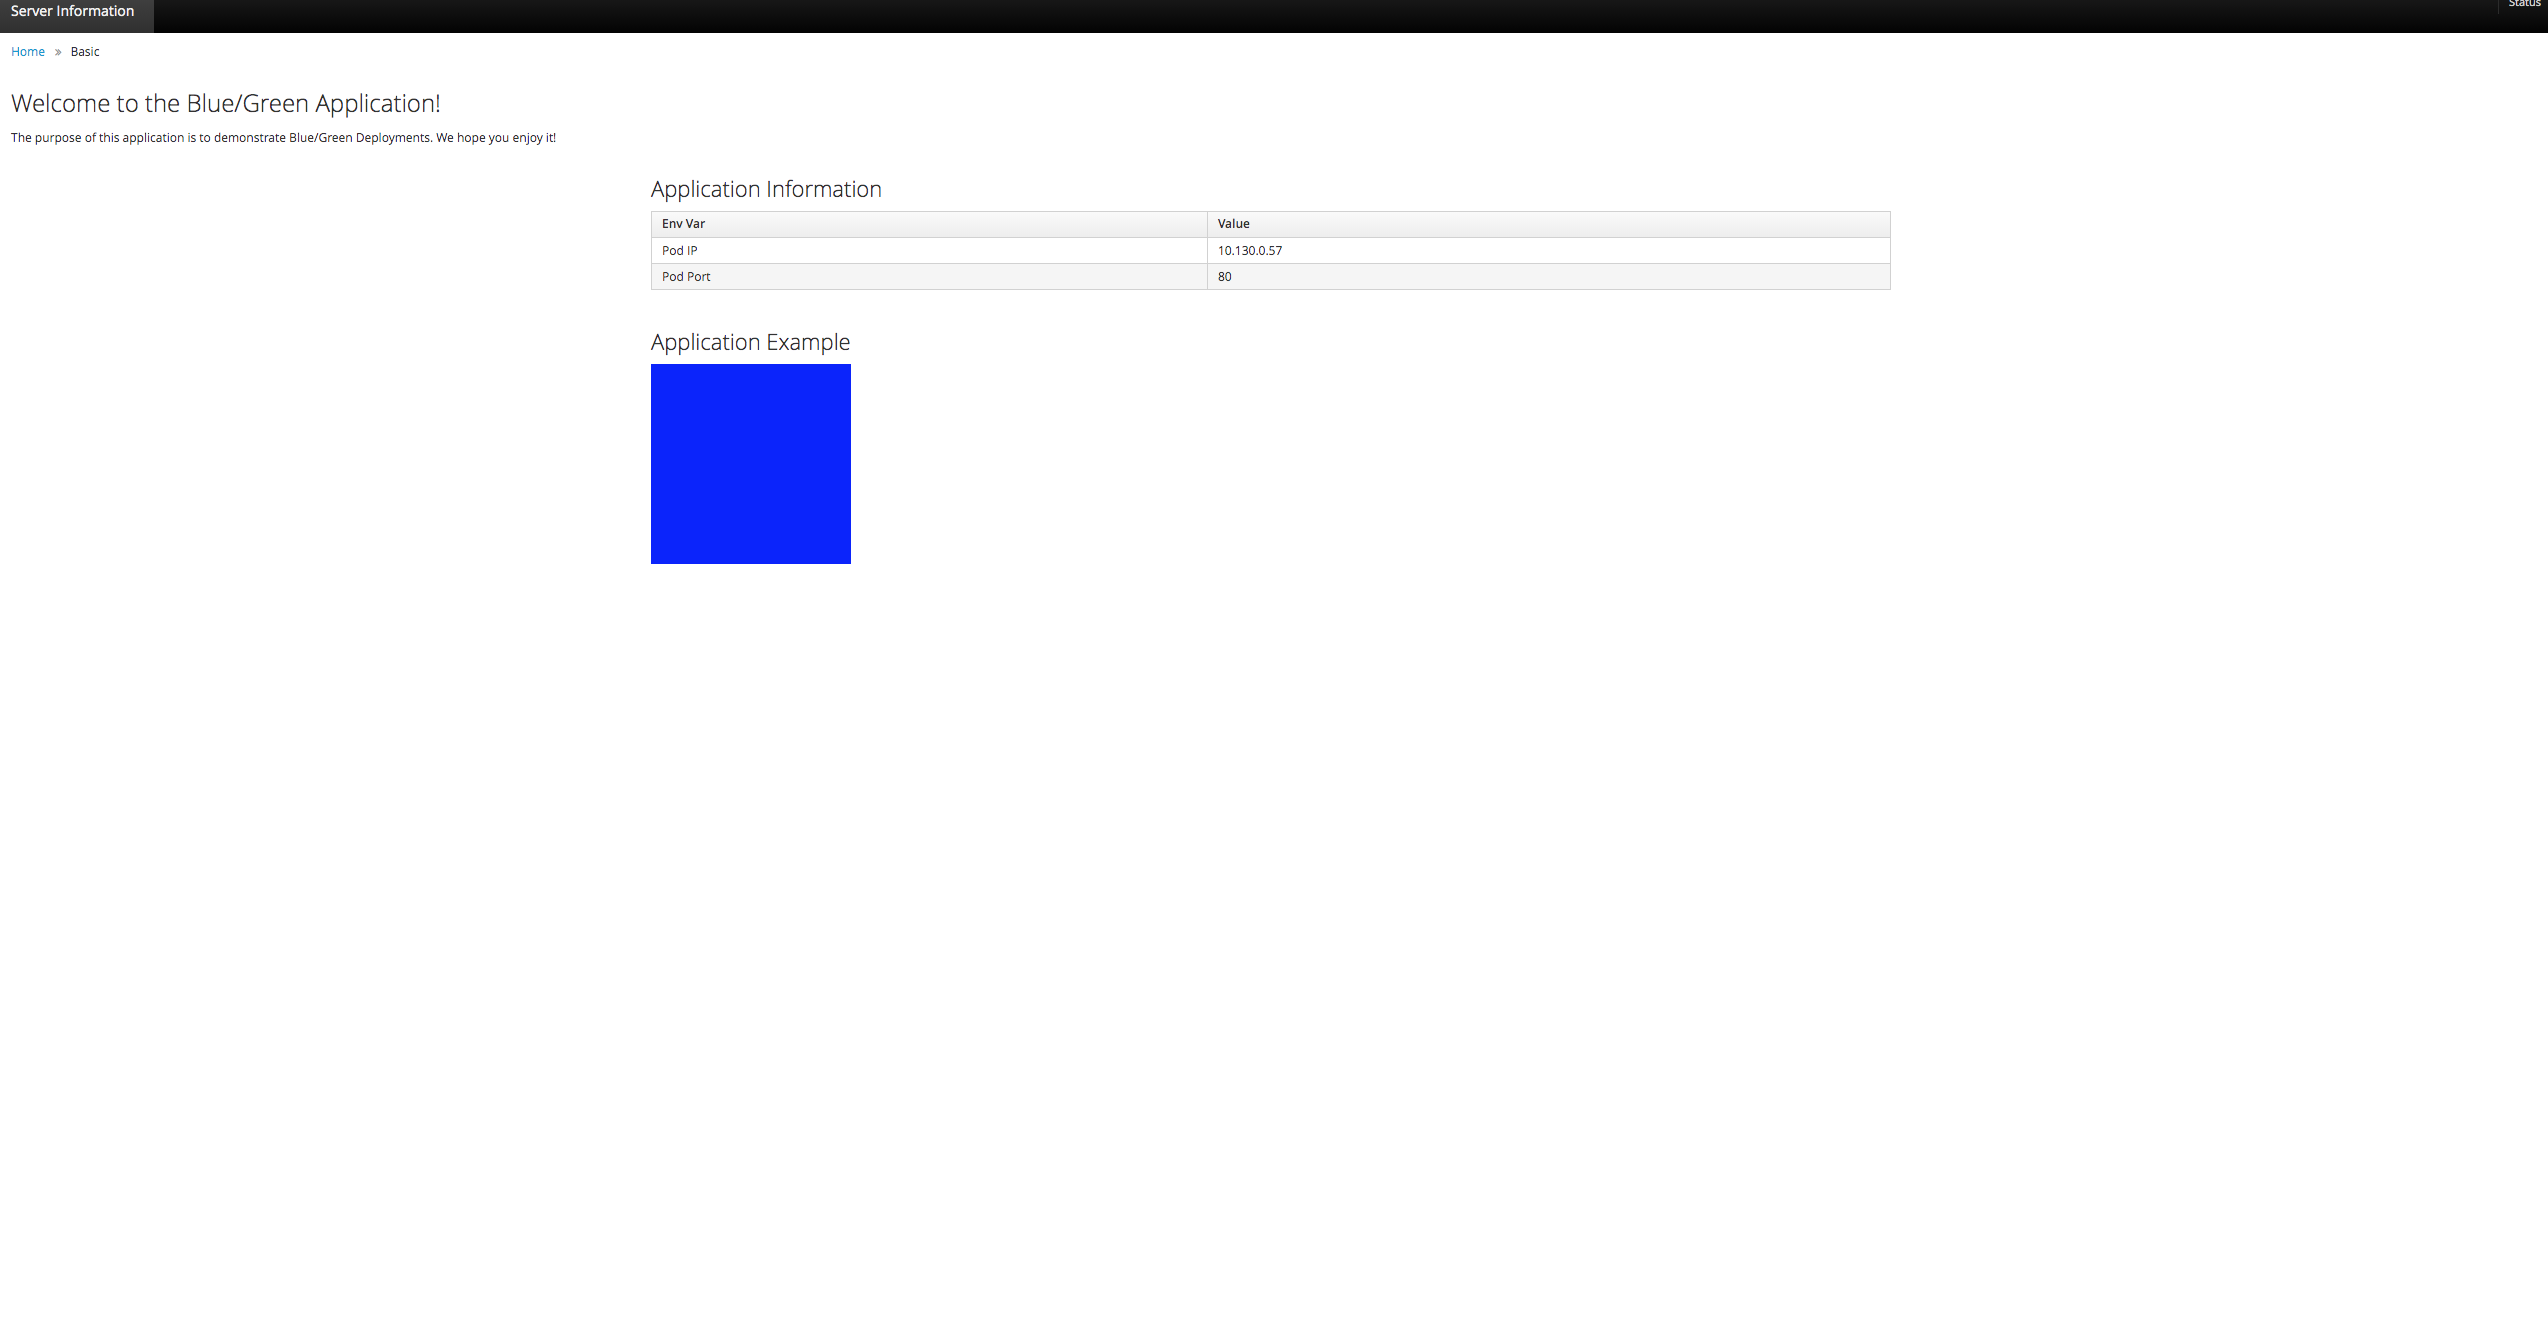
1.14. Refresh your browser and you should see a blue box in the website like so:
See screen shot
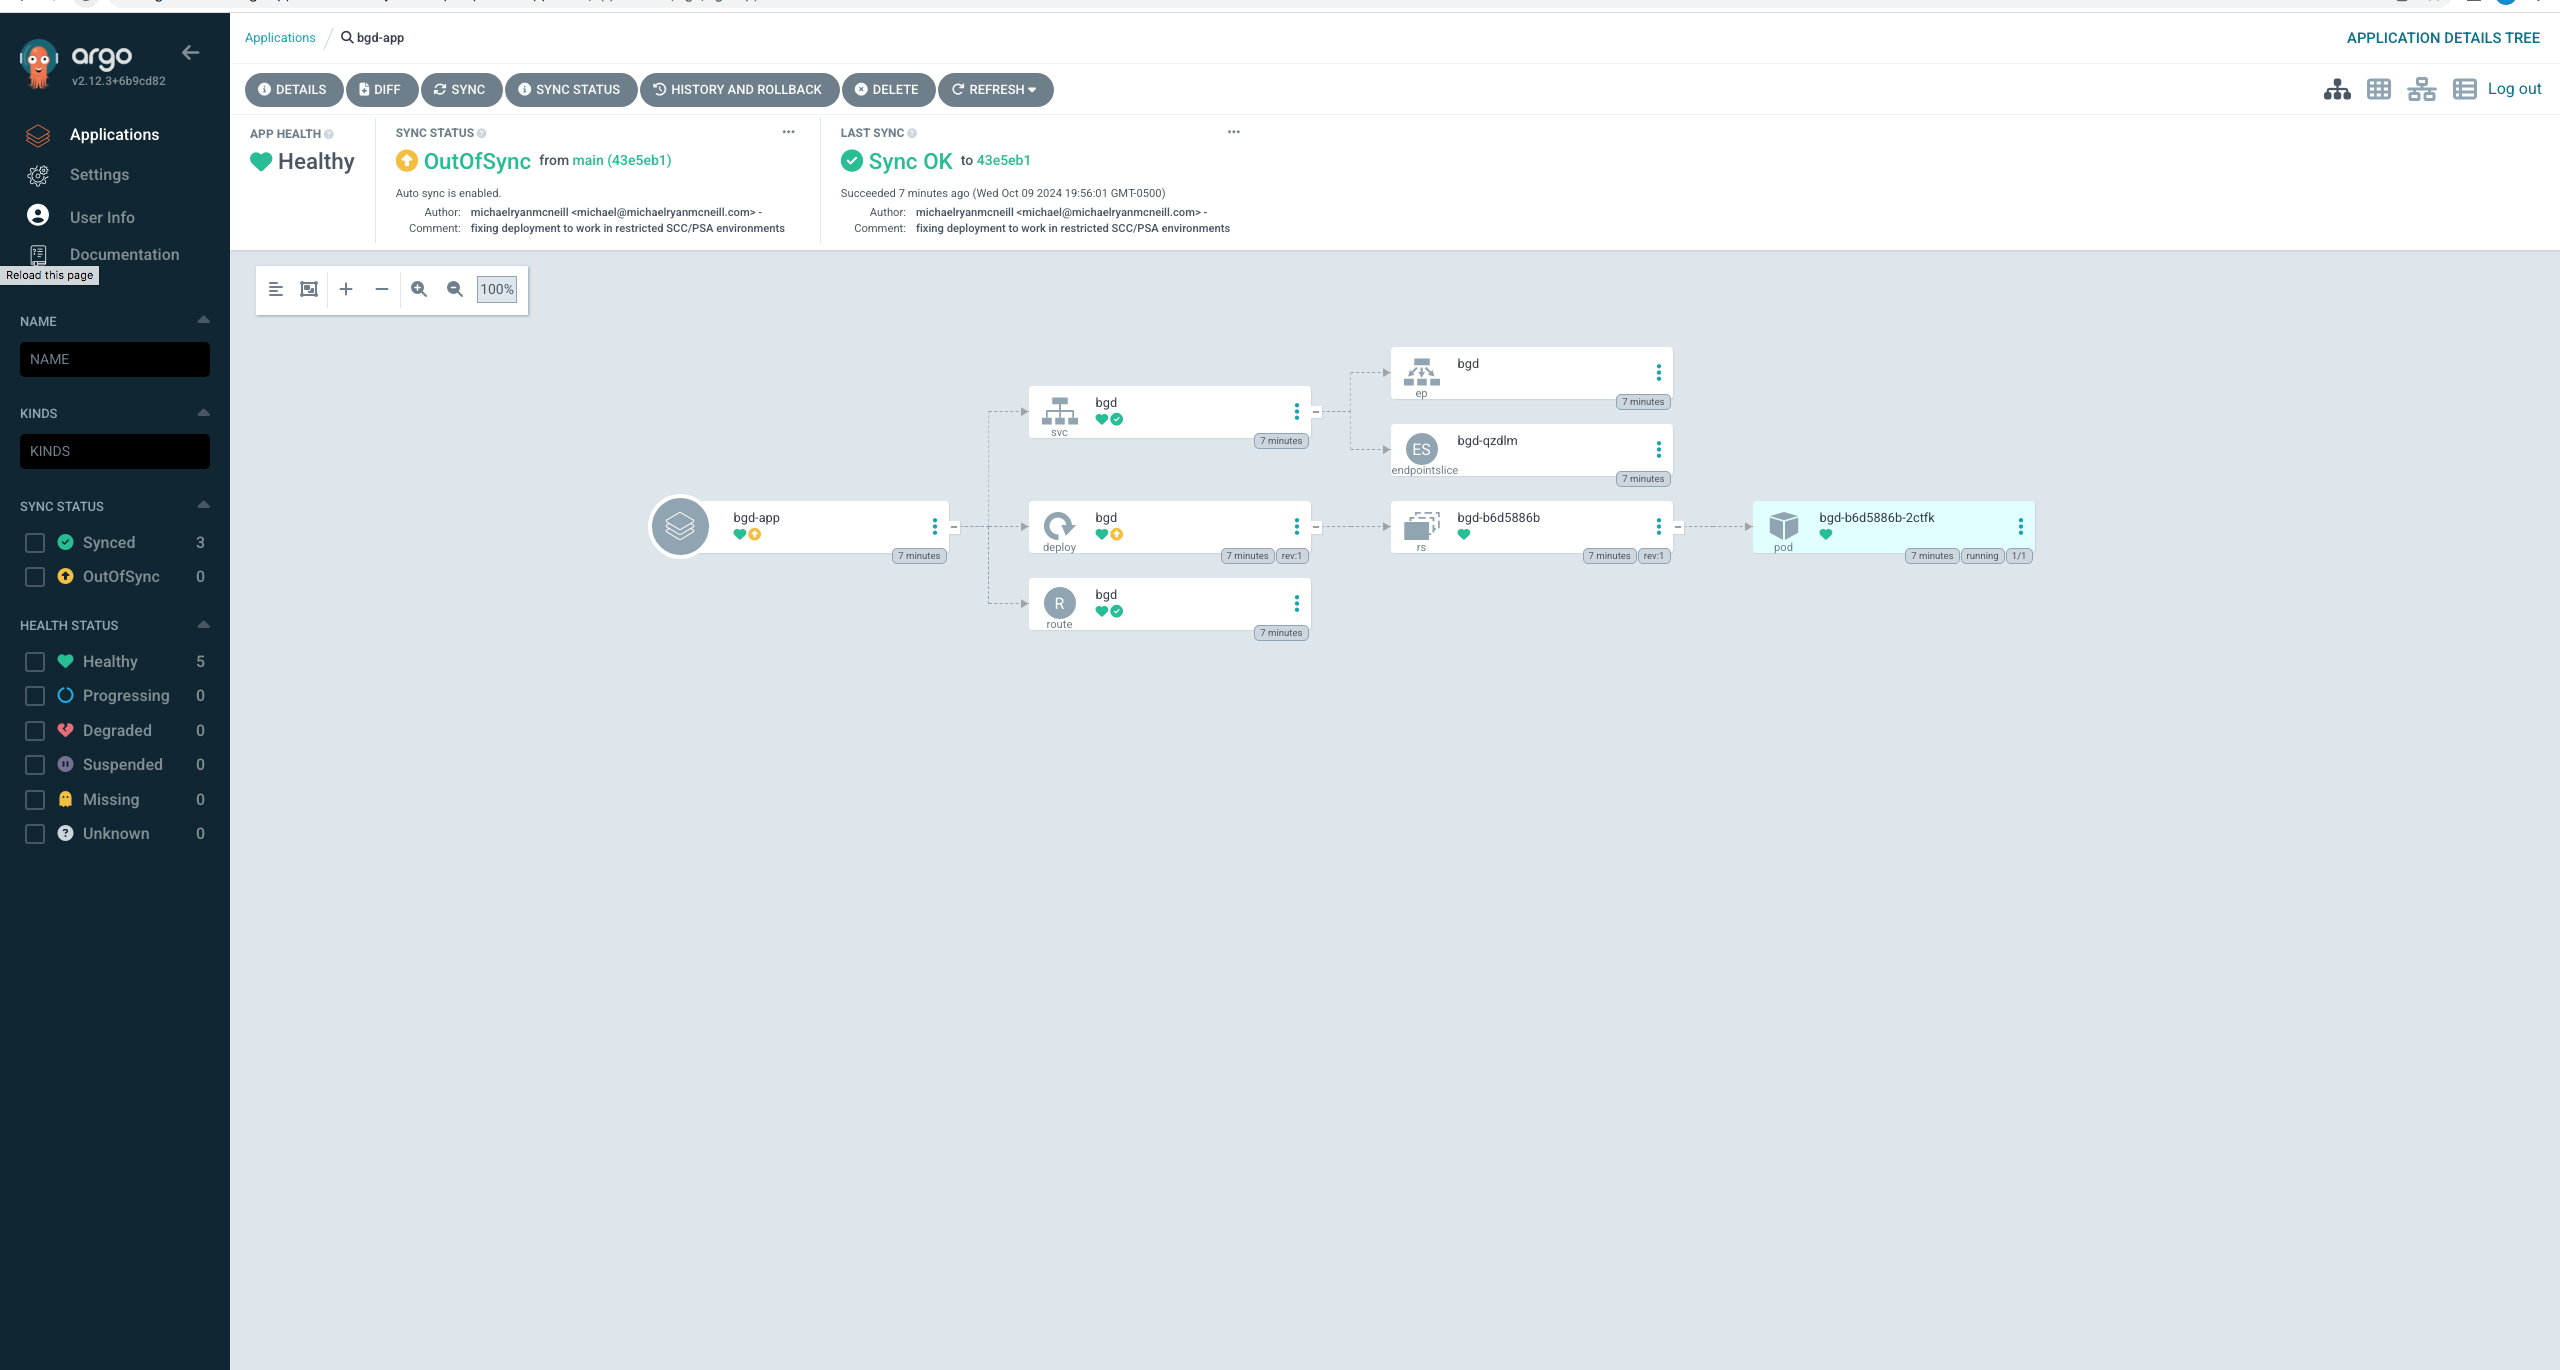
1.15. Meanwhile check Argo CD - it should show the application as out of sync. Click the Sync button and then click on Synchronize to have it revert the change you made in OpenShift:
It failed
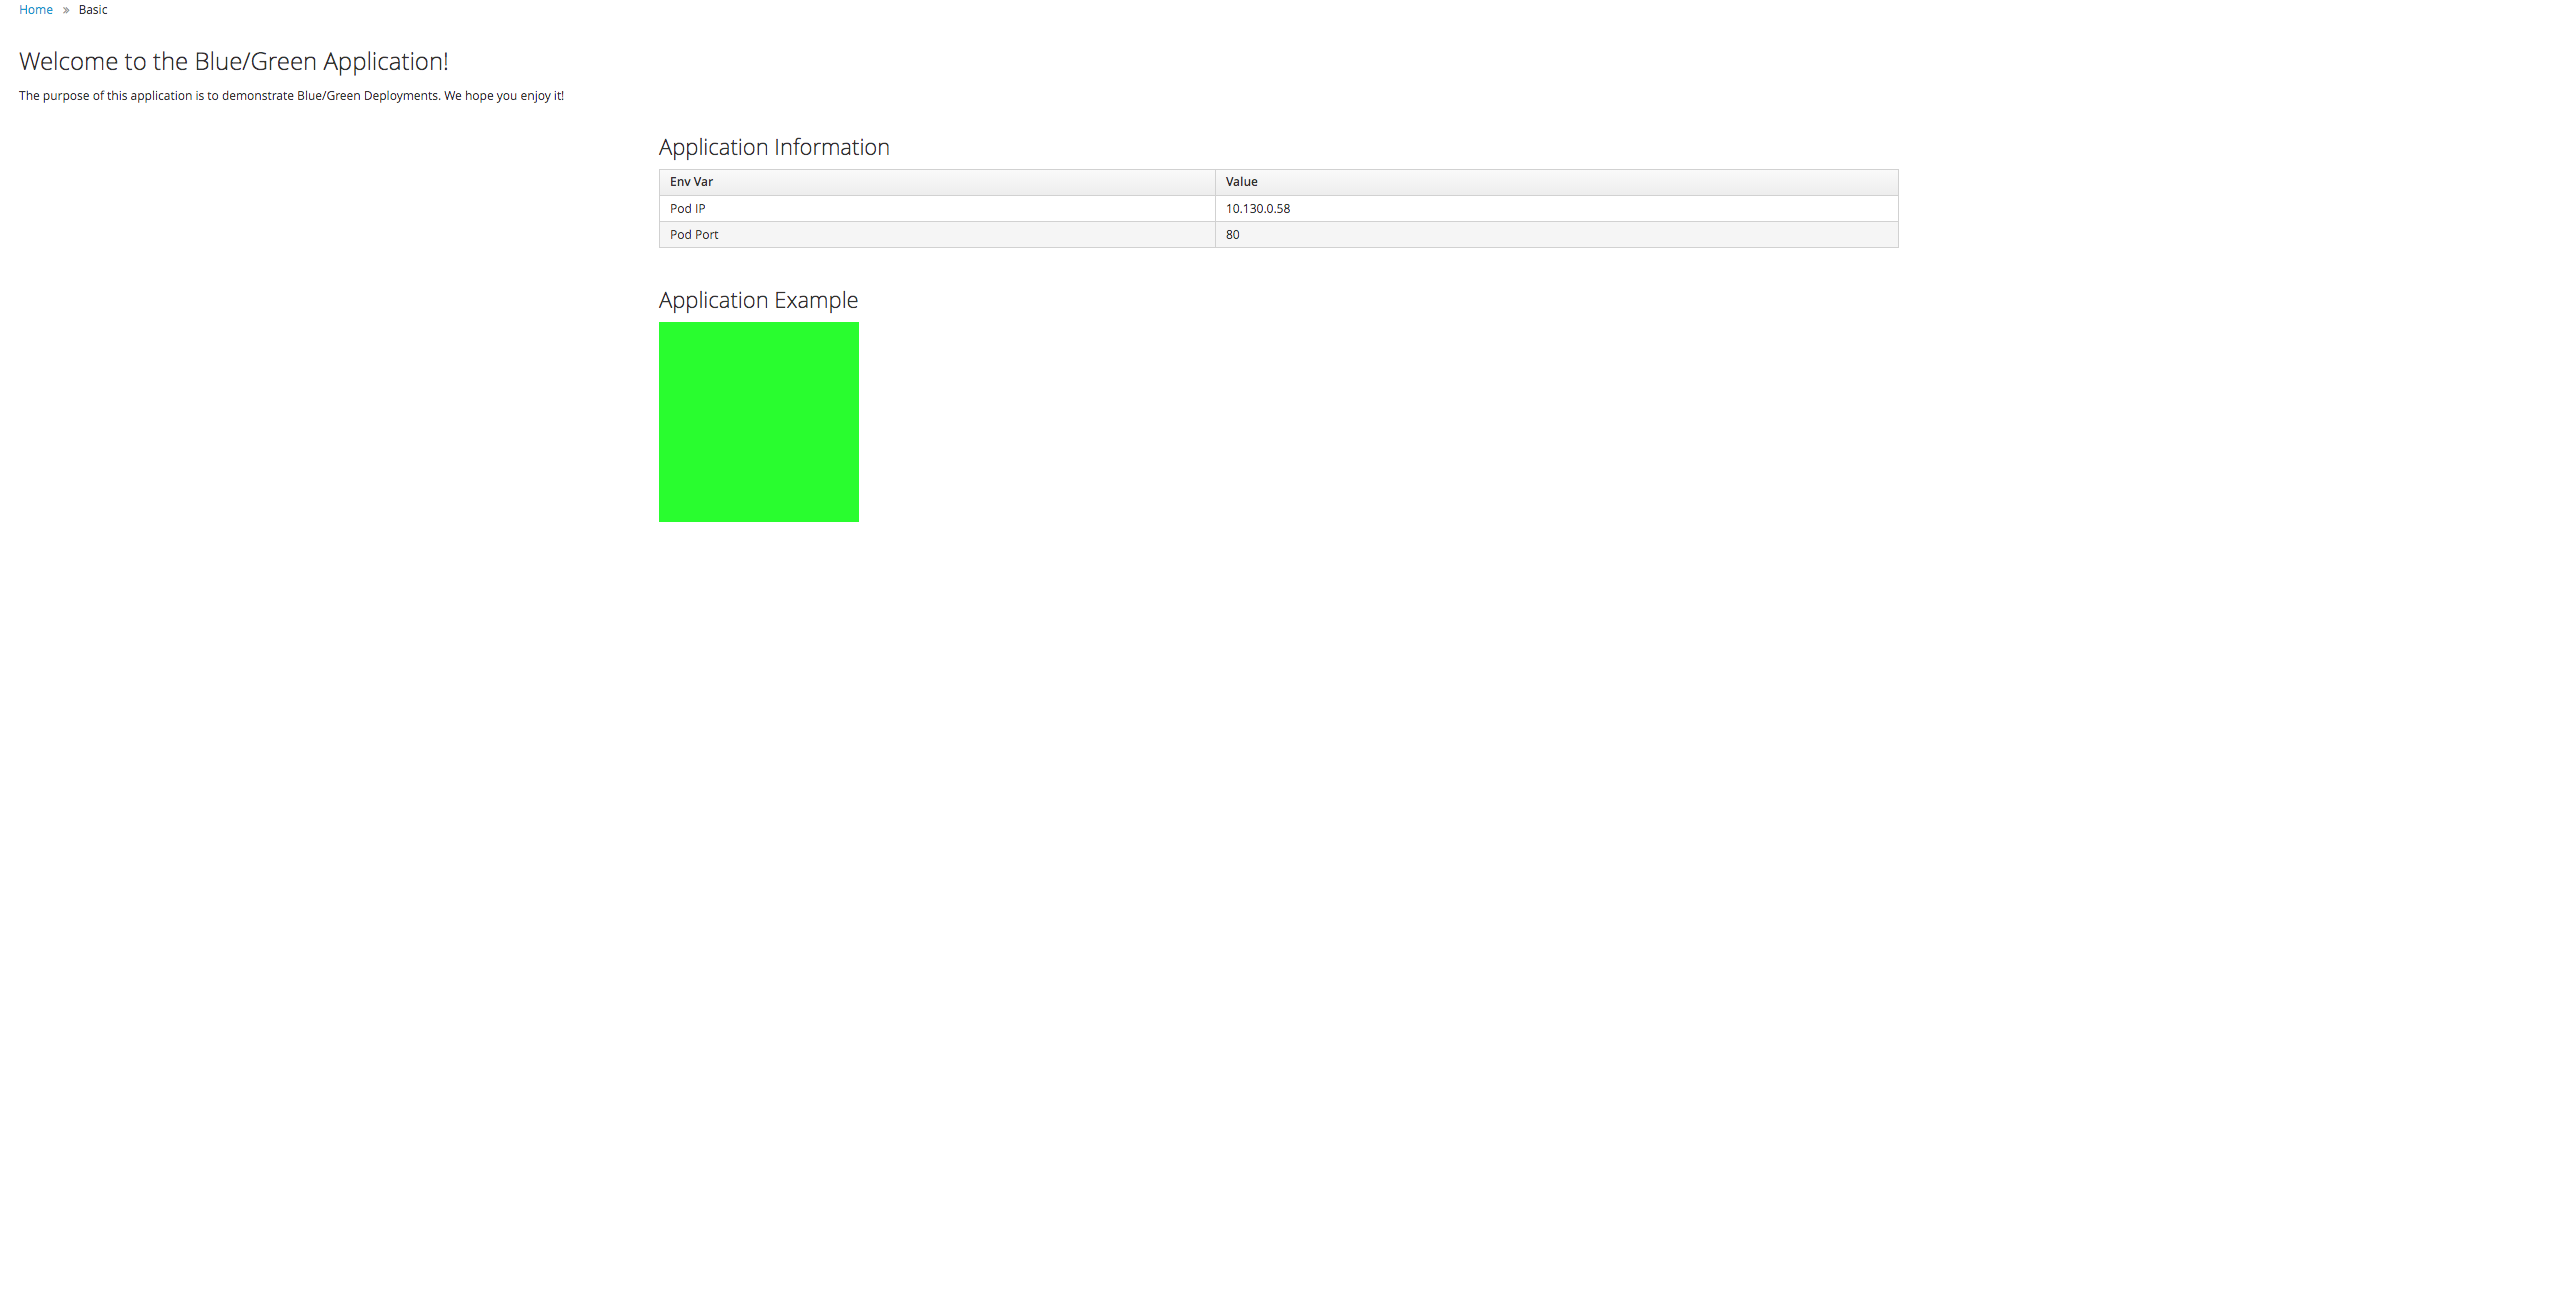
1,16.Check again, you should see a green box in the website like so:
Secure your applications with Network Policies
1. Create Networkpolicies
1.1. Create a new project and a new app. We will be using this pod for testing network connectivity to the microsweeper application
rosa@bastion ~]$ oc new-project networkpolicy-test
Now using project “networkpolicy-test” on server “https://api.rosa-88qgb.zpku.p3.openshiftapps.com:443”.
You can add applications to this project with the ‘new-app’ command. For example, try:
oc new-app rails-postgresql-example
to build a new example application in Ruby. Or use kubectl to deploy a simple Kubernetes application:
kubectl create deployment hello-node \--image=registry.k8s.io/e2e-test-images/agnhost:2.43 \-- /agnhost serve-hostname
[rosa@bastion ~]$
1.2. Create a new application within this namespace:
[rosa@bastion ~]$ cat << EOF | oc apply -f -
-–
apiVersion: v1
kind: Pod
metadata:
name: networkpolicy-pod
namespace: networkpolicy-test
labels:
app: networkpolicy
spec:
securityContext:
allowPrivilegeEscalation: false
runAsNonRoot: true
seccompProfile:
type: RuntimeDefault
capabilities:
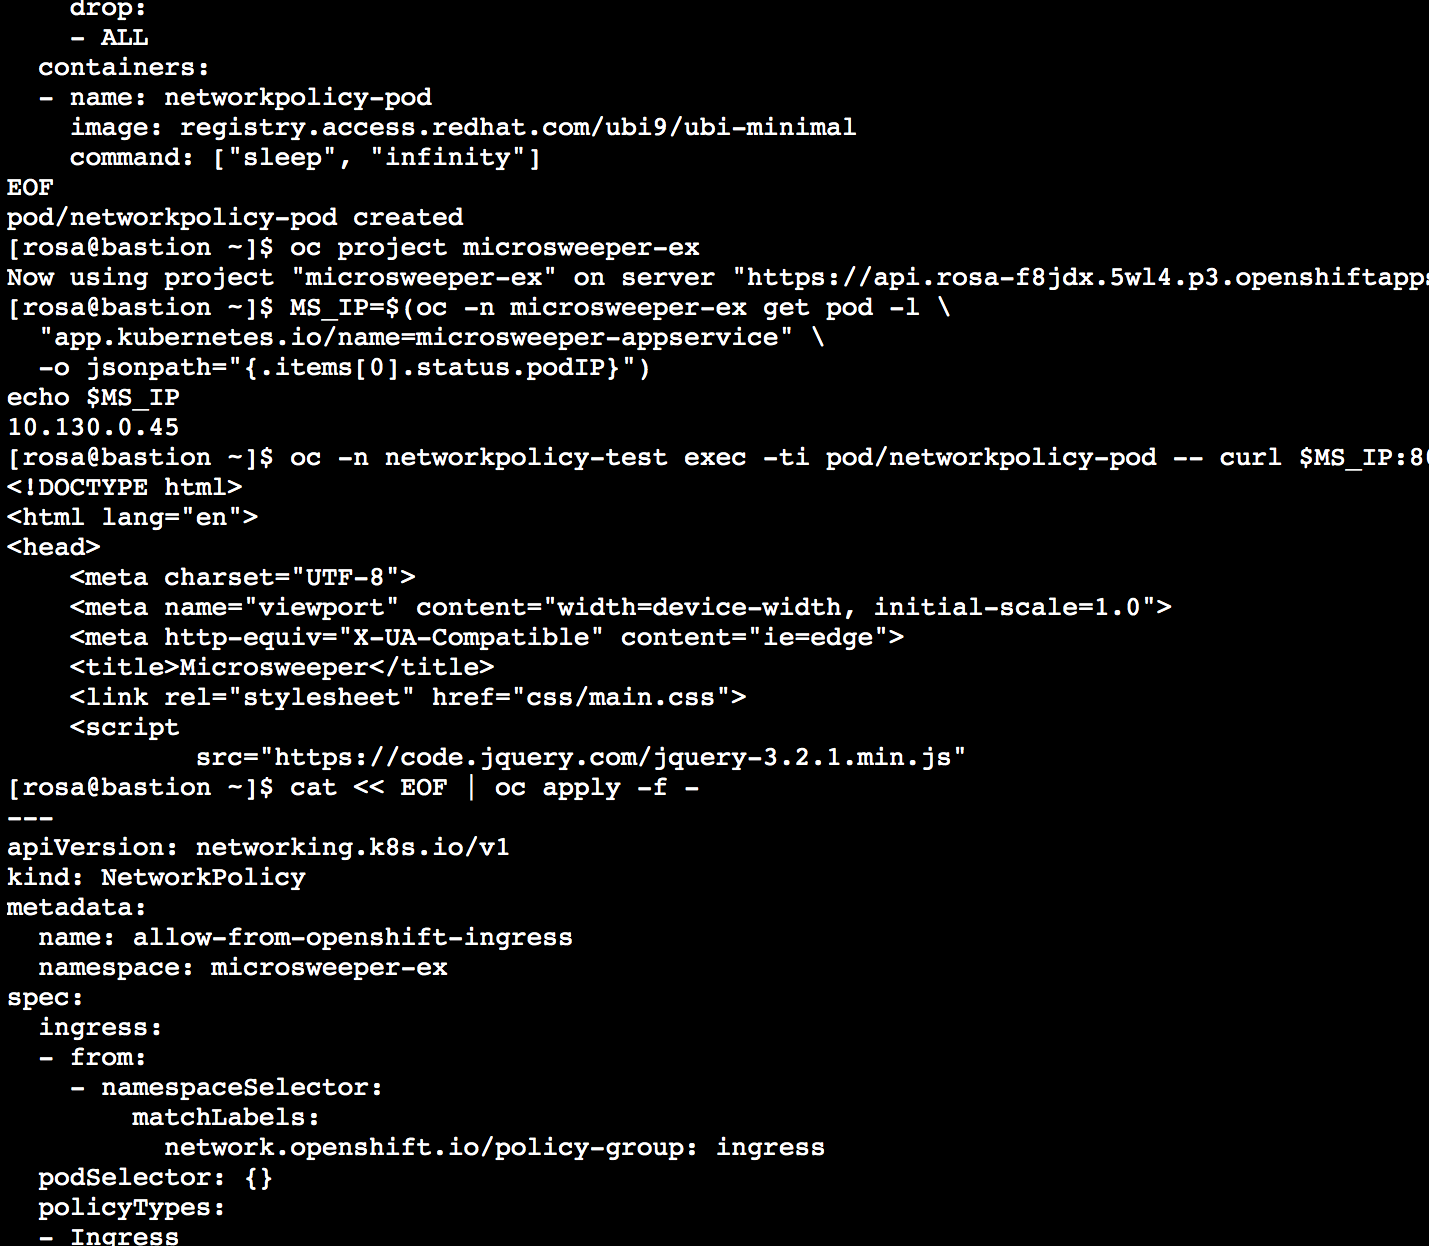
drop:
- ALL
containers:
- name: networkpolicy-pod
image: registry.access.redhat.com/ubi9/ubi-minimal
command: [“sleep”, “infinity”]
EOF
pod/networkpolicy-pod created
[rosa@bastion ~]$
1.3. Now we will change to the microsweeper-ex project to start applying the network policies:
[rosa@bastion ~]$ oc project microsweeper-ex
Now using project “microsweeper-ex” on server “https://api.rosa-88qgb.zpku.p3.openshiftapps.com:443”.
[rosa@bastion ~]$
1.4. Fetch the IP address of the microsweeper pod:
[rosa@bastion ~]$ MS_IP=$(oc -n microsweeper-ex get pod -l \
“app.kubernetes.io/name=microsweeper-appservice” \
-o jsonpath=”{.items[0].status.podIP}”)
echo $MS_IP
10.130.0.38
[rosa@bastion ~]$
1.5. Check to see if the networkpolicy-pod can access the microsweeper pod:
[rosa@bastion ~]$ oc -n networkpolicy-test exec -ti pod/networkpolicy-pod -- curl $MS_IP:8080 | head
<!DOCTYPE html>
<html lang=”en”>
<head>
<meta charset=”UTF-8”>
<meta name=”viewport” content=”width=device-width, initial-scale=1.0”>
<meta http-equiv=”X-UA-Compatible” content=”ie=edge”>
<title>Microsweeper</title>
<link rel=”stylesheet” href=”css/main.css”>
<script
src=”https://code.jquery.com/jquery-3.2.1.min.js”
1.6. It’s common to want to not allow Pods from another Project.
This can be done by a fairly simple Network Policy.
This Network Policy will restrict Ingress to the pods in the project microsweeper-ex to just the OpenShift Ingress pods which run in the project with label network.openshift.io/policy-group=ingress
[rosa@bastion ~]$ cat << EOF | oc apply -f -
-–
apiVersion: networking.k8s.io/v1
kind: NetworkPolicy
metadata:
name: allow-from-openshift-ingress
namespace: microsweeper-ex
spec:
ingress:
- from:
- namespaceSelector:
matchLabels:
network.openshift.io/policy-group: ingress
podSelector: {}
policyTypes:
- Ingress
EOF
networkpolicy.networking.k8s.io/allow-from-openshift-ingress created
[rosa@bastion ~]$
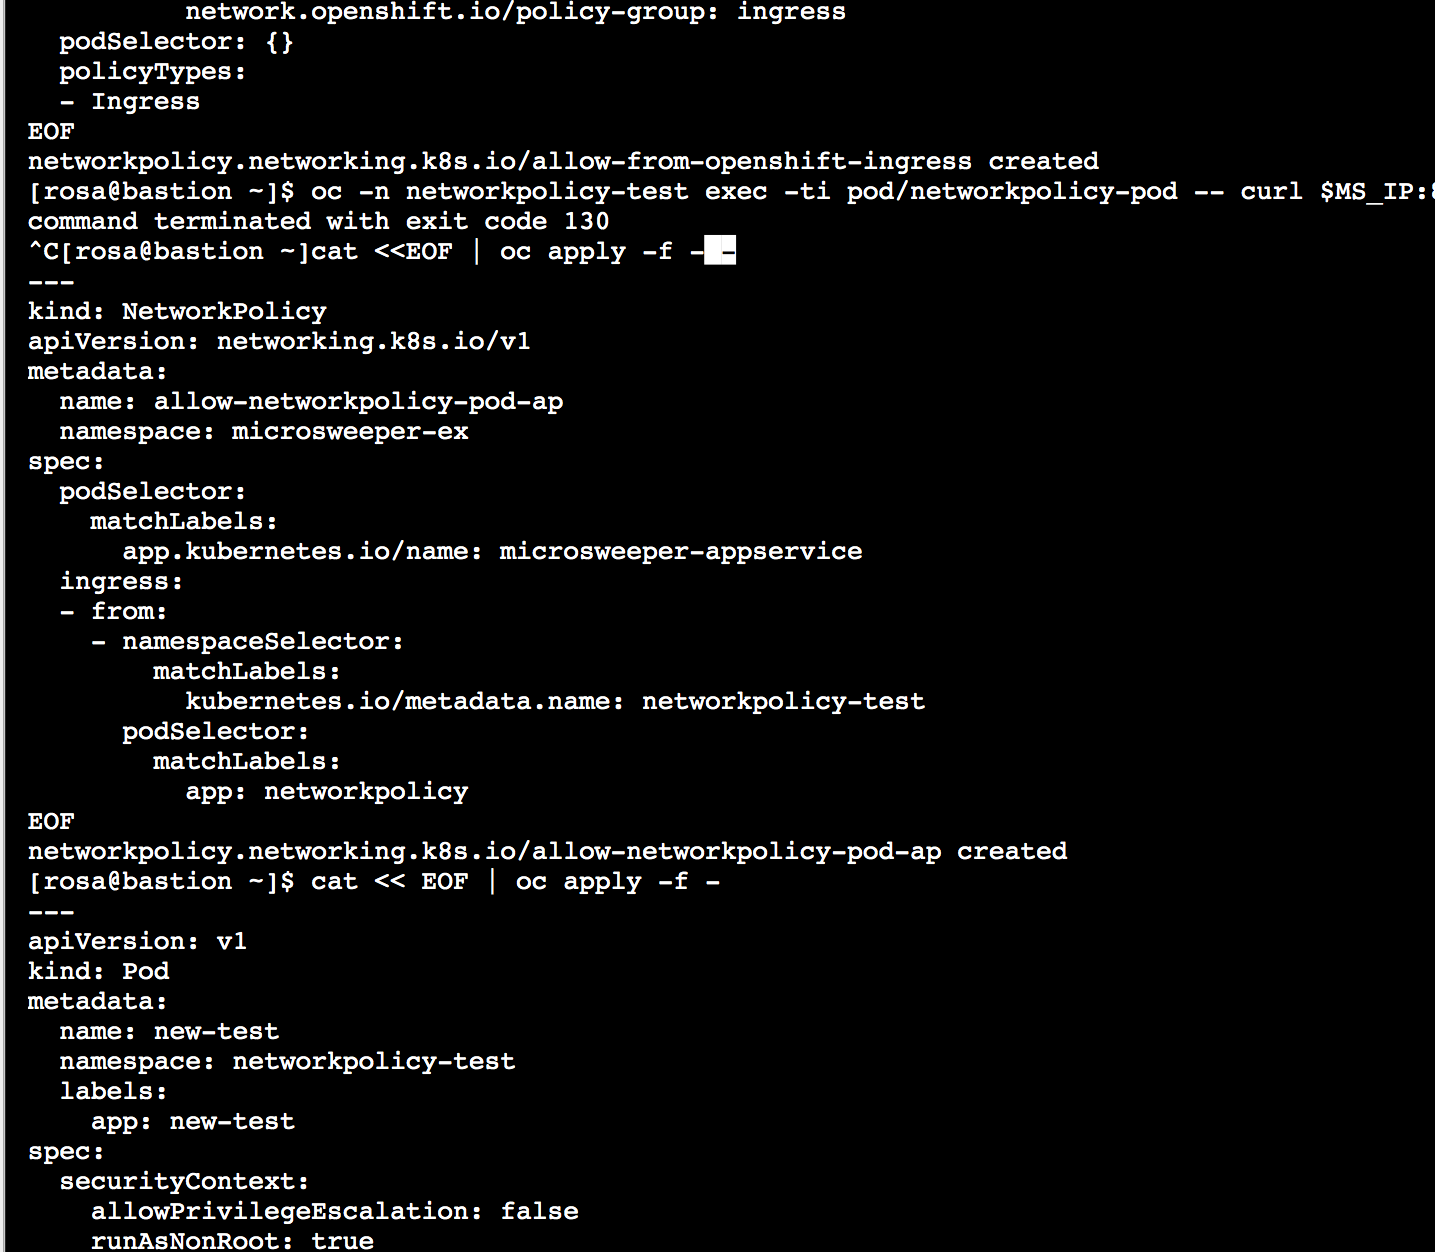
1.7. Try to access microsweeper from the networkpolicy-pod again
osa@bastion ~]$ oc -n networkpolicy-test exec -ti pod/networkpolicy-pod -- curl $MS_IP:8080 | head
command terminated with exit code 130
^C[rosa@bastion ~]$
This time it should fail to connect - it will just sit there. Hit CTRL+c to avoid having to wait until a timeout.
| | If you have your browser still open to the microsweeper app, you can refresh and see that you can still access it. This is because your web browser connect to the Ingress controllers - which per the NetworkPolicy are allowed to connect to this project. |
| :—- | :—- |
Sometimes you want your application to be accessible to other namespaces. You can allow access to just your microsweeper frontend from the networkpolicy-pod in the networkpolicy-test namespace like so:
C[rosa@bastion ~]cat <<EOF | oc apply -f - -
-–
kind: NetworkPolicy
apiVersion: networking.k8s.io/v1
metadata:
name: allow-networkpolicy-pod-ap
namespace: microsweeper-ex
spec:
podSelector:
matchLabels:
app.kubernetes.io/name: microsweeper-appservice
ingress:
- from:
- namespaceSelector:
matchLabels:
kubernetes.io/metadata.name: networkpolicy-test
podSelector:
matchLabels:
app: networkpolicy
EOF
networkpolicy.networking.k8s.io/allow-networkpolicy-pod-ap created
1.9.Check to see if networkpolicy-pod can access the pod:
[rosa@bastion ~]$ oc -n networkpolicy-test exec -ti pod/networkpolicy-pod -- curl $MS_IP:8080 | head
<!DOCTYPE html>
<html lang=”en”>
<head>
<meta charset=”UTF-8”>
<meta name=”viewport” content=”width=device-width, initial-scale=1.0”>
<meta http-equiv=”X-UA-Compatible” content=”ie=edge”>
<title>Microsweeper</title>
<link rel=”stylesheet” href=”css/main.css”>
<script
src=”https://code.jquery.com/jquery-3.2.1.min.js”
[rosa@bastion ~]$
1.10. To verify that only the networkpolicy-pod app can access the microsweeper app, create a new pod with a different label in the networkpolicy-test namespace.
[rosa@bastion ~]$ cat << EOF | oc apply -f -
-–
apiVersion: v1
kind: Pod
metadata:
name: new-test
namespace: networkpolicy-test
labels:
app: new-test
spec:
securityContext:
allowPrivilegeEscalation: false
runAsNonRoot: true
seccompProfile:
type: RuntimeDefault
capabilities:
drop:
- ALL
containers:
- name: new-test
image: registry.access.redhat.com/ubi9/ubi-minimal
command: [“sleep”, “infinity”]
EOF
pod/new-test created
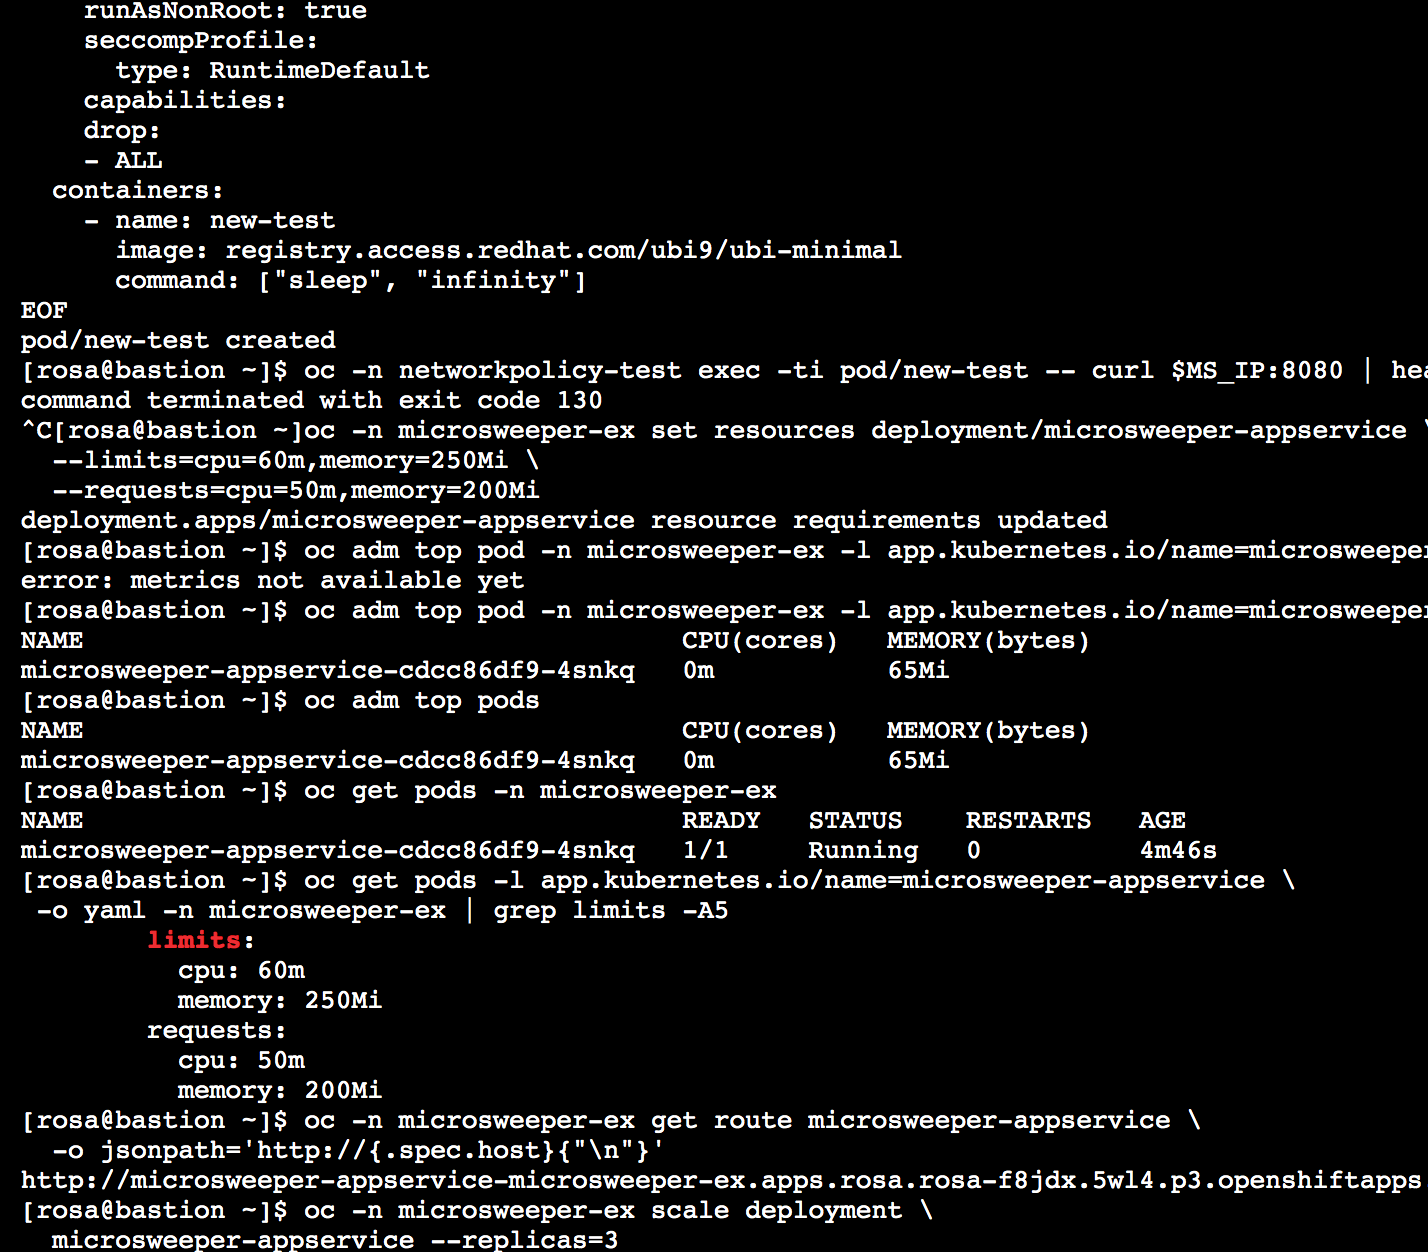
1.11. Try to curl the microsweeper-ex pod from our new pod.:
This will fail with a timeout again. Hit CTRL+c to avoid waiting for a timeout.
[rosa@bastion ~]$ oc -n networkpolicy-test exec -ti pod/new-test -- curl $MS_IP:8080 | head
command terminated with exit code 130
^C[rosa@bastion ~]$
For information on setting default network policies for new projects you can read the OpenShift documentation on modifying the default project template.
Make your application resilient
##
1. Setting Limits & Requests on an Application
1.1. First, let’s set limits and requests on the previously deployed microsweeper application.
^C[rosa@bastion ~]oc -n microsweeper-ex set resources deployment/microsweeper-appservice \ \
--limits=cpu=60m,memory=250Mi \
--requests=cpu=50m,memory=200Mi
deployment.apps/microsweeper-appservice resource requirements updated
[rosa@bastion ~]$
Requests state the minimum CPU and memory requirements for a container. This will ensure that the pod is placed on a node that can meet those requirements. Limits set the maximum amount of CPU and Memory that can be consumed by a container and ensure that a whole container does not consume all of the resources on a node. Setting limits and requests for deployments is best practice for resource management and ensuring the stability and reliability of your applications.
| | It is important to know the resource needs of the application before setting limits and requests to avoid resource starvation or over allocating resources. If you are unsure of the resource consumption of your application, you can use ‘oc adm top pods’ to view the current memory and CPU being currently consumed by each pod. Running the following command multiple times while the application is running can help set a general picture. If you get an error that no metrics are available yet wait a few seconds and try again. It may take a few minutes for the metrics to be available. |
| :—- | :—- |
[rosa@bastion ~]$ oc adm top pod -n microsweeper-ex -l app.kubernetes.io/name=microsweeper-appservice
NAME CPU(cores) MEMORY(bytes)
microsweeper-appservice-6f59cf55d5-pgq64 0m 62Mi
1.2. Now that we’ve updated the resource, we can see that a new pod was automatically rolled out with these new limits and requests. To do so, run the following command:
[rosa@bastion ~]$ oc get pods -n microsweeper-ex
NAME READY STATUS RESTARTS AGE
microsweeper-appservice-6f59cf55d5-pgq64 1/1 Running 0 9m1s
[rosa@bastion ~]$
To see what the limits and requests added to the pod, run the following command, being sure to change the Pod name to the name shown in the above output:
rosa@bastion ~]$ oc get pods -l app.kubernetes.io/name=microsweeper-appservice \
-o yaml -n microsweeper-ex | grep limits -A5
limits:
cpu: 60m
memory: 250Mi
requests:
cpu: 50m
memory: 200Mi
[rosa@bastion ~]$
1.3. We can now use the route of the application to ensure the application is functioning with the new limits and requests. To get the route, run the following command:
[rosa@bastion ~]$ oc -n microsweeper-ex get route microsweeper-appservice \
-o jsonpath=’http://{.spec.host}{“\n”}’
http://microsweeper-appservice-microsweeper-ex.apps.rosa.rosa-88qgb.zpku.p3.openshiftapps.com
[rosa@bastion ~]$
Then visit the URL presented in a new tab in your web browser (using HTTP). For example, your output will look something similar to:
In that case, you’d visit http://microsweeper-appservice-microsweeper-ex.apps.test-cluster.2ubs.p1.openshiftapps.com in your browser.
1.4.Initially, this application is deployed with only one pod. In the event a worker node goes down or the pod crashes, there will be an outage of the application. To prevent that, let’s scale the number of instances of our applications up to three. To do so, run the following command:
[rosa@bastion ~]$ oc -n microsweeper-ex get route microsweeper-appservice \
-o jsonpath=’http://{.spec.host}{“\n”}’
http://microsweeper-appservice-microsweeper-ex.apps.rosa.rosa-f8jdx.5wl4.p3.openshiftapps.com
[rosa@bastion ~]$ oc -n microsweeper-ex scale deployment \
microsweeper-appservice --replicas=3
deployment.apps/microsweeper-appservice scaled
[rosa@bastion ~]$
1.5. Next, let’s check to see that the application has scaled. To do so, run the following command to see the pods:
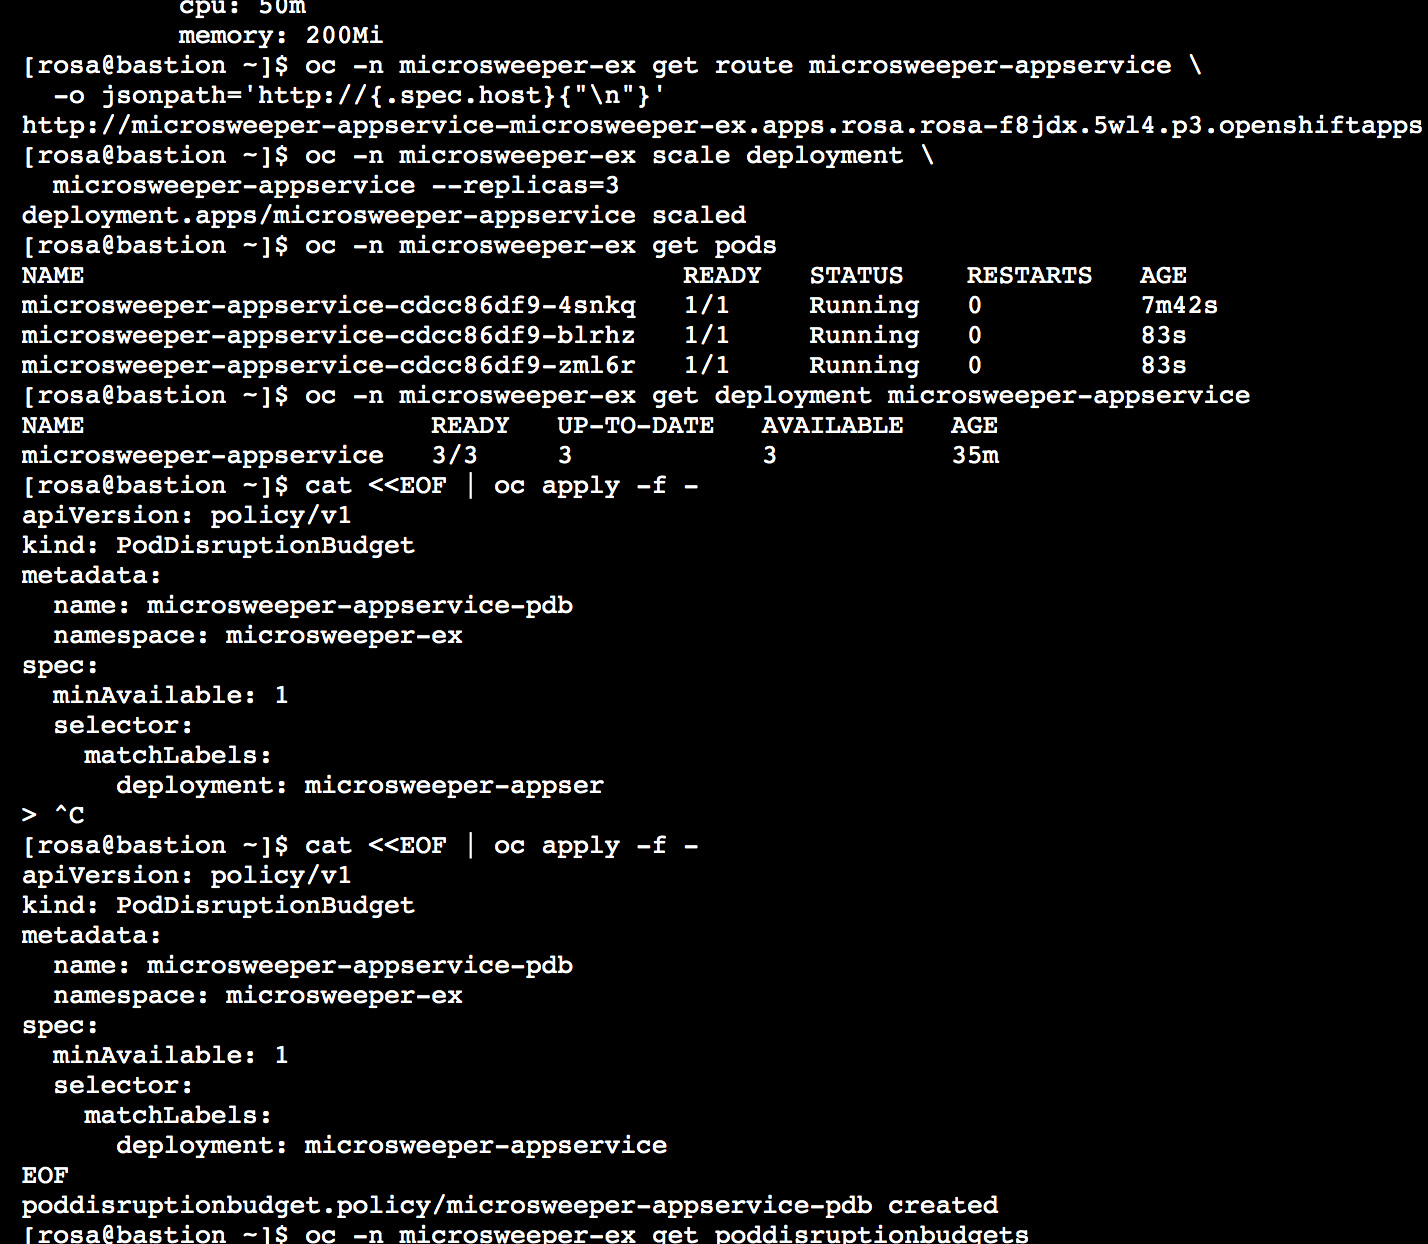
[rosa@bastion ~]$ oc -n microsweeper-ex get pods
NAME READY STATUS RESTARTS AGE
microsweeper-appservice-cdcc86df9-4snkq 1/1 Running 0 7m42s
microsweeper-appservice-cdcc86df9-blrhz 1/1 Running 0 83s
microsweeper-appservice-cdcc86df9-zml6r 1/1 Running 0 83s
[rosa@bastion ~]$
1.6. In addition you can see the number of pods, how many are on the current version, and how many are available by running the following:
osa@bastion ~]$ oc -n microsweeper-ex get deployment microsweeper-appservice
NAME READY UP-TO-DATE AVAILABLE AGE
microsweeper-appservice 3/3 3 3 35m
[rosa@bastion ~]$
2. Pod Disruption Budget
2.1.Let’s create a Pod Disruption Budget for our microsweeper-appservice application. To do so, run the following command:
[rosa@bastion ~]$ cat <<EOF | oc apply -f -
apiVersion: policy/v1
kind: PodDisruptionBudget
metadata:
name: microsweeper-appservice-pdb
namespace: microsweeper-ex
spec:
minAvailable: 1
selector:
matchLabels:
deployment: microsweeper-appservice
EOF
poddisruptionbudget.policy/microsweeper-appservice-pdb created
[rosa@bastion ~]$
After creating the PDB, the OpenShift API will ensure at least one pod of microsweeper-appservice is running all the time, even when maintenance is going on within the cluster.
2.2. Next, let’s check the status of Pod Disruption Budget. To do so, run the following command:
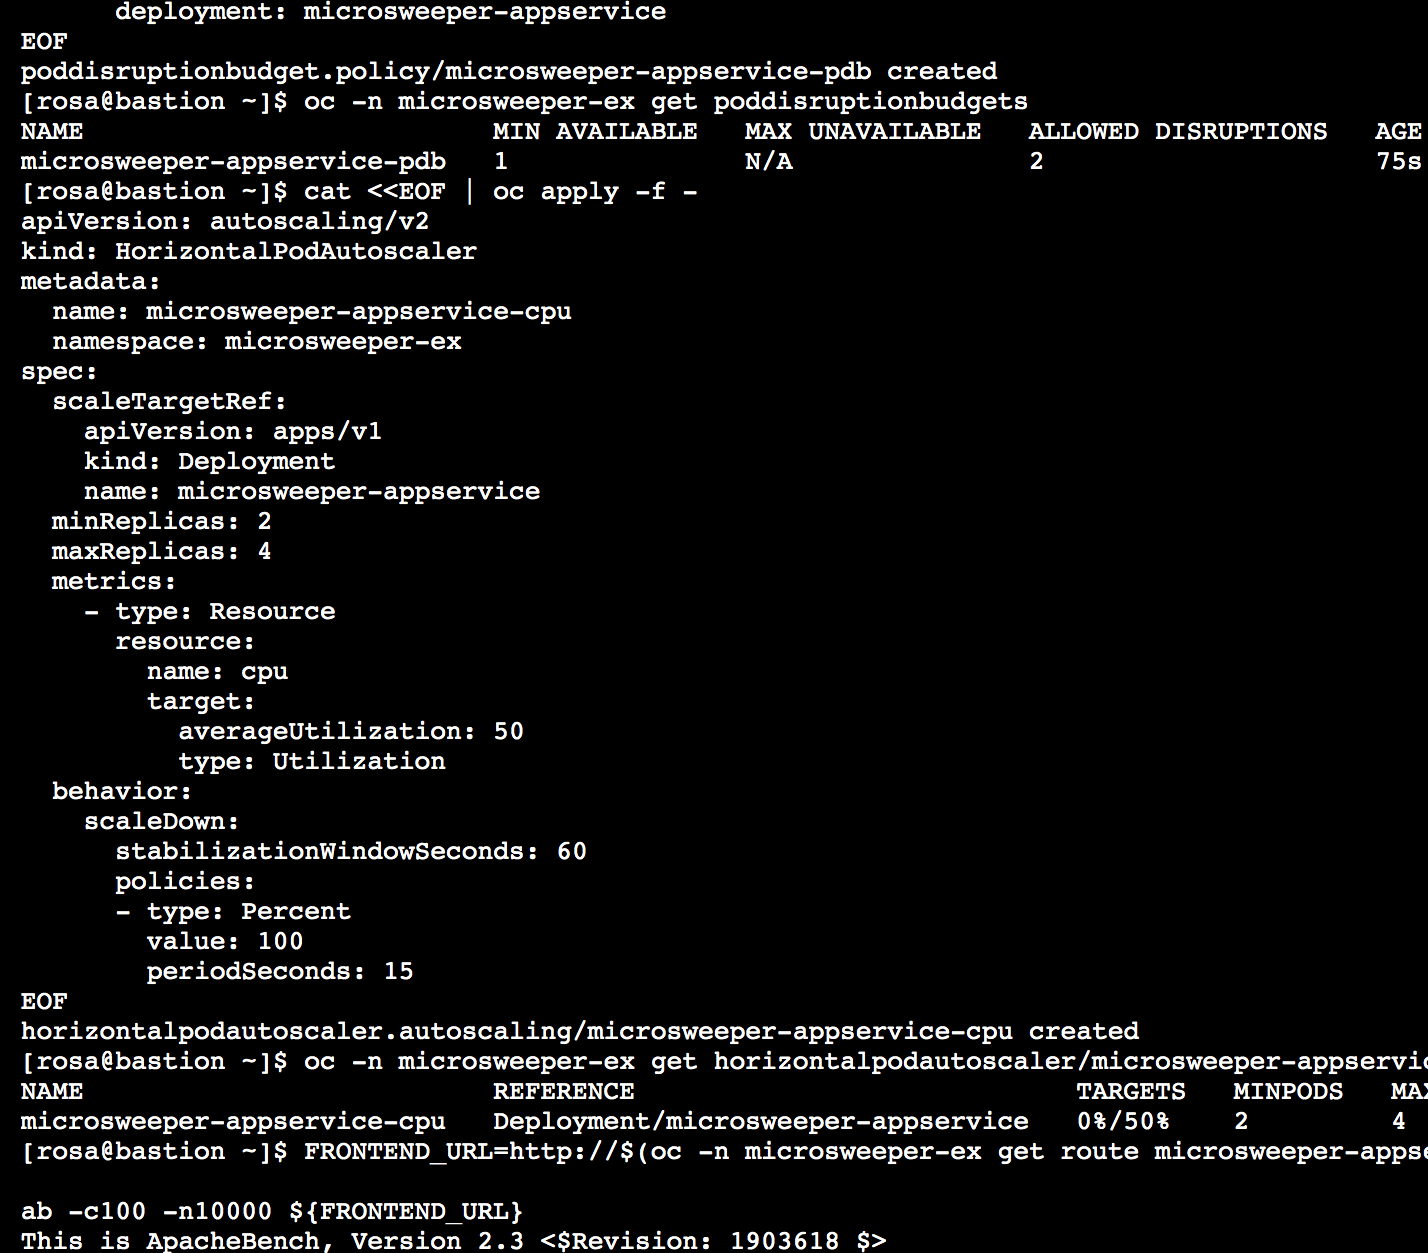
[rosa@bastion ~]$ oc -n microsweeper-ex get poddisruptionbudgets
NAME MIN AVAILABLE MAX UNAVAILABLE ALLOWED DISRUPTIONS AGE
microsweeper-appservice-pdb 1 N/A 2 75s
[rosa@bastion ~]$
3. Horizontal Pod Autoscaler (HPA)
As a developer, you can utilize a horizontal pod autoscaler (HPA) in ROSA clusters to automate scaling of replication controllers or deployment configurations. The HPA adjusts the scale based on metrics gathered from the associated pods. It is applicable to deployments, replica sets, replication controllers, and stateful sets.
The HPA (Horizontal Pod Autoscaler) provides you with automated scaling capabilities, optimizing resource management and improving application performance. By leveraging an HPA, you can ensure your applications dynamically scale up or down based on workload. This automation reduces the manual effort of adjusting application scale and ensures efficient resource utilization, by only using resources that are needed at a certain time. Additionally, the HPA’s ease of configuration and compatibility with various workload types make it a flexible and scalable solution for developers in managing their applications.
In this exercise we will scale the microsweeper-appservice application based on CPU utilization:
- Scale out when average CPU utilization is greater than 50% of CPU limit
- Maximum pods is 4
- Scale down to min replicas if utilization is lower than threshold for 60 sec
3.1. First, we should create the HorizontalPodAutoscaler. To do so, run the following command:
-
| [rosa@bastion ~]$ cat <<EOF |
oc apply -f - |
- apiVersion: autoscaling/v2
- kind: HorizontalPodAutoscaler
- metadata:
- name: microsweeper-appservice-cpu
- namespace: microsweeper-ex
- spec:
- scaleTargetRef:
- apiVersion: apps/v1
- kind: Deployment
- name: microsweeper-appservice
- minReplicas: 2
- maxReplicas: 4
- metrics:
- - type: Resource
- resource:
- name: cpu
- target:
- averageUtilization: 50
- type: Utilization
- behavior:
- scaleDown:
- stabilizationWindowSeconds: 60
- policies:
- - type: Percent
- value: 100
- periodSeconds: 15
- EOF
- horizontalpodautoscaler.autoscaling/microsweeper-appservice-cpu created
- [rosa@bastion ~]$
3.2. Next, check the status of the HPA. To do so, run the following command:
[rosa@bastion ~]$ oc -n microsweeper-ex get horizontalpodautoscaler/microsweeper-appservice-cpu
NAME REFERENCE TARGETS MINPODS MAXPODS REPLICAS AGE
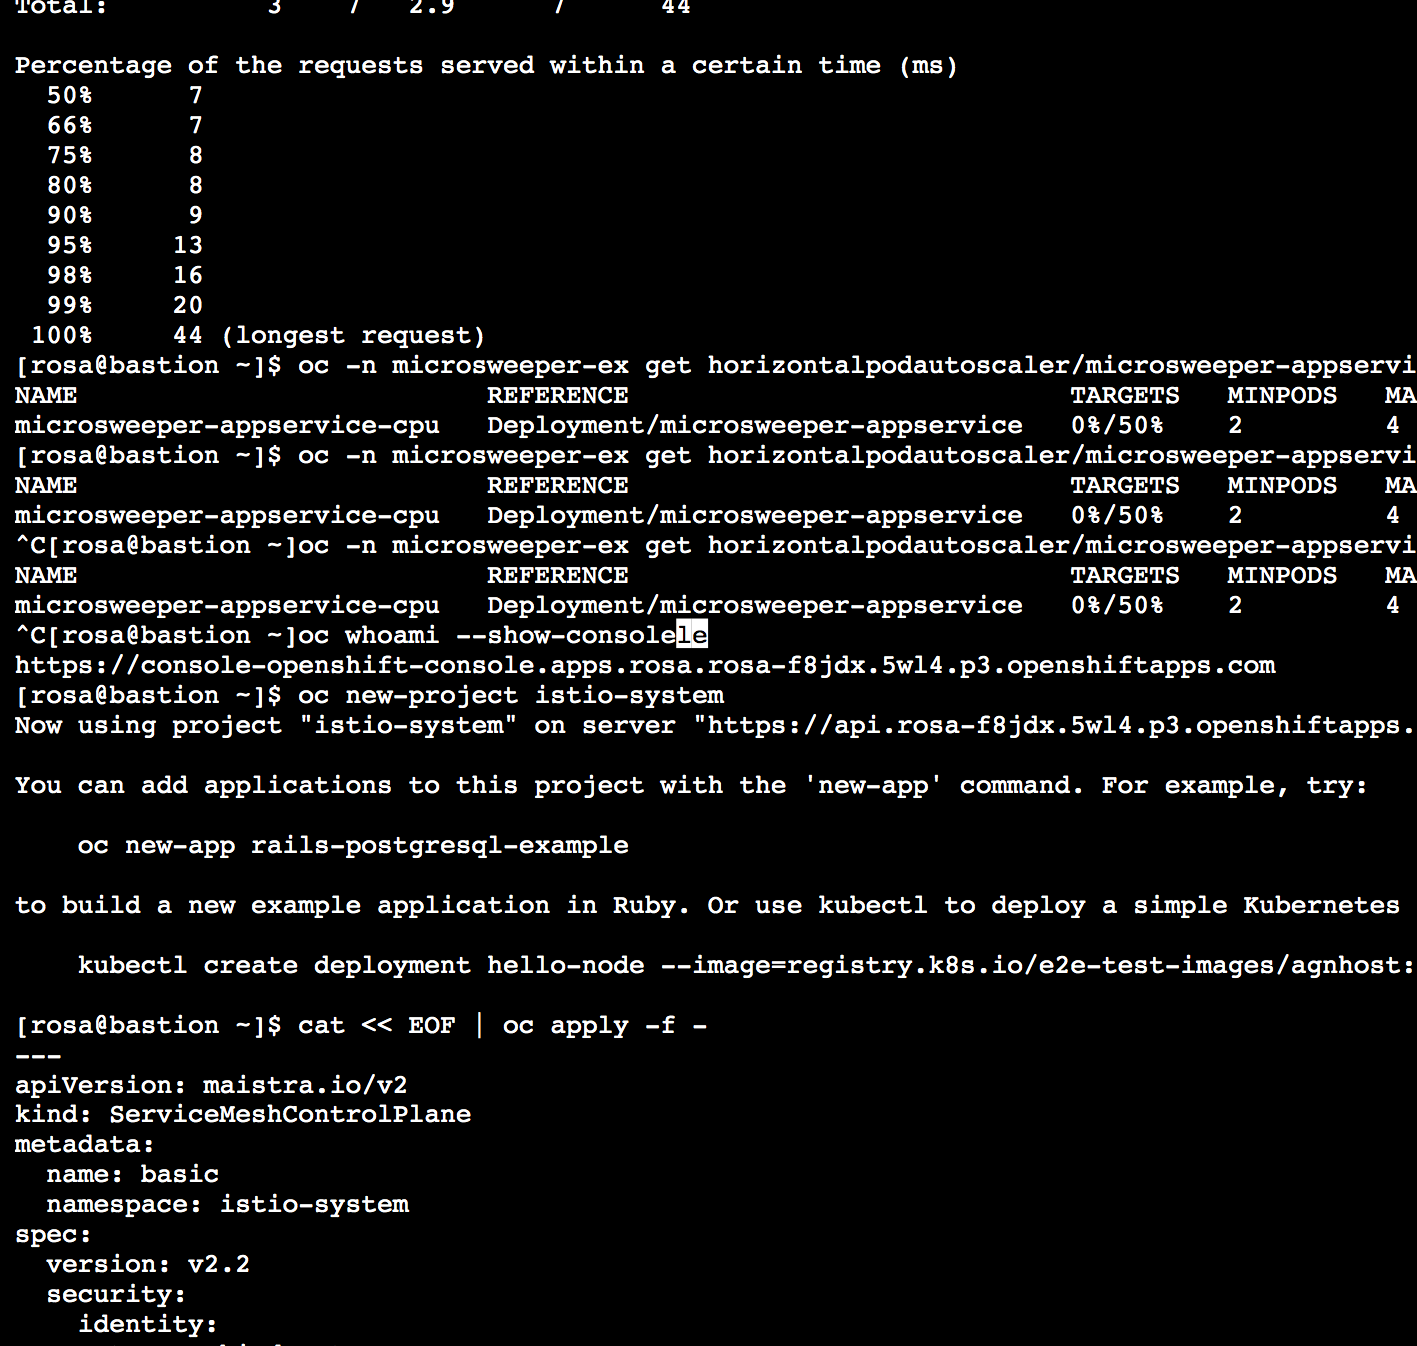
microsweeper-appservice-cpu Deployment/microsweeper-appservice 0%/50% 2 4 2 94s
Next, let’s generate some load against the microsweeper-appservice application. To do so, run the following command:
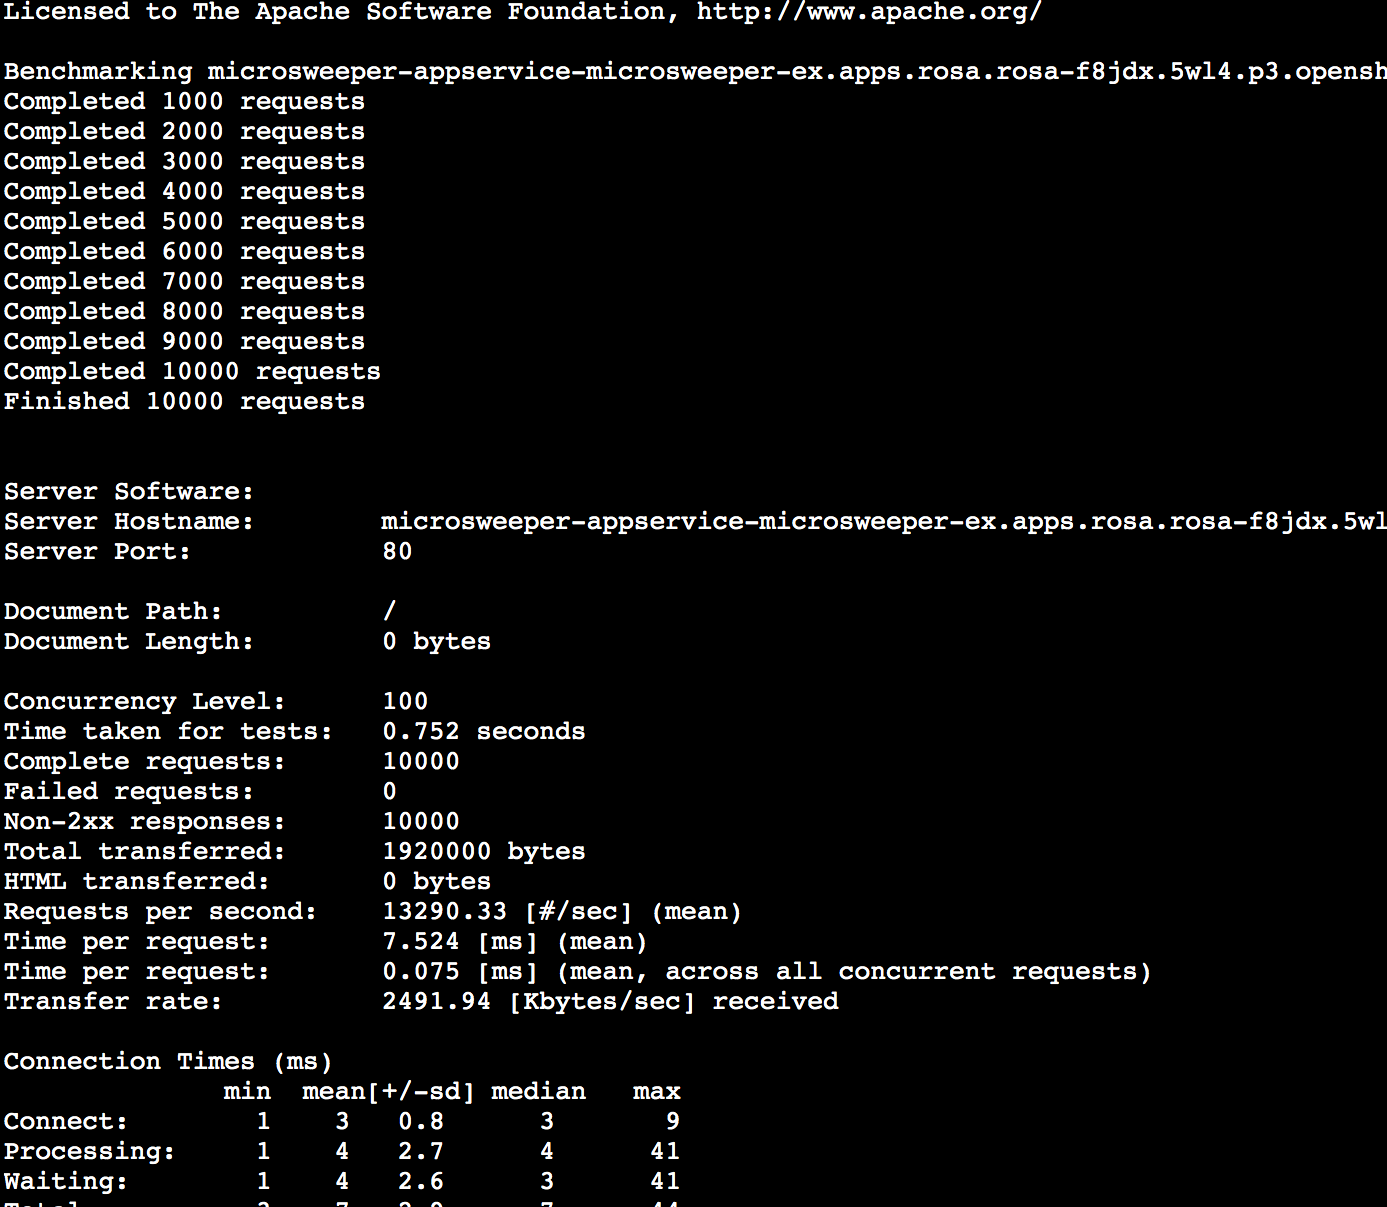
[rosa@bastion ~]$ FRONTEND_URL=http://$(oc -n microsweeper-ex get route microsweeper-appservice -o jsonpath=’{.spec.host}’)/
ab -c100 -n10000 ${FRONTEND_URL}
This is ApacheBench, Version 2.3 <$Revision: 1903618 $>
Copyright 1996 Adam Twiss, Zeus Technology Ltd, http://www.zeustech.net/
Licensed to The Apache Software Foundation, http://www.apache.org/
Benchmarking microsweeper-appservice-microsweeper-ex.apps.rosa.rosa-f8jdx.5wl4.p3.openshiftapps.com (be patient)
Completed 1000 requests
Completed 2000 requests
Completed 3000 requests
Completed 4000 requests
Completed 5000 requests
Completed 6000 requests
Completed 7000 requests
Completed 8000 requests
Completed 9000 requests
Completed 10000 requests
Finished 10000 requests
Server Software:
Server Hostname: microsweeper-appservice-microsweeper-ex.apps.rosa.rosa-f8jdx.5wl4.p3.openshiftapps.com
Server Port: 80
Document Path: /
Document Length: 0 bytes
Concurrency Level: 100
Time taken for tests: 0.752 seconds
Complete requests: 10000
Failed requests: 0
Non-2xx responses: 10000
Total transferred: 1920000 bytes
HTML transferred: 0 bytes
Requests per second: 13290.33 [#/sec] (mean)
Time per request: 7.524 [ms] (mean)
Time per request: 0.075 [ms] (mean, across all concurrent requests)
Transfer rate: 2491.94 [Kbytes/sec] received
Connection Times (ms)
min mean[+/-sd] median max
Connect: 1 3 0.8 3 9
Processing: 1 4 2.7 4 41
Waiting: 1 4 2.6 3 41
Total: 3 7 2.9 7 44
Percentage of the requests served within a certain time (ms)
50% 7
66% 7
75% 8
80% 8
90% 9
95% 13
98% 16
99% 20
100% 44 (longest request)
[rosa@bastion ~]$
3.4. Apache Bench will take around 100 seconds to complete (you can also hit CTRL+c to kill the ab command). Then immediately check the status of Horizontal Pod Autoscaler. To do so, run the following command:
a@bastion ~]$ oc -n microsweeper-ex get horizontalpodautoscaler/microsweeper-appservice-cpu
NAME REFERENCE TARGETS MINPODS MAXPODS REPLICAS AGE
microsweeper-appservice-cpu Deployment/microsweeper-appservice 0%/50% 2 4 2 11m
[rosa@bastion ~]$
This means you are now running 4 replicas, instead of the original three that we started with.
3.5. Once you’ve killed the ab command, the traffic going to microsweeper-appservice service will cool down and after a 60 second cool down period, your application’s replica count will drop back down to two. To demonstrate this, run the following command:
^C[rosa@bastion ~]oc -n microsweeper-ex get horizontalpodautoscaler/microsweeper-appservice-cpu --watchch
NAME REFERENCE TARGETS MINPODS MAXPODS REPLICAS AGE
microsweeper-appservice-cpu Deployment/microsweeper-appservice 0%/50% 2 4 2 16m
As your applications evolve into collections of decentralized microservices, monitoring and managing the network communications and security among those multiple services becomes more challenging.
Red Hat OpenShift Service Mesh is based on the open source project Istio. It provides a uniform way to connect, manage, and observe microservices based applications. It provides behavioral insight into and control of the networked microservices in your service mesh.
##
Why Red Hat Service Mesh?
Applications are changing from monoliths into collections of small, independent, and loosely coupled services often referred to as cloud-native applications. These services are organized in a microservices architecture.
Managing the communication between different services, and analyzing and maintaining security, can be a challenge. This can be greatly simplified and optimized by using a service mesh to route requests from one service to another, and optimizing how the different services work with one another.
With Red Hat OpenShift Service Mesh, you get a uniform way to connect, manage, and observe your microservices, without requiring you to redesign your application. As your containers and services evolve, Service Mesh allows you control of—the networked microservices through the use of a sidecar proxy that intercepts network communication between microservices. OpenShift Service Mesh provides integrated metrics, logging, and tracing, traditionally available only deep within the application or service.
Red Hat Service Mesh Benefits
Ready for production
Installs easily on Red Hat OpenShift, the hybrid cloud enterprise Kubernetes platform trusted by thousands of organizations around the globe. Red Hat OpenShift Service Mesh is pre-validated and fully supported to work on Red Hat OpenShift, straight out of the box.
Security-focused
Red Hat OpenShift Service Mesh provides comprehensive application networking security. This is achieved through transparent mTLS encryption and fine-grained policies that facilitate zero-trust networking.
###
Based on open source
Based on the open source Istio project, Red Hat OpenShift Service Mesh provides additional functionality with the inclusion of other open source projects like Kiali (Istio console) and Jaeger (distributed tracing), which supports collaboration with leading members of the Istio community.
##
Use Cases
- Connectivity: Connect Traffic Flow, Blue/Green Deployments, Circuit Breaking, Virtual Services
- Security: Data-in-transit Encryption, Authentication, Authorization, Secure Naming
- Control: Configuration, Apply/Enforce Policies, Fair Resource Distribution
- Observability: Layer 7 Visibility, Monitoring, Logging, Distributed Tracing
##
Differences to Istio
- OpenShift Service Mesh installs a multi-tenant control plane by default
- OpenShift Service Mesh extends Role Based Access Control (RBAC) features
- OpenShift Service Mesh replaces BoringSSL with OpenSSL
- Kiali and Jaeger are enabled by default in OpenShift Service Mesh
##
What is the advantage of choosing Red Hat Service Mesh?
- Red Hat helps you get started faster because OpenShift Service Mesh is engineered to be ready for production.
- With OpenShift Service Mesh developers can increase productivity by integrating communication policies without changing application code or integrating language-specific libraries.
-
OpenShift Service Mesh can also make things easier for operations because it installs easily on Red Hat OpenShift, has been tested with other Red Hat products, and comes with access to award-winning support.
-
Install Service Mesh Operator
-
##
-
1. Operator Overview
- OpenShift Elasticsearch Operator - Provides database storage for tracing and logging with the distributed tracing platform. It is based on the open core Elasticsearch project. Use the stable channel.
- Red Hat OpenShift distributed tracing platform - Provides distributed tracing to monitor and troubleshoot transactions in complex distributed systems. It is based on the open source Jaeger project. Use the stable channel.
- Kiali Operator - Provides observability for your service mesh. Allows you to view configurations, monitor traffic, and analyze traces in a single console. It is based on the open source Kiali project. Use the stable channel.
-
Red Hat OpenShift Service Mesh - Allows you to connect, secure, control, and observe the microservices that comprise your applications. The Service Mesh Operator defines and monitors the ServiceMeshControlPlane resources that manage the deployment, updating, and deletion of the Service Mesh components. It is based on the open source Istio project. Use the stable channel.
-
###
-
1.1. Operator installation Procedure
- 1.1.1. If you are not still there open the OpenShift Container Platform web console. If you need to remind yourself of the URL you can use one of the following two commands in your terminal:
- osa@bastion ~]oc whoami --show-consolele
- https://console-openshift-console.apps.rosa.rosa-f8jdx.5wl4.p3.openshiftapps.com
- [rosa@bastion ~]$
- 1.2.In the OpenShift Container Platform web console, click Operators → OperatorHub.
- 1.3.For each operator in this list install the operator in the order listed.
- OpenShift Elasticsearch Operator
- Red Hat OpenShift distributed tracing platform (careful! There is a second one with a very similar name!)
- Kiali Operator
- Red Hat OpenShift Service Mesh
- 1.4.Repeat the following steps to install the operator:
- Type the name of the Operator into the filter box and select the Red Hat version of the Operator. Community versions of the Operators are not supported.
- Click Install.
- On the Install Operator page for each Operator, double check the channel and otherwise accept the default settings.
- Click Install.
- Wait until the Operator has installed before repeating the steps for the next Operator in the list.
1.5.After all you have installed all four Operators, click Operators → Installed Operators to verify that your Operators installed (you may need to select the openshift-operators project to see all operators).
Based on the open source Istio project, Red Hat OpenShift Service Mesh adds a transparent layer on existing distributed applications without requiring any changes to the service code. You add Red Hat OpenShift Service Mesh support to services by deploying a special sidecar proxy to relevant services in the mesh that intercepts all network communication between microservices. You configure and manage the Service Mesh using the Service Mesh control plane features. To learn more about the OpenShift Service Mesh, review the OpenShift documentation.
##
1. Deploy Control Plane
1.1 First, let’s create a project (namespace) for us to deploy the service mesh control plane into. To do so, run the following command:
w using project “istio-system” on server “https://api.rosa-f8jdx.5wl4.p3.openshiftapps.com:443”.
You can add applications to this project with the ‘new-app’ command. For example, try:
oc new-app rails-postgresql-example
to build a new example application in Ruby. Or use kubectl to deploy a simple Kubernetes application:
kubectl create deployment hello-node \--image=registry.k8s.io/e2e-test-images/agnhost:2.43 \-- /agnhost serve-hostname
1.2. Next, let’s deploy the service mesh control plane. To do so, run the following command:
| [rosa@bastion ~]$ cat << EOF |
oc apply -f - |
-–
apiVersion: maistra.io/v2
kind: ServiceMeshControlPlane
metadata:
name: basic
namespace: istio-system
spec:
version: v2.2
security:
identity:

  type: ThirdParty
tracing:
type: Jaeger

sampling: 10000
addons:
jaeger:

  name: jaeger

  install:

    storage:

      type: Memory

kiali:

  enabled: true

  name: kiali

grafana:

  enabled: true
EOF
Error from server (BadRequest): error when creating “STDIN”: admission webhook “smcp.validation.maistra.io” denied the request: Only ‘[v2.5 v2.3 v2.4 v2.6]’ versions are supported
[rosa@bastion ~]$
1.1. First, let’s create a project (namespace) for us to deploy our workload into. To do so, run the following command:
[rosa@bastion ~]$ oc new-project bookinfo
Now using project “bookinfo” on server “https://api.rosa-f8jdx.5wl4.p3.openshiftapps.com:443”.
You can add applications to this project with the ‘new-app’ command. For example, try:
oc new-app rails-postgresql-example
to build a new example application in Ruby. Or use kubectl to deploy a simple Kubernetes application:
kubectl create deployment hello-node \--image=registry.k8s.io/e2e-test-images/agnhost:2.43 \-- /agnhost serve-hostname

kubectl create deployment hello-node \--image=registry.k8s.io/e2e-test-images/agnhost:2.43 \-- /agnhost serve-hostname
1,2, Next, let’s label that project (namespace) to enable the service mesh injection for all applications in the project.
[rosa@bastion ~]$ oc label namespace bookinfo istio-injection=enabled
namespace/bookinfo labeled
[rosa@bastion ~]$
1.3. Even though we’ve enabled service mesh injection in the project, we also need to add our project (namespace) to the ServiceMeshMemberRoll, which limits the scope of the service mesh control plane to only projects in the member roll. To add the project to the ServiceMeshMemberRoll, run the following command:
| rosa@bastion ~]$ cat << EOF |
oc apply -f - |
-–
apiVersion: maistra.io/v1
kind: ServiceMeshMemberRoll
metadata:
name: default
namespace: istio-system
spec:
members:
- bookinfo
EOF
servicemeshmemberroll.maistra.io/default created
[rosa@bastion ~]$
1.4. Next, let’s verify the ServiceMeshMemberRoll was created successfully. To do so, run the following command:
rosa@bastion ~]$ oc -n istio-system get smmr -o wide
NAME READY STATUS AGE MEMBERS
default 0/1 ErrSMCPMissing 66s [“bookinfo”]
[rosa@bastion ~]$
The service mesh member roll was successfully configured when the STATUS column is Configured and your project shows up in the MEMBERS column.
2.1. Deploy our test workload
2,1,1.Now that we’ve configured the service mesh for our project, let’s deploy our bookinfo workload into our project. To do so, run the following command to create the necessary resources:
rosa@bastion ~]$ oc -n bookinfo apply -f \
https://raw.githubusercontent.com/rh-mobb/rosa-workshop-content/main/rosa-content/assets/scripts/bookinfo.yaml
service/details created
serviceaccount/bookinfo-details created
deployment.apps/details-v1 created
service/ratings created
serviceaccount/bookinfo-ratings created
deployment.apps/ratings-v1 created
service/reviews created
serviceaccount/bookinfo-reviews created
deployment.apps/reviews-v1 created
deployment.apps/reviews-v2 created
deployment.apps/reviews-v3 created
service/productpage created
serviceaccount/bookinfo-productpage created
deployment.apps/productpage-v1 created
[rosa@bastion ~]$
Interested in seeing the configuration you’re deploying? Check it out on GitHub here.
2.2.Now, let’s create the service mesh ingress gateway. To do so, run the following command:
[rosa@bastion ~]$ oc -n bookinfo apply -f \
https://raw.githubusercontent.com/rh-mobb/rosa-workshop-content/main/rosa-content/assets/scripts/bookinfo-gateway.yaml
resource mapping not found for name: “bookinfo-gateway” namespace: “” from “https://raw.githubusercontent.com/rh-mobb/rosa-workshop-content/main/rosa-content/assets/scripts/bookinfo-gateway.yaml”: no matches for kind “Gateway” in version “networking.istio.io/v1alpha3”
ensure CRDs are installed first
resource mapping not found for name: “bookinfo” namespace: “” from “https://raw.githubusercontent.com/rh-mobb/rosa-workshop-content/main/rosa-content/assets/scripts/bookinfo-gateway.yaml”: no matches for kind “VirtualService” in version “networking.istio.io/v1alpha3”
ensure CRDs are installed first
[rosa@bastion ~]$
2.3. Next, let’s add some destination rules. Destination rules define policies that apply to traffic intended for a service after routing has occurred. To create the rules, run the following command:
osa@bastion ~]$ oc -n bookinfo apply -f \
https://raw.githubusercontent.com/rh-mobb/rosa-workshop-content/main/rosa-content/assets/scripts/destination-rule-all.yaml
resource mapping not found for name: “productpage” namespace: “” from “https://raw.githubusercontent.com/rh-mobb/rosa-workshop-content/main/rosa-content/assets/scripts/destination-rule-all.yaml”: no matches for kind “DestinationRule” in version “networking.istio.io/v1alpha3”
ensure CRDs are installed first
resource mapping not found for name: “reviews” namespace: “” from “https://raw.githubusercontent.com/rh-mobb/rosa-workshop-content/main/rosa-content/assets/scripts/destination-rule-all.yaml”: no matches for kind “DestinationRule” in version “networking.istio.io/v1alpha3”
ensure CRDs are installed first
resource mapping not found for name: “ratings” namespace: “” from “https://raw.githubusercontent.com/rh-mobb/rosa-workshop-content/main/rosa-content/assets/scripts/destination-rule-all.yaml”: no matches for kind “DestinationRule” in version “networking.istio.io/v1alpha3”
ensure CRDs are installed first
resource mapping not found for name: “details” namespace: “” from “https://raw.githubusercontent.com/rh-mobb/rosa-workshop-content/main/rosa-content/assets/scripts/destination-rule-all.yaml”: no matches for kind “DestinationRule” in version “networking.istio.io/v1alpha3”
ensure CRDs are installed first
[rosa@bastion ~]$
oc label namespace bookinfo istio-injection=enabled
1.3. Even though we’ve enabled service mesh injection in the project, we also need to add our project (namespace) to the ServiceMeshMemberRoll, which limits the scope of the service mesh control plane to only projects in the member roll. To add the project to the ServiceMeshMemberRoll, run the following command:
-–
apiVersion: maistra.io/v1
kind: ServiceMeshMemberRoll
metadata:
name: default
namespace: istio-system
spec:
members:
- bookinfo
EOF
Next, let’s verify the ServiceMeshMemberRoll was created successfully. To do so, run the following command:
oc -n istio-system get smmr -o wide
###
1.1. Deploy our test workload
Now that we’ve configured the service mesh for our project, let’s deploy our bookinfo workload into our project. To do so, run the following command to create the necessary resources:
1.3.oc -n bookinfo apply -f \
https://raw.githubusercontent.com/rh-mobb/rosa-workshop-content/main/rosa-content/assets/scripts/bookinfo.yaml
Interested in seeing the configuration you’re deploying? Check it out on GitHub here.
1.2. Now, let’s create the service mesh ingress gateway. To do so, run the following command:
oc -n bookinfo apply -f \
https://raw.githubusercontent.com/rh-mobb/rosa-workshop-content/main/rosa-content/assets/scripts/bookinfo-gateway.yaml
Next, let’s add some destination rules. Destination rules define policies that apply to traffic intended for a service after routing has occurred. To create the rules, run the following command:
oc -n bookinfo apply -f \
https://raw.githubusercontent.com/rh-mobb/rosa-workshop-content/main/rosa-content/assets/scripts/destination-rule-all.yaml
Verifying the Bookinfo installation
oc -n bookinfo get pods
Next, let’s get the URL for the product page. To do so, run the following command:
echo “http://$(oc -n istio-system get route istio-ingressgateway -o jsonpath=’{.spec.host}’)/productpage”
This is a http URL. Some browsers convert that automatically to https and will not show the page.
Copy and paste the URL provided in the previous step into your web browser and verify the Bookinfo product page is successfully deployed.
You should see a book review of “The Comedy of Errors”. If you see an “Error fetching product reviews!” message wait a little bit and then refresh the browser window. It takes a moment for the reviews service to be fully available.
In this section you will configure and observe traffic between the micro services that make up the example application.
Requests are routed to services within a service mesh with virtual services. Each virtual service consists of a set of routing rules that are evaluated in order. Red Hat OpenShift Service Mesh matches each given request to the virtual service to a specific real destination within the mesh.
Without virtual services, Red Hat OpenShift Service Mesh distributes traffic using round-robin load balancing between all service instances. With a virtual service, you can specify traffic behavior for one or more hostnames. Routing rules in the virtual service tell Red Hat OpenShift Service Mesh how to send the traffic for the virtual service to appropriate destinations. Route destinations can be versions of the same service or entirely different services.
##
1. Configuring virtual services with weighted load balancing
1,1, Weighted load balancing requests are forwarded to instances in the pool according to a specific percentage. In this example 80% to v1, 20% to v2. To create a virtual service with this configuration, run the following command:
cat << EOF | oc apply -f -
-–
apiVersion: networking.istio.io/v1alpha3
kind: VirtualService
metadata:
name: reviews
spec:
hosts:
- reviews
http:
- route:
- destination:
host: reviews
subset: v1
weight: 80
- destination:
host: reviews
subset: v2
weight: 20
EOF
1.2. Refresh your browser tab containing the Bookinfo URL a few times and you’ll see that occasionally you’ll see the v2 of the book review app which has star ratings.
Accidentally close out of the tab? No problem, run the following command to get the product page URL:
echo “http://$(oc -n istio-system get route istio-ingressgateway -o jsonpath=’{.spec.host}’)/productpage”
2. Observe traffic using the Kiali web console
Kiali is an observability console for the OpenShift Service Mesh with service mesh configuration and validation capabilities. It helps you understand the structure and health of your service mesh by monitoring traffic flow to infer the topology and report errors.
2.1.First, grab the Kiali web console URL. To do so, run the following command:
echo “https://$(oc get routes -n istio-system kiali -o jsonpath=’{.spec.host}
2.2.Next, navigate to that URL in your web browser and click the Login With OpenShift button.
Once logged in, the Kiali Overview screen presents tiles for each project namespace.
2.3. Now, let’s generate some traffic against the product page service. To do so, run the following command in your terminal:
while true; do curl -sSL “http://$(oc -n istio-system get route istio-ingressgateway -o jsonpath=’{.spec.host}’)/productpage” | head -n 5; sleep 1; done
2.4. Leave the loop running and proceed to the next steps.
Return to the Kiali web console and click the Graph option in the sidebar.
2.5. Next, select bookinfo from the Namespace list, and App graph from the Graph Type list.
2.6. Next, click on the Display idle nodes button.
2.7. Next, view the graph and change the display settings to add or remove information from the graph.
2.8. Next, click the Workload tab and select the details-v1 workload.
2.9. In your terminal window stop the traffic generation by pressing CTRL+c.
Conclusion and next step
Now you have completed all the modules for the ROSA hands-on experience. We hope you found it valuable, saw the value of ROSA as an application platform, and learned something new!
If you have suggestions for how we could make this experience better, please let us know.
Take the next step and get started with ROSA in your AWS account.
Our onboarding specialists are here to help. If you have any questions or need help getting started with ROSA, send us a chat in the console at any time by clicking the blue hat icon in the bottom right corner.
Additional resources to help you get started:
Thank you for taking the time to explore ROSA!
]]>